 Save to Pinterest
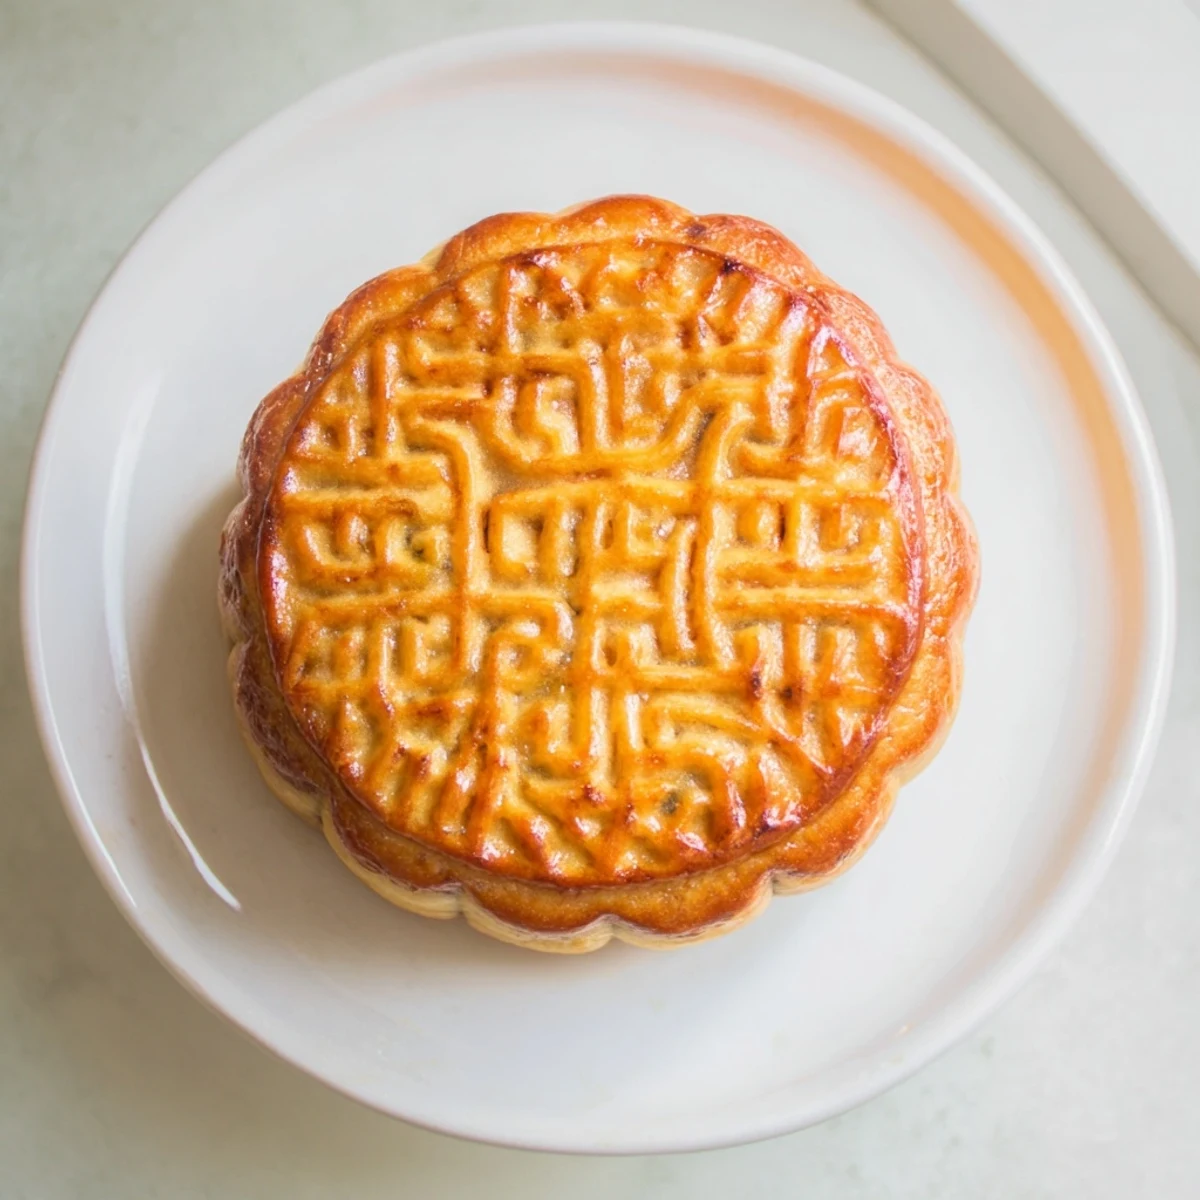
 Create these beloved Chinese pastries featuring a tender, golden pastry encasing sweet lotus seed paste. The traditional method involves mixing golden syrup with alkaline water for that signature glossy finish and distinct texture. While often prepared for the Mid-Autumn Festival, these dense, rich treats pair beautifully with Chinese tea year-round.
The process requires resting the dough for optimal texture, followed by careful wrapping and molding. A quick initial bake sets the shape before applying the egg wash glaze. The result yields twelve beautifully shaped pastries that develop their characteristic soft, chewy skin after resting for a day or two.
The first time I attempted mooncakes, I was preparing for a Mid-Autumn Festival dinner with my roommates. I had grown up watching my grandmother make these intricate pastries, but somehow her patience never quite transferred to me. That afternoon, my kitchen became a disaster zone of sticky lotus paste and flour everywhere, with at least three mooncakes collapsing in on themselves while trying to unmold them.
Last autumn, my neighbor Mrs. Chen smelled my first batch from down the hall and knocked on my door with a tin of her own homemade mooncakes. We ended up spending the afternoon comparing techniques, and she taught me that the secret to perfect shaping is not pressing too hard into the mold. Now we make them together every year, taking turns watching whose mooncakes emerge from the mold intact.
Ingredients
- All-purpose flour: Creates the tender yet sturdy pastry shell that holds its intricate patterns
- Golden syrup: This traditional ingredient gives the dough its characteristic amber color and chewy texture
- Vegetable oil: Keeps the dough pliable and prevents the crust from becoming too hard
- Alkaline water: Essential for achieving that authentic mooncake taste and promoting proper browning
- Lotus seed paste: The classic smooth, sweet filling that creates the perfect dense texture
- Salted egg yolks: These provide the traditional rich, savory contrast to the sweet paste
- Egg yolk glaze: Creates that beautiful glossy, golden finish that makes mooncakes irresistible
Instructions
- Mix the syrup base:
- Whisk together golden syrup, oil, and alkaline water until completely smooth and emulsified
- Form the dough:
- Add flour to the wet mixture and gently fold until a soft dough forms, then cover and let it rest for 30 minutes
- Prepare the filling:
- Divide lotus paste into 12 equal balls, wrapping each around a salted egg yolk if using
- Shape the mooncakes:
- Flatten dough portions, encase the filling balls inside, and press firmly into a dusted mooncake mold
- Bake to golden perfection:
- Bake initially for 5 minutes, cool slightly, brush with egg wash, then finish baking until deeply golden
 Save to Pinterest
 My daughter now helps me with the egg wash step, her small hands carefully brushing each mooncake with that mixture of yolk and water. She insists this is the most important job because, as she puts it, this is what makes them look like real mooncakes from the bakery window.
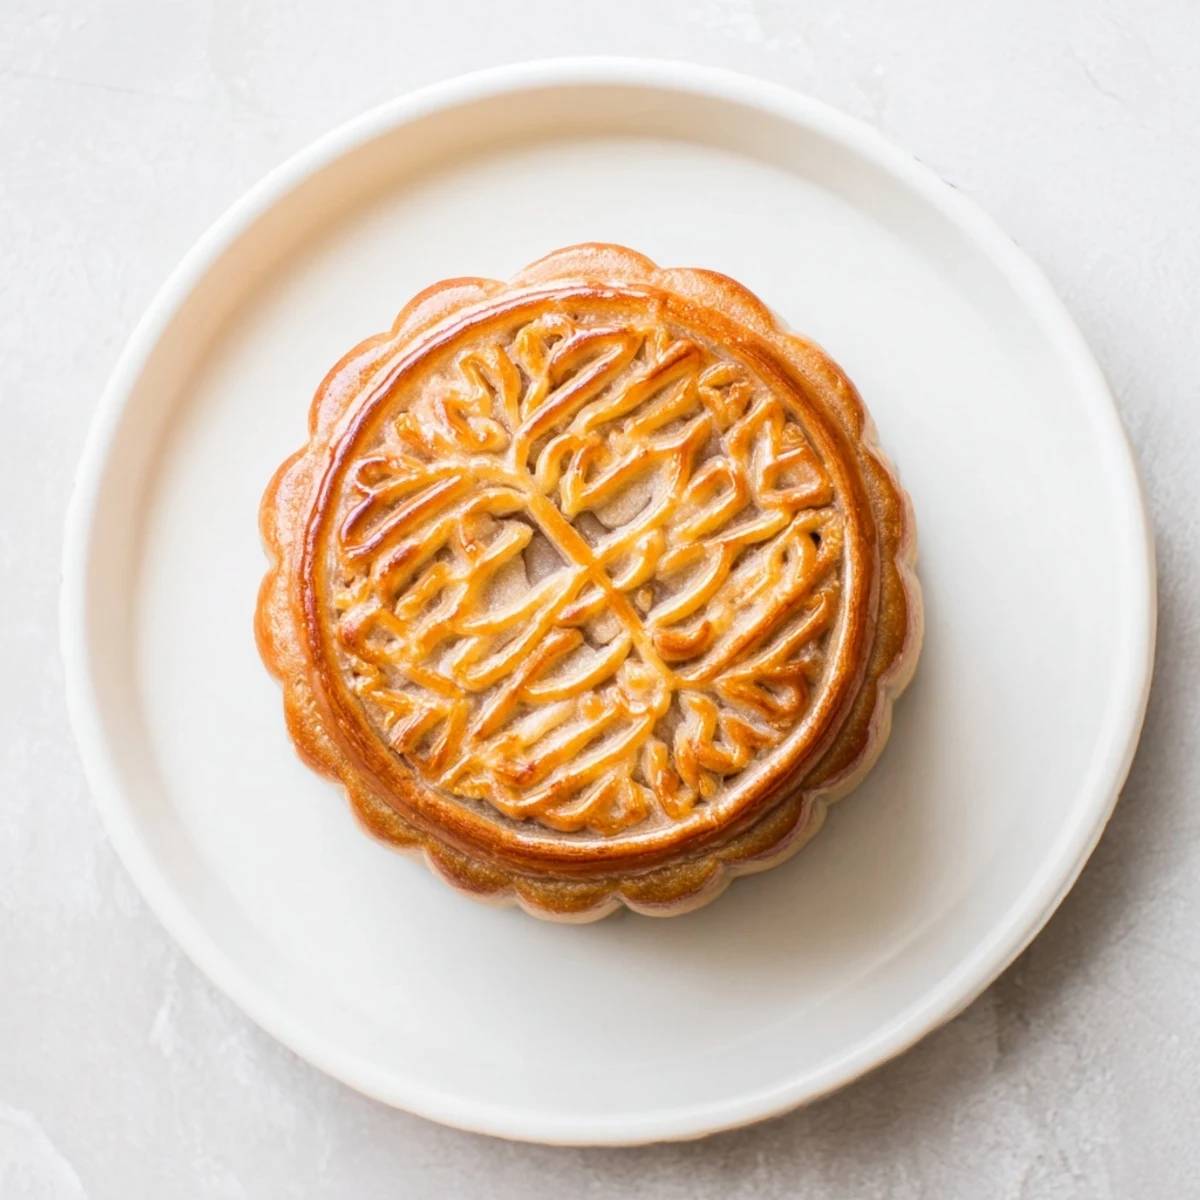
Getting the Perfect Mold Release
After watching several mooncakes stick stubbornly in my mold, I learned to dust it generously with flour before each use. Now I tap the mold firmly against my counter before inverting it, and the mooncake usually releases cleanly with its pattern intact. If one does stick, I gently coax it out with a toothpick rather than forcing it.
Balancing Sweet and Savory
The contrast between sweet lotus paste and salty egg yolk is what makes traditional mooncakes so compelling. When I make them for family members who prefer less salt, I either reduce the number of yolks or substitute them with small balls of sweet red bean paste. Everyone gets their perfect version.
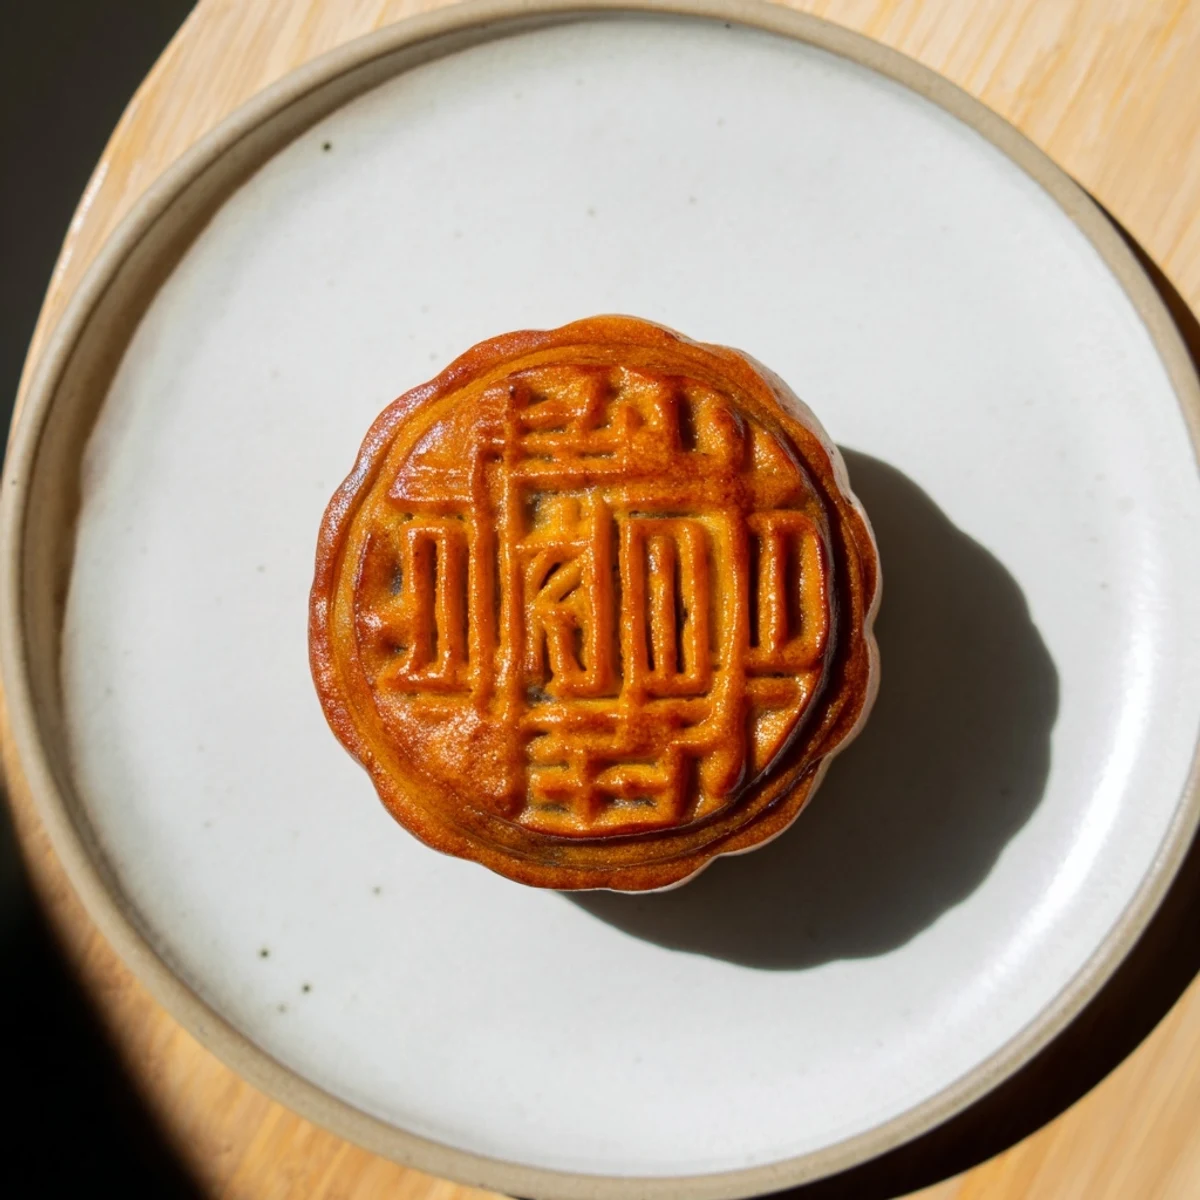
Serving and Storage Secrets
Mooncakes taste best after resting for a day or two, allowing the soft skin to develop its characteristic texture. I always make them at least 48 hours before serving. When presenting them, I cut them into small wedges because they are quite rich and meant to be shared slowly with tea.
- Store in an airtight container at room temperature
- Pair with pu-erh or oolong tea to cut the richness
- Bring to room temperature before serving for the best texture
 Save to Pinterest
 There is something deeply meaningful about carrying forward a recipe that has been made for generations during the same festival each year. These mooncakes have become my way of connecting to tradition while creating new memories with the people I love.
Recipe FAQs
- → What is the purpose of alkaline water in mooncakes?
-
Alkaline water helps create the signature glossy, golden-brown color and distinctive texture of mooncake skin. It also neutralizes the acidity in the golden syrup, resulting in that traditional tender yet slightly chewy pastry that's characteristic of authentic Chinese mooncakes.
- → Why do mooncakes need to rest before serving?
-
Resting mooncakes for 1-2 days allows the pastry skin to soften and develop the proper texture. Freshly baked mooncakes have a crisp exterior, but the traditional experience requires that characteristic soft, slightly oily skin that comes from the oils redistributing during the resting period.
- → Can I make mooncakes without a traditional mold?
-
While traditional molds create the classic decorative patterns, you can shape mooncakes by hand or use any decorative press. The key is ensuring the filling is completely sealed within the dough. Hand-shaped versions will have a more rustic appearance but maintain the same delicious filling and taste.
- → What other fillings work well in mooncakes?
-
Beyond traditional lotus seed paste, red bean paste makes an excellent filling choice. Black sesame paste offers a nutty, earthy alternative. For modern variations, consider taro paste, durian, or even chocolate. The key is using fillings with a thick, pliable consistency that holds shape during wrapping.
- → How should I store homemade mooncakes?
-
Store cooled mooncakes in an airtight container at room temperature for up to one week. For longer storage, refrigerate for up to two weeks, though this may firm the pastry. Bring to room temperature before serving. Traditional mooncakes actually improve in texture after 1-2 days of resting as the flavors meld and the skin softens.
