 Save to Pinterest
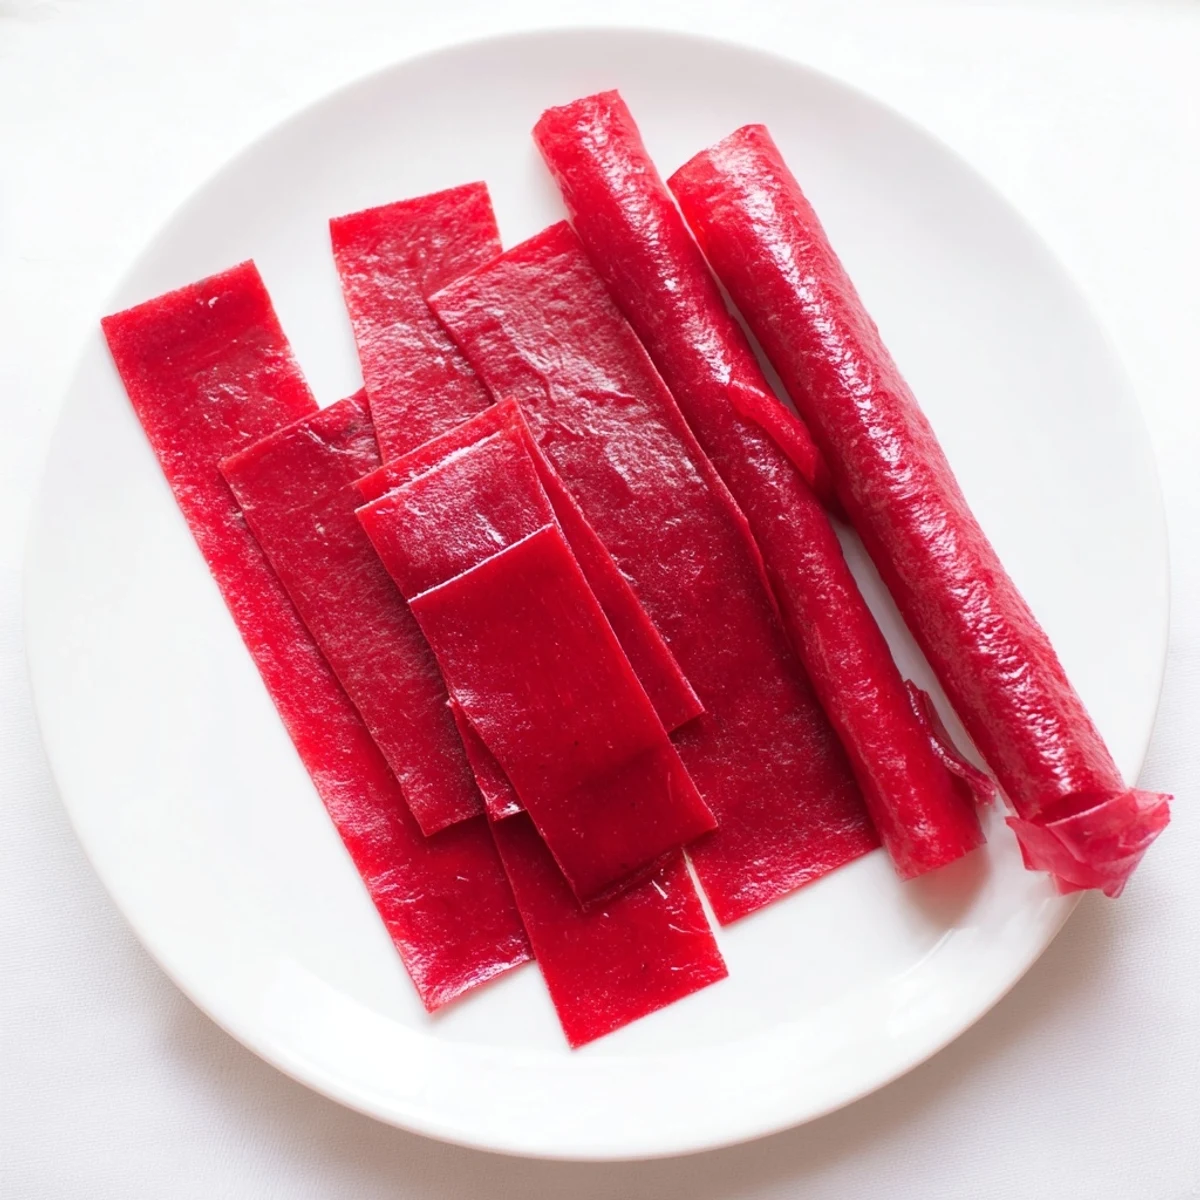
 Transform fresh or frozen fruit into deliciously chewy fruit leather right in your kitchen. These homemade fruit roll ups capture intense natural fruit flavor in every bite, with no hidden ingredients or additives. Simply blend your favorite fruits, spread thinly, and let your oven do the work. The result? perfectly portable snacks that satisfy sweet cravings while providing real nutrition. Whether you choose strawberries, mangoes, raspberries, or a creative fruit combination, each batch delivers that irresistible chewy texture and concentrated fruit taste store-bought versions can't match.
The kitchen smelled like sunshine when my daughter and I first attempted these fruit roll ups during a rainy weekend. We were skeptical that homemade could compete with the boxed versions from childhood, but one taste changed everything. Now they are a staple in our snack drawer, and I love knowing exactly what goes into them.
Last summer my neighbor texted me at midnight asking for the recipe after her kids tried them at our barbecue. She admitted she had been making batch after batch ever since, experimenting with different fruit combinations from her farmers market hauls. Seeing families embrace real food instead of processed snacks brings so much joy to my kitchen.
Ingredients
- Fresh or frozen fruit: Choose ripe, sweet fruits like strawberries, mangoes, or peaches for the best flavor. Frozen fruit works beautifully and is often picked at peak ripeness.
- Sweetener: Honey, maple syrup, or agave adds just enough sweetness to balance tart fruits. Taste your blended fruit first and adjust accordingly.
- Lemon juice: This brightens the fruit flavors and helps preserve the vibrant color. A fresh squeeze makes all the difference.
Instructions
- Prepare your drying space:
- Preheat your oven to its lowest setting or line up your dehydrator. Parchment paper is your friend here to prevent sticking later.
- Blend until silky smooth:
- Puree everything until no chunks remain. This ensures even drying and a smooth texture that rolls up beautifully.
- Spread with patience:
- Pour onto your prepared sheet and spread thinly and evenly. Thinner spots dry faster, so aim for consistency.
- The waiting game:
- Dry for 4 to 6 hours until the fruit leather feels dry and tacky free. Every oven is different, so check periodically.
- Cool and roll:
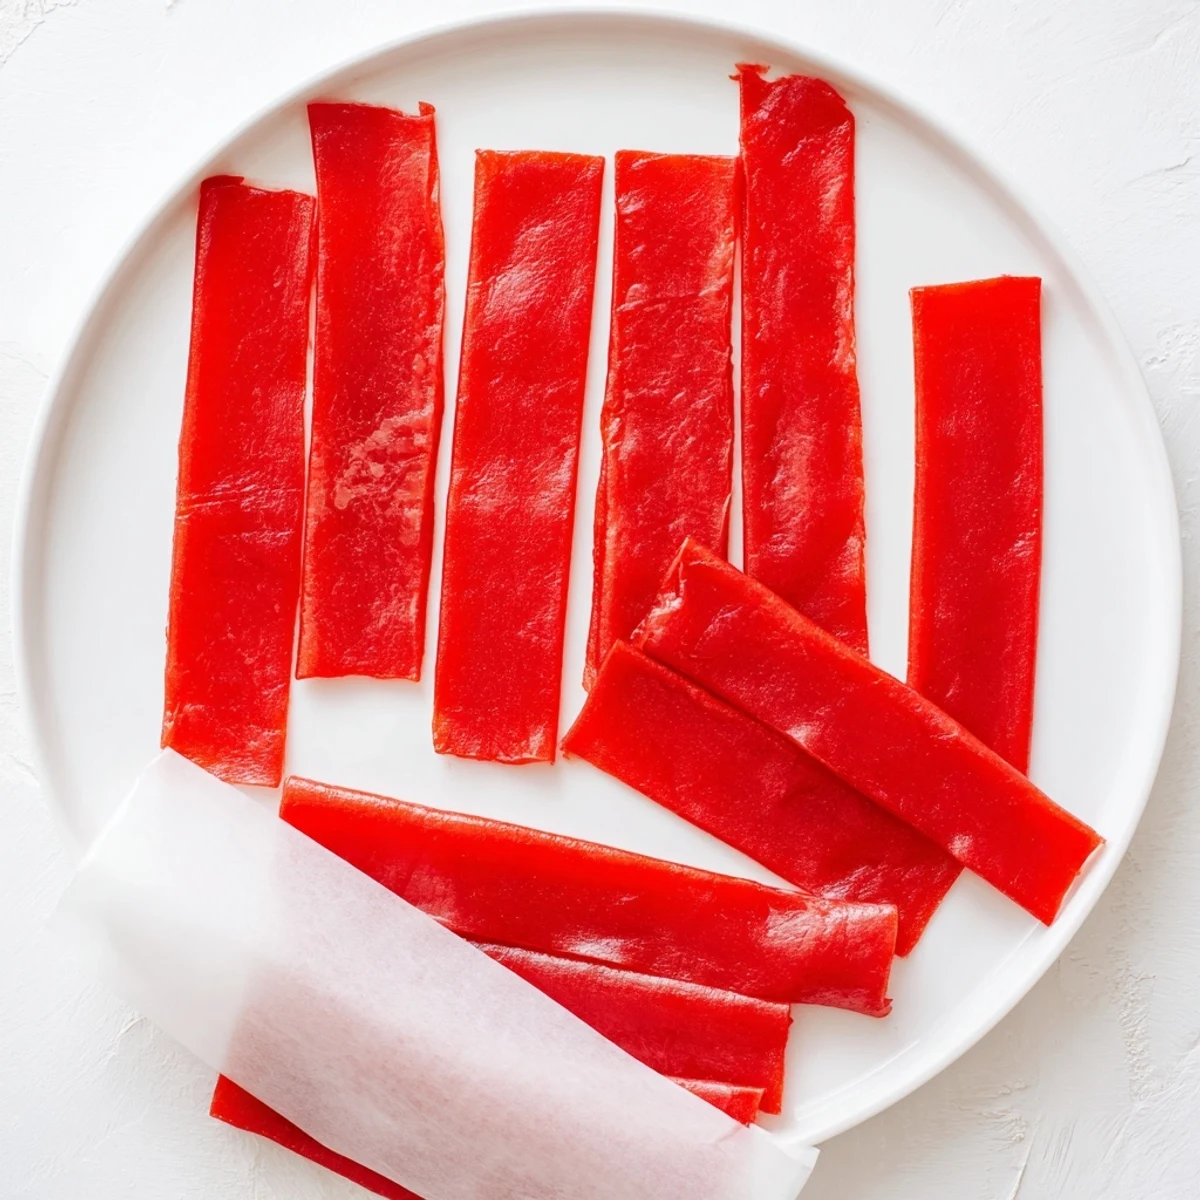
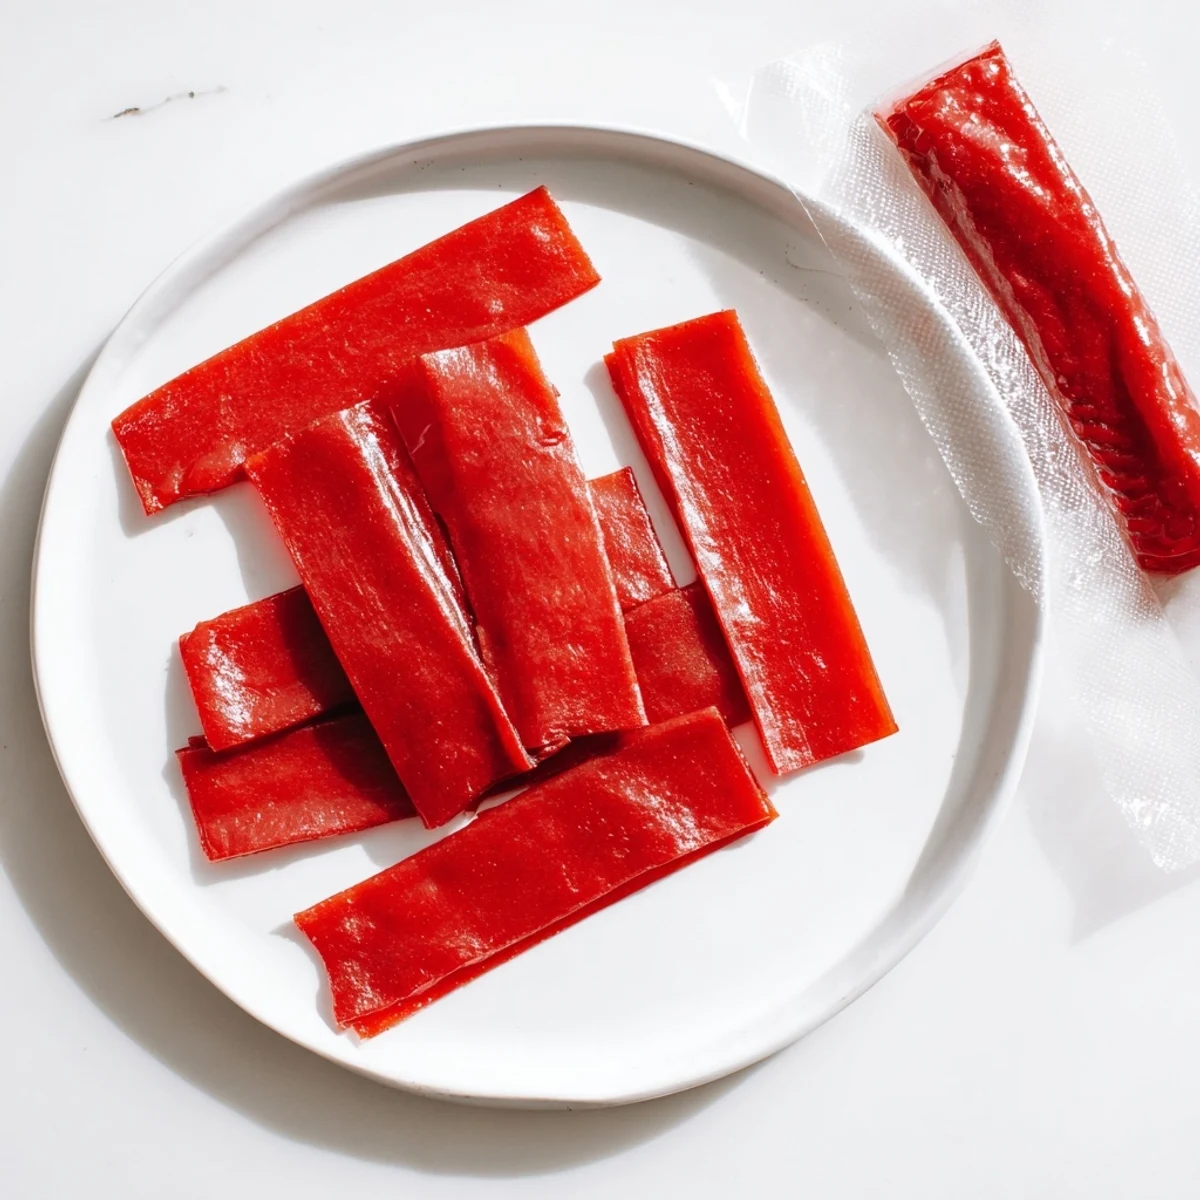
- Let it cool completely before peeling off the sheet. Cut into strips and roll with parchment for easy snacking.
 Save to Pinterest
 My niece once rolled hers into tiny fruit sushi and served them at a birthday party. The kids went wild for them, and the parents kept asking where she bought such creative snacks. Moments like these remind me that simple homemade treats often create the biggest smiles.
Flavor Combinations to Try
Strawberry and raspberry create a classic berry blend that never disappoints. Mango and lime transport me straight to tropical memories. Peach and vanilla feel like summertime in a bite.
Storage Secrets
These keep best in an airtight container at room temperature for about a week. I tuck small rolls into lunchboxes and snack drawers for grab and go moments.
Making It a Family Activity
Letting kids help pick fruits and press the blender buttons makes them invested in the process. My children now suggest new combinations based on what is in season.
- Use cookie cutters to make fun shapes after drying
- Package small rolls with twine for homemade gifts
- Double the batch during peak fruit season to freeze for later
 Save to Pinterest
 Every batch reminds me that the simplest treats are often the most satisfying. Happy snacking.
Recipe FAQs
- → What fruits work best for making fruit leather?
-
Fresh or frozen strawberries, mangoes, raspberries, blueberries, and peaches all create excellent fruit leather. You can use single fruits or create unique flavor combinations by mixing several varieties together.
- → How long do homemade fruit roll ups stay fresh?
-
When stored in an airtight container at room temperature, your fruit leather will stay fresh for up to one week. For longer storage, keep them in the refrigerator for up to a month.
- → Can I make these without adding sweetener?
-
Absolutely! If your fruit is naturally sweet enough, you can skip the honey, maple syrup, or agave entirely. The lemon juice helps balance flavors even without added sugar.
- → What's the difference between using an oven versus a dehydrator?
-
Both methods work beautifully. A dehydrator set to 135°F typically takes 4-6 hours, while an oven at its lowest temperature (around 170°F) achieves similar results. The dehydrator offers more consistent airflow, but an oven works perfectly well too.
- → Why add lemon juice to the fruit puree?
-
Lemon juice serves two purposes: it enhances natural fruit flavors and helps preserve the bright color of your fruit leather. A small amount makes a noticeable difference in the final taste and appearance.
- → How thin should I spread the fruit puree?
-
Aim for an even layer about 1/8-inch (3 mm) thick. Too thin and the leather becomes brittle; too thick and drying time increases significantly while creating a gummy texture.
