 Save to Pinterest
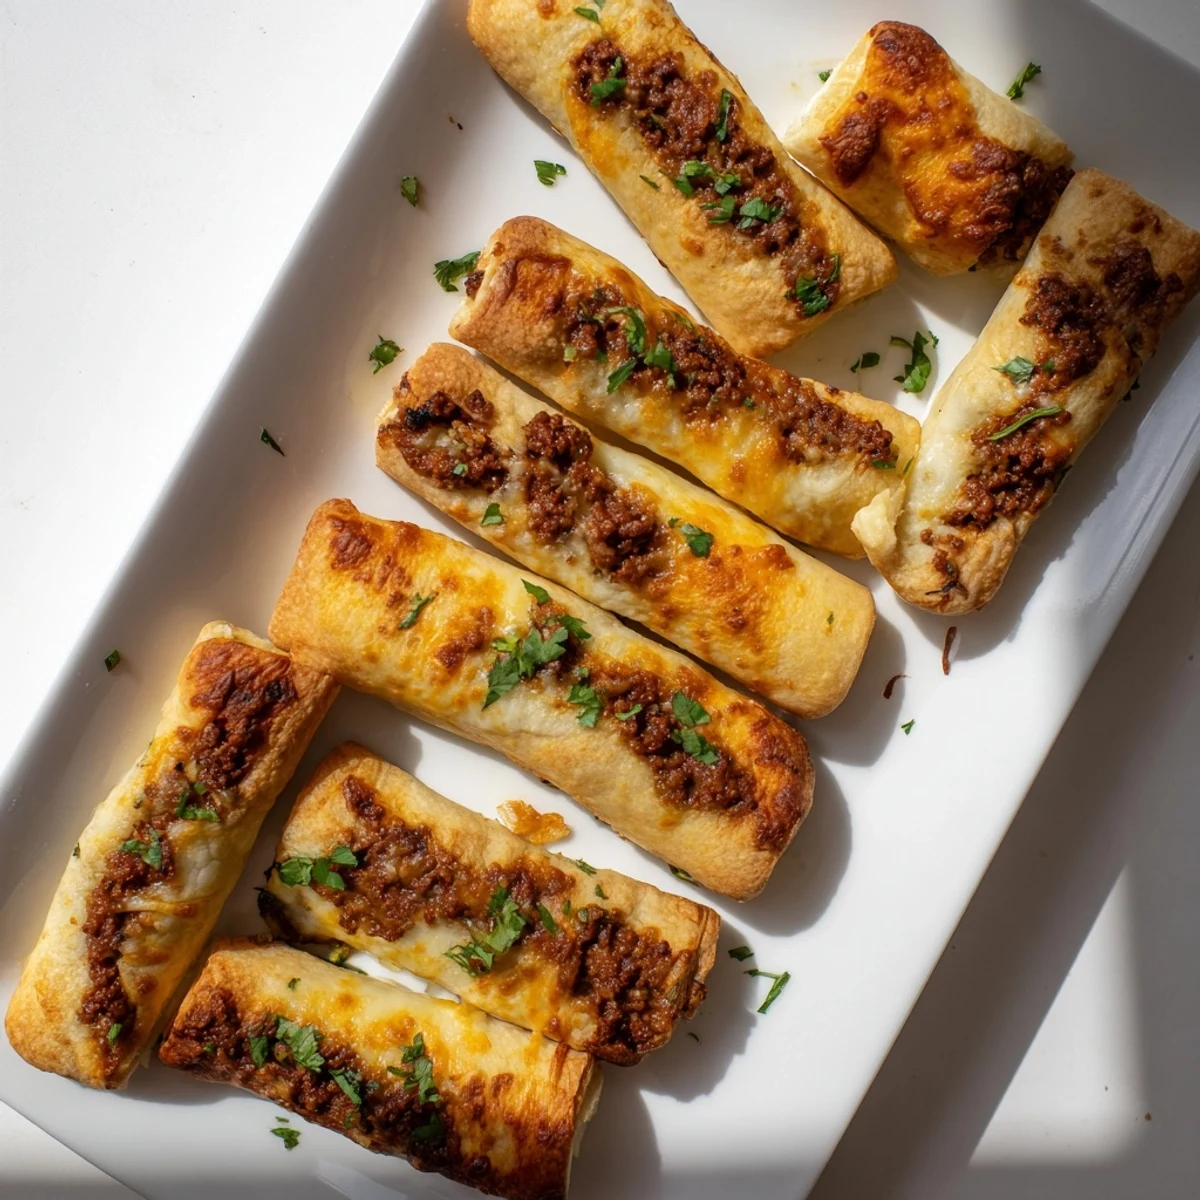
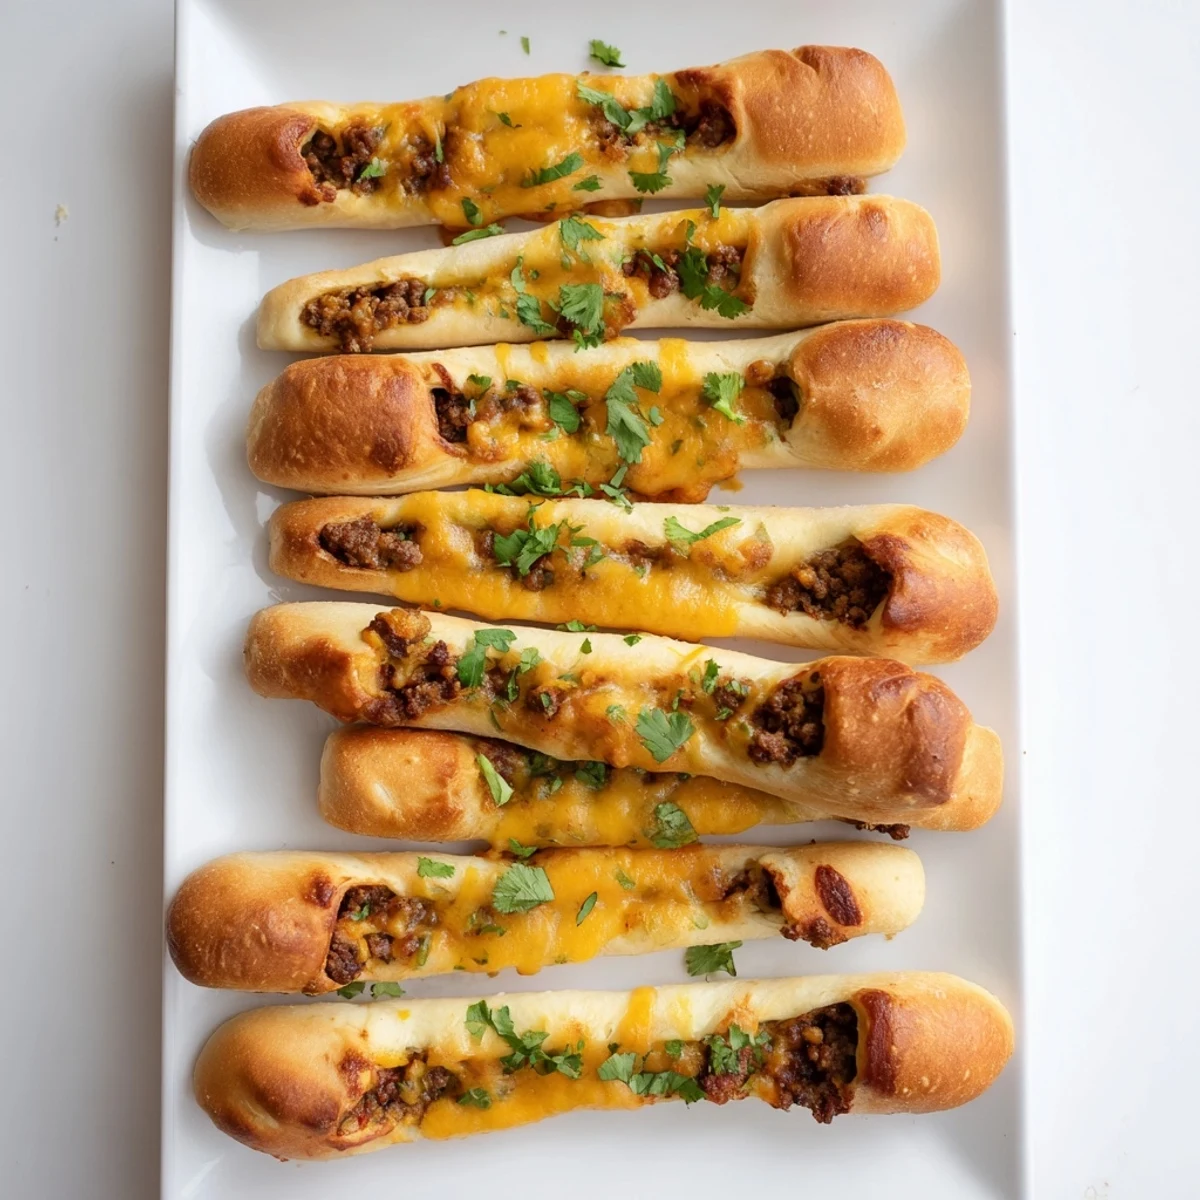
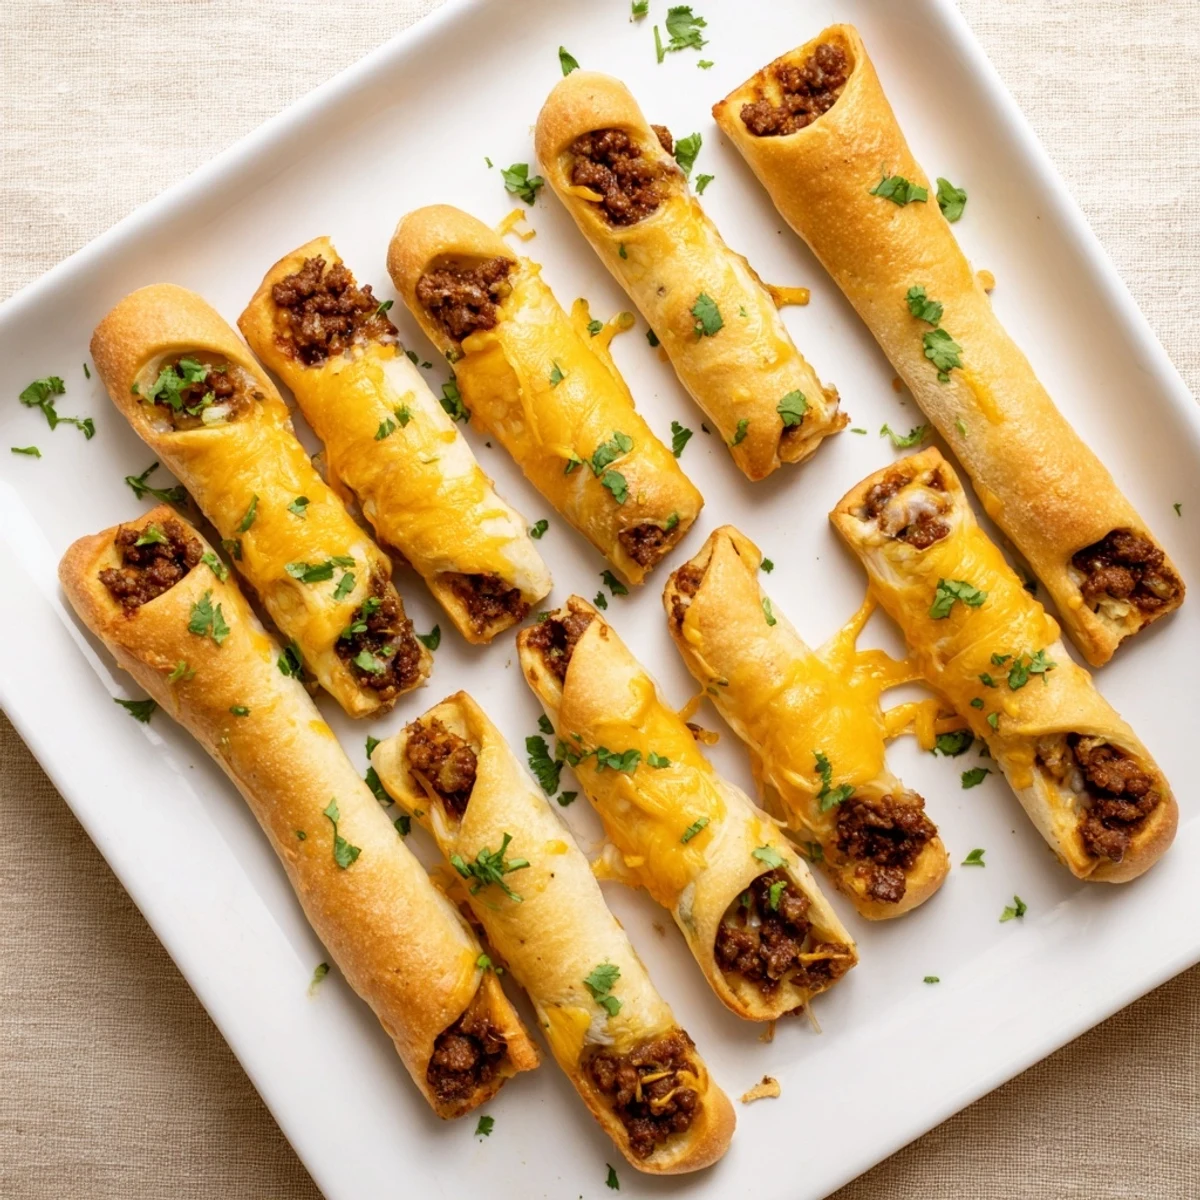
 These handheld treats combine soft pizza dough with a savory filling of seasoned ground beef and a blend of melted mozzarella and cheddar cheese. Baked to golden perfection, they're brushed with butter for extra richness and ready in just 40 minutes.
Ideal for gatherings, game day spread, or as a fun main dish, these sticks come together quickly using refrigerated dough. The taco-seasoned beef filling delivers classic Tex-Mex flavors while the cheese creates that irresistible pull everyone loves.
They're versatile too—swap in ground turkey, add diced jalapeños for heat, or serve with salsa, guacamole, or sour cream for dipping. Great warm from the oven or packed for lunchboxes the next day.
The aroma of taco meat filling the kitchen always pulls my husband in from whatever room he's hiding in. He'll lean against the counter, stealing pinches of seasoned beef while I work, asking if they're ready yet. These cheesy taco sticks started as a desperate attempt to make something fun for a Friday night movie marathon, and now they're the most requested snack in our house.
Last summer, I made these for my niece's birthday party and watched six kids go completely silent for the first time all afternoon. The best part was seeing my skeptical brother-in-law sneak back to the kitchen for thirds when he thought no one was looking. Now he asks for them every time we host game night.
Ingredients
- Ground beef: The foundation that carries all those Mexican spices perfectly
- Taco seasoning: Store-bought works but homemade blend hits different
- Mozzarella cheese: Creates those incredible cheese pulls everyone loves
- Cheddar cheese: Adds sharpness that cuts through the rich beef
- Pizza dough: The vessel that transforms this into something special
- Melted butter: Brushed on top for that golden finish
Instructions
- Preheat your oven:
- Get it to 200°C and line a baking sheet with parchment paper
- Cook the beef:
- Brown it in a skillet until crumbly then drain any excess fat
- Season it up:
- Stir in taco seasoning, salt, pepper and a splash of water
- Simmer briefly:
- Let it cook 2-3 minutes until everything marries together then set aside
- Prep the dough:
- Roll it into a rectangle and cut into 8 equal strips
- Fill each strip:
- Pile beef and both cheeses along one edge of each piece
- Seal them tight:
- Fold dough over and pinch edges firmly so nothing escapes
- Brush with butter:
- Arrange seam-side down and give them a generous butter coating
- Bake until golden:
- 15-20 minutes should do it
- Garnish and serve:
- Add fresh herbs if you want and bring out the dipping sauces
 Save to Pinterest
 These became my go-to contribution for every potluck after my coworker literally chased me down for the recipe. There's something about pulling apart warm, cheese-filled bread that makes people instantly happy and relaxed.
Making Them Your Own
I've found that ground turkey works beautifully if you want something lighter, and plant-based crumbles actually hold up surprisingly well. Sometimes I'll add diced jalapeños directly into the filling for friends who need extra heat.
The Dipping Situation
Salsa is classic, but warm queso dip takes these to another level. My personal favorite is mixing sour cream with a little taco seasoning leftover from the meat.
Party Prep Strategy
You can assemble everything ahead of time and keep them refrigerated until ready to bake. Fresh from the oven is definitely best, but they reheat surprisingly well too.
- Freeze assembled sticks unbaked for up to 2 weeks
- Add 5 minutes to baking time if cooking from frozen
- Double the recipe because you'll want leftovers
 Save to Pinterest
 Hope these bring as much joy to your table as they have to mine. Happy cooking!
Recipe FAQs
- → Can I make these ahead of time?
-
Yes, assemble the sticks completely and refrigerate for up to 24 hours before baking. Brush with melted butter just before placing in the oven. You may need to add a few extra minutes to the baking time if baking from cold.
- → What can I serve with cheesy taco sticks?
-
These pair perfectly with classic dipping options like salsa, guacamole, sour cream, or queso. For a complete meal, serve alongside a crisp green salad or Mexican-style corn. They also work well as part of a party spread with nachos and wings.
- → Can I freeze these before or after baking?
-
Both options work well. Freeze assembled unbaked sticks on a baking sheet until firm, then transfer to a freezer bag for up to 3 months. Bake from frozen, adding 5-10 minutes to the time. Alternatively, freeze baked sticks in an airtight container and reheat at 180°C (350°F) for 10 minutes.
- → How do I prevent the filling from leaking during baking?
-
Make sure to seal the edges tightly by pinching the dough together firmly. Place the sticks seam-side down on the baking sheet. Don't overfill each strip—a modest amount of beef and cheese ensures they stay closed while still providing plenty of flavor.
- → Can I use homemade pizza dough instead of refrigerated?
-
Absolutely. Homemade dough works beautifully and may even yield better flavor. Prepare your favorite pizza dough recipe, let it rise once, then roll out and proceed with the recipe as written. You'll need about 400 g (14 oz) of dough total.
- → What's the best way to reheat leftovers?
-
For best results, reheat in a 180°C (350°F) oven for 8-10 minutes until heated through and the cheese melts again. Avoid microwaving, which can make the dough tough. An air fryer at 160°C (325°F) for 4-5 minutes also works well for restoring that freshly-baked texture.
