 Save to Pinterest
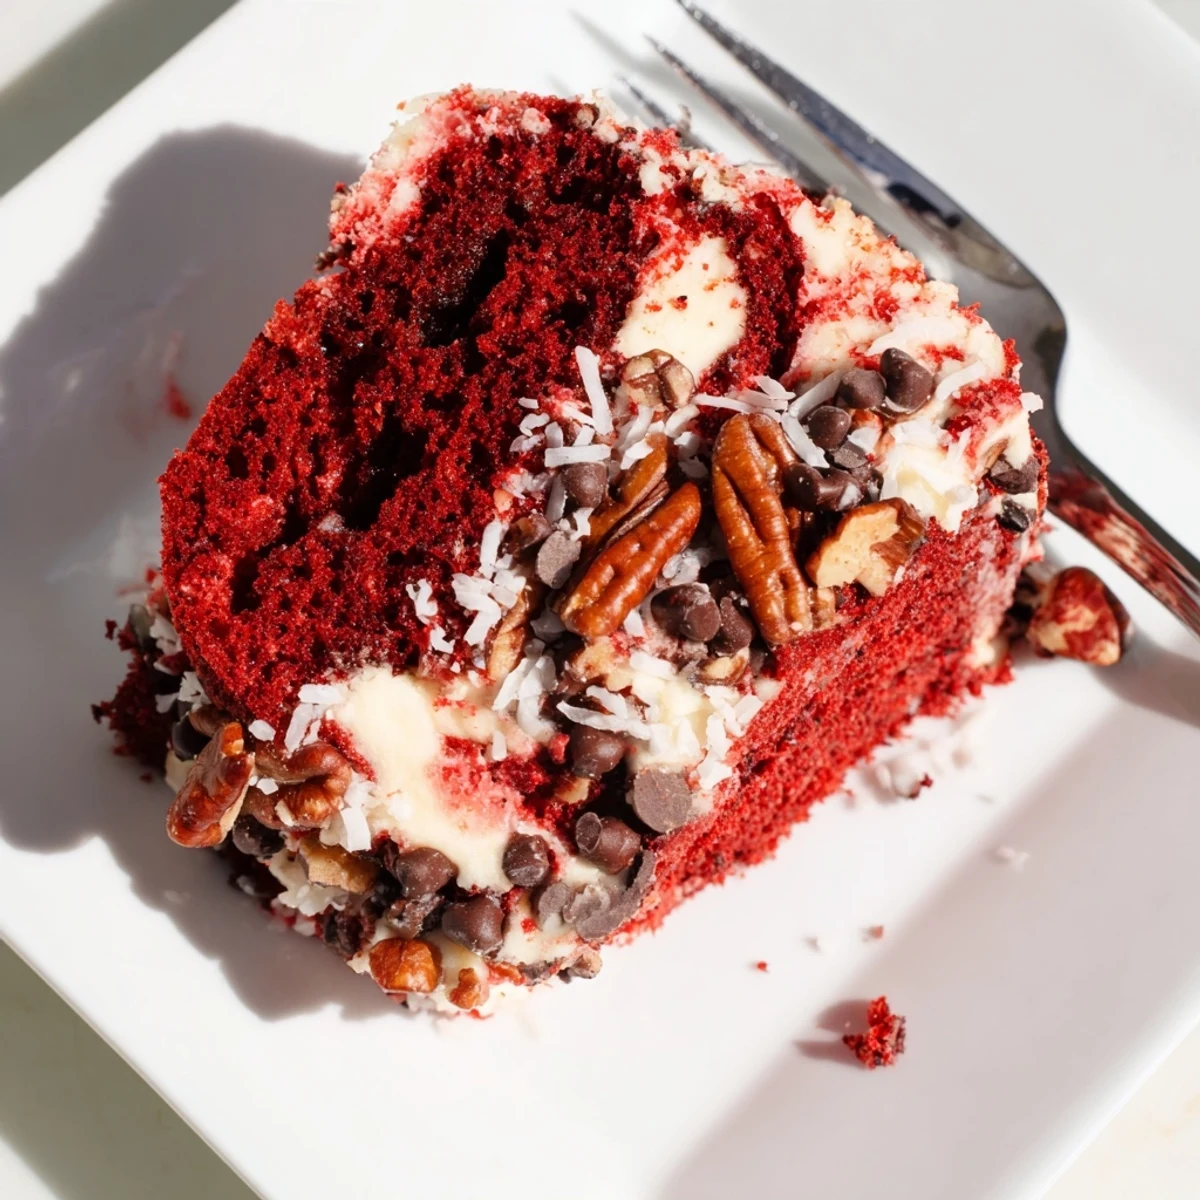
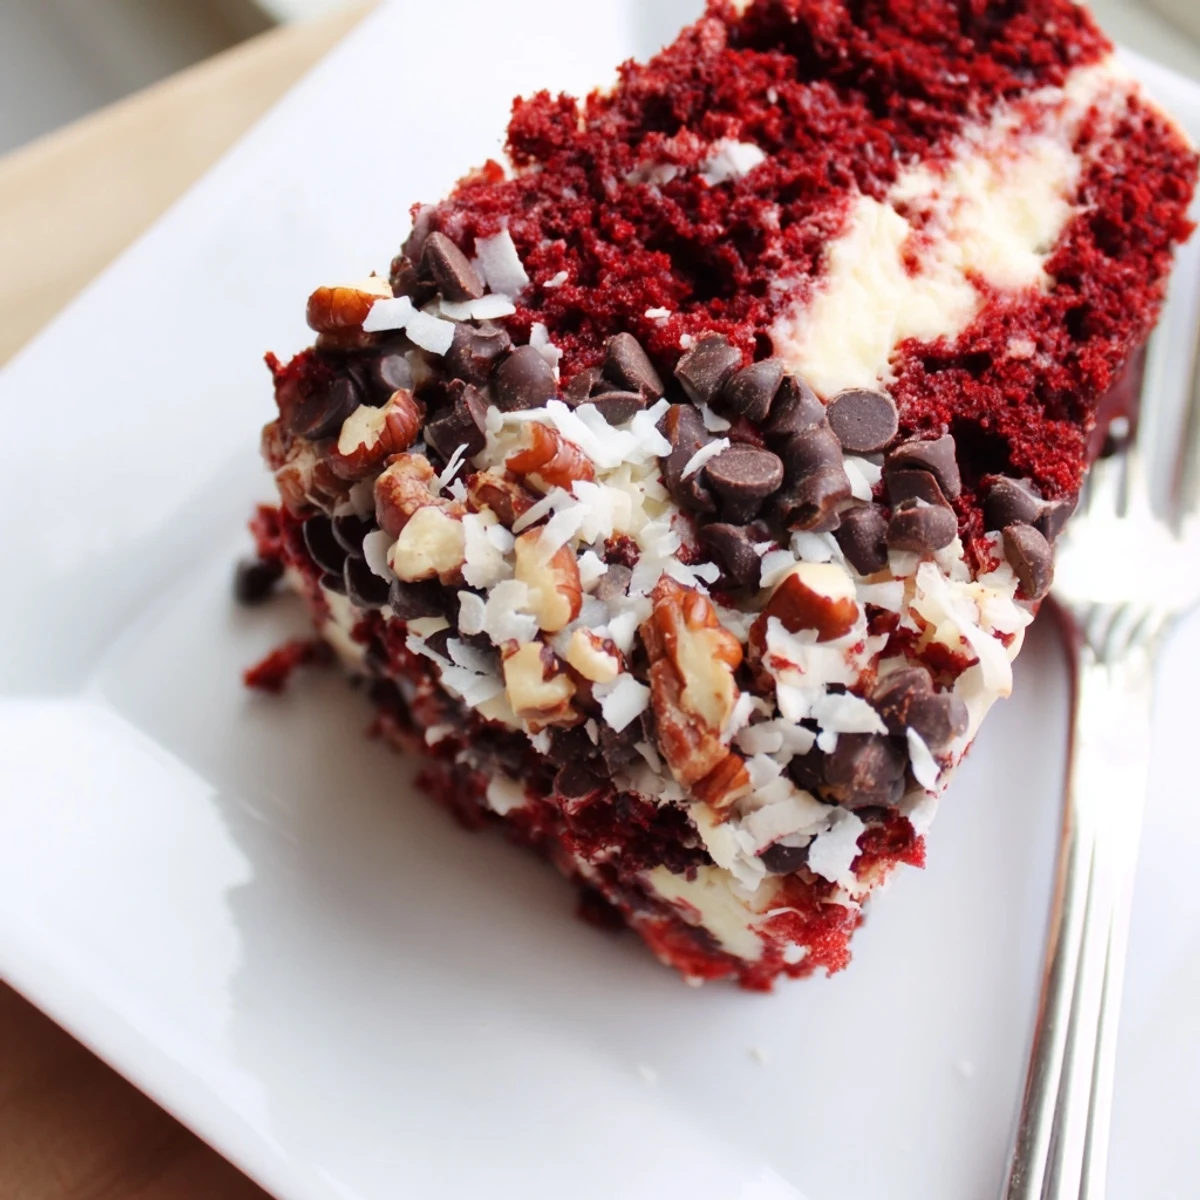
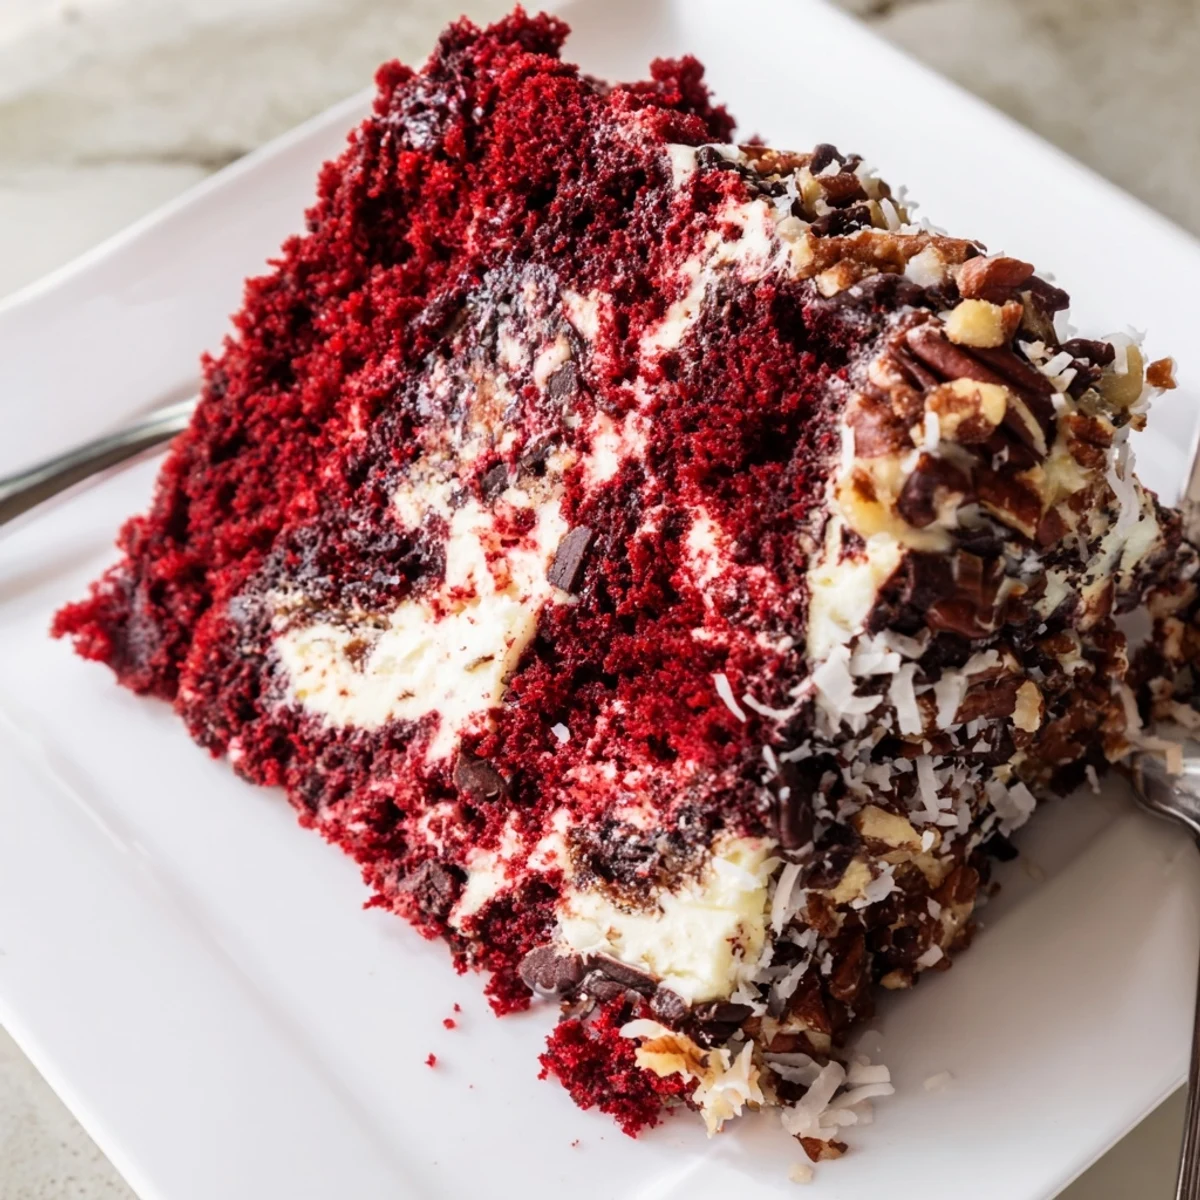
 This stunning dessert combines the classic appeal of red velvet with an irresistibly gooey, marbled texture that creates beautiful "cracks" throughout as it bakes. The cake layer starts with a moist red velvet base, while ribbons of sweetened cream cheese mixture are swirled throughout, creating pockets of creamy richness. A generous topping of semi-sweet chocolate chips and chopped pecans adds crunch and deep chocolate flavor that perfectly complements the tangy cream cheese.
The magic happens during baking—the cream cheese swirls sink slightly while the cake rises, creating the signature earthquake appearance with gorgeous cracks and crevices. The result is a warm, gooey dessert that balances sweet, tangy, and chocolatey elements in every bite.
The first time I saw an earthquake cake, I honestly thought something had gone wrong in the oven. That was my sister bringing it to our July 4th party, explaining with a wicked grin that the cracks and crevices were exactly the point. One bite of that chocolate-streaked, cream cheese-swirled mess, and I stopped caring about presentation forever.
Last winter I made six of these in one month for various gatherings and potlucks. Every single time, without fail, someone asked me for the recipe while still holding their fork. My husband finally requested I stop making it so frequently, mostly because he couldnt stop eating the leftovers for breakfast.
Ingredients
- Red velvet cake mix: Using a quality cake mix as your base saves time and guarantees that classic velvety texture and bright red color we all expect from red velvet
- Buttermilk: This ingredient adds tanginess and tenderness to the cake crumb, and if you dont have any on hand, mix regular milk with a tablespoon of vinegar and let it sit for five minutes
- Cream cheese: Make absolutely sure this is fully softened to room temperature, otherwise you will end up with lumpy chunks instead of smooth swirls in your finished cake
- Unsalted butter: Softened butter creamed together with the cream cheese creates that lush, spreadable consistency that sinks beautifully into the batter
- Powdered sugar: Sift this before adding to prevent any lumps in your cream cheese mixture
- Semi-sweet chocolate chips: These melt slightly during baking creating those rich chocolate pockets throughout the cake
- Chopped pecans: Toast these lightly in a dry pan for three minutes before sprinkling on top to bring out their natural oils and deepen their flavor
Instructions
- Get your oven ready:
- Preheat your oven to 350°F and generously grease a 9x13 baking pan with butter or cooking spray, really getting into all the corners
- Mix the cake batter:
- In a large bowl, combine the cake mix, eggs, oil, buttermilk, and vanilla extract. Beat with an electric mixer for about two minutes until completely smooth and slightly thickened
- Spread the batter:
- Pour the red velvet batter into your prepared pan and use a spatula to spread it evenly into all corners
- Make the cream cheese swirl:
- In another bowl, beat the softened cream cheese and butter together until completely combined and smooth. Add the powdered sugar and vanilla, then beat again until fluffy
- Add the swirls:
- Drop spoonfuls of the cream cheese mixture randomly over the top of the cake batter, leaving some red visible between the dollops
- Create the marble effect:
- Run a knife or skewer gently through the batter in swirls, being careful not to overdo it or you will lose the distinct swirl pattern
- Sprinkle on the toppings:
- Scatter the chocolate chips, pecans, and coconut evenly across the entire surface of the cake
- Bake to perfection:
- Bake for 38 to 42 minutes. The center should still have a slight jiggle and a few gooey spots when you remove it
- Cool completely:
- Let the cake cool in the pan for at least 30 minutes before slicing. This is crucial because the cream cheese filling needs time to set
 Save to Pinterest
 This cake has become my go-to for new neighbors and office birthdays because it always elicits that same surprised delight I felt years ago. Something about the cracked, imperfect surface makes people feel like they are getting something special and homemade, even though the process is actually quite straightforward.
Serving Suggestions
While this cake is incredible served warm, I have discovered that chilling it in the refrigerator for a few hours transforms the texture completely. The cream cheese becomes almost fudge-like and the red velvet layers firm up just enough to make each slice perfectly neat and tidy.
Make It Your Own
The beauty of this recipe lies in how easily it adapts to whatever you have in your pantry. I have swapped the chocolate chips for white chocolate, replaced pecans with walnuts, and even used different cake mix flavors when red velvet was not available.
Storage and Make Ahead Tips
This cake actually tastes better on day two, after the flavors have had time to meld together in the refrigerator. Store it covered in the fridge for up to five days, though in my house it rarely lasts past day three.
- Wrap the pan tightly with plastic wrap once completely cooled
- Individual slices freeze beautifully for up to three months
- Bring refrigerated cake to room temperature for 20 minutes before serving
 Save to Pinterest
 There is something wonderfully liberating about a dessert that is supposed to look messy and imperfect. Every cracked, chocolate-studded slice feels like a little reminder that the best things in life rarely turn out exactly as planned.
Recipe FAQs
- → Why is it called earthquake cake?
-
The name comes from its signature appearance—cracks, crevices, and uneven surfaces that develop during baking, resembling an earthquake's aftermath. The cream cheese swirls sink while the cake rises, creating these beautiful, organic fissures that make each slice unique.
- → Can I use homemade red velvet cake instead of boxed mix?
-
Absolutely! A homemade red velvet batter works wonderfully. Just ensure you have approximately 4 cups of batter to maintain the proper ratio with the cream cheese swirl layer. The final texture will be slightly denser but equally delicious.
- → How do I know when earthquake cake is done baking?
-
The edges should be set and slightly golden, while the center will still have some jiggle. A few gooey spots are perfectly normal and desirable—overbaking will lose that signature texture. Insert a toothpick near the edge; it should come out mostly clean.
- → Should I serve earthquake cake warm or chilled?
-
Both ways are delicious! Warm servings highlight the gooey, melty texture of the cream cheese and chocolate. Chilling for at least 2 hours firms everything up for cleaner slices and a denser, fudgier consistency. Refrigerated leftovers taste even better the next day.
- → Can I make earthquake cake ahead of time?
-
Yes! Bake it up to 24 hours in advance. Cool completely, cover tightly, and store at room temperature. For longer storage, refrigerate for up to 5 days or freeze individual slices wrapped in plastic for up to 3 months. Bring to room temperature before serving.
- → What other mix-ins can I use?
-
Get creative! Swap pecans for walnuts or omit nuts entirely. Try white chocolate chips, butterscotch chips, or chopped Oreo pieces. Add shredded coconut for tropical vibes or drizzle with salted caramel after baking for extra decadence.
