 Save to Pinterest
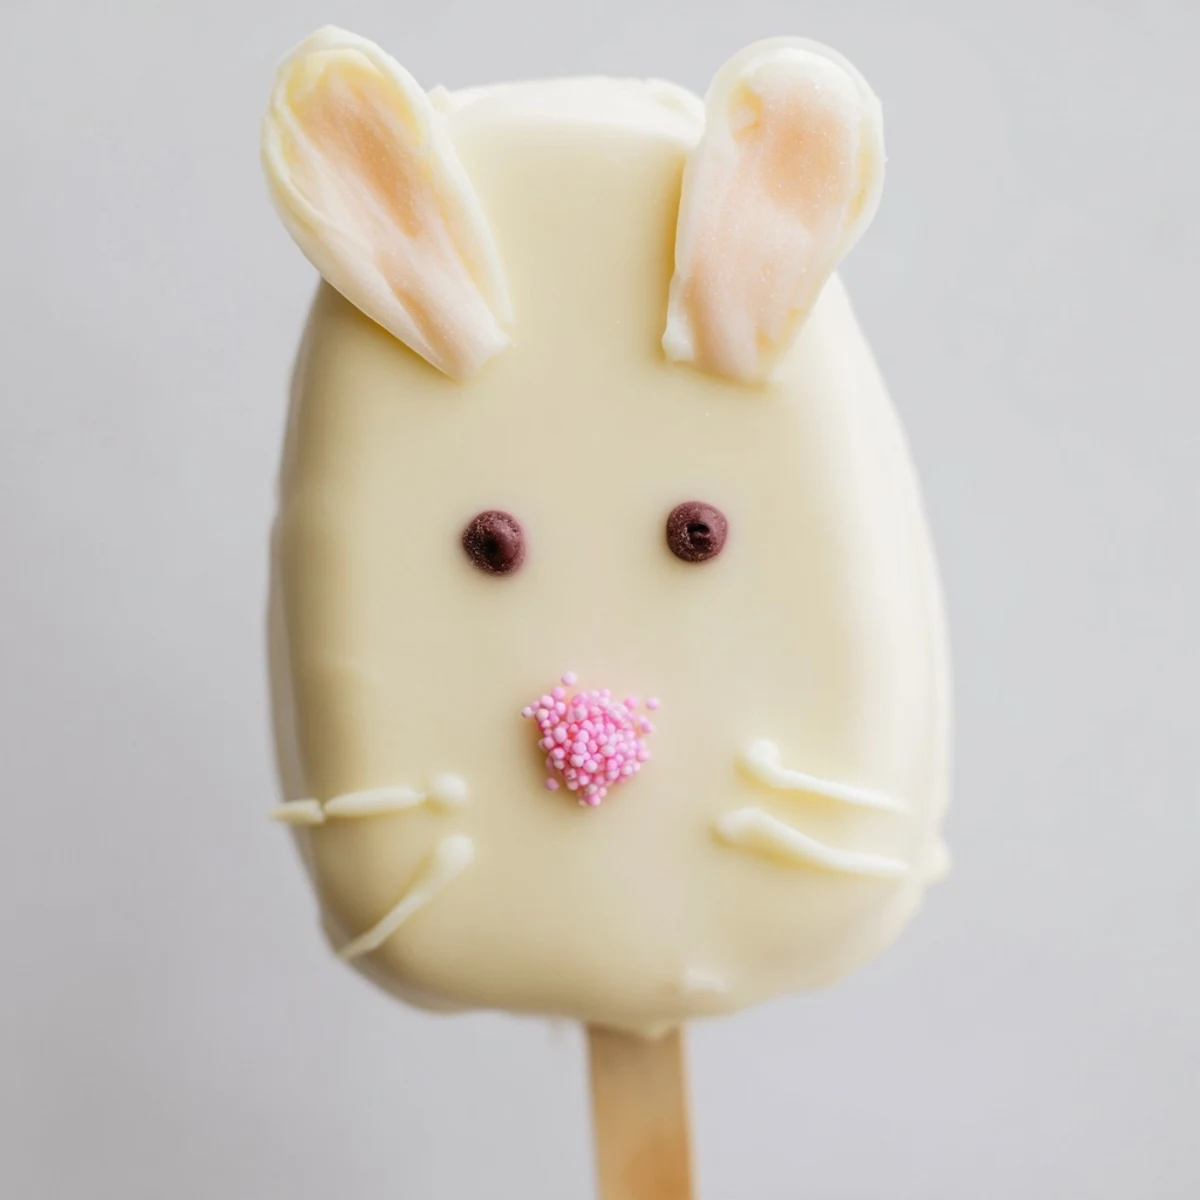
 These delightful bunny-shaped treats combine moist vanilla cake with a rich white chocolate coating. The cake mixture uses vanilla crumbs blended with cream cheese, butter, and powdered sugar for the perfect dough-like consistency. After shaping into bunny faces and chilling, each piece gets dipped in melted white chocolate and decorated with candy eyes, sprinkles, and fondant features. The result is an adorable handheld dessert that's both visually charming and delicious. Great for Easter baskets, dessert tables, or as a fun family activity.
The kitchen smelled like vanilla and buttercream when my niece discovered the half-finished batch of bunny cakesicles cooling on the counter. Her eyes widened at the sight of those little cake-filled treats with their stick handles and white chocolate coats. We spent the next hour decorating them with candy eyes and pink ears, creating more mess than masterpiece. That afternoon, these treats became less about Easter perfection and more about the joy of making something silly together.
Last Easter morning, my kitchen counter was covered in sprinkles and melted chocolate after a bunny cakesicle assembly line with my kids. We accidentally turned half the bunny ears different shades of pink and decided it looked like they were blushing. Those imperfect treats disappeared faster than any professionally decorated dessert I have ever made.
Ingredients
- Vanilla cake crumbs: Use leftover cake or cupcakes for this recipe since slightly stale actually helps the mixture hold together better
- Cream cheese: Room temperature cream cheese acts as the perfect binder and adds a subtle tang that cuts through the sweetness
- Unsalted butter: Softened butter helps create a smooth dough-like consistency that shapes without crumbling
- Powdered sugar: Just enough to sweeten the filling and help everything bind together beautifully
- Vanilla extract: Pure vanilla extract enhances the cake flavor and adds warmth to the filling
- White chocolate: High-quality white chocolate melts more smoothly and creates a better coating than cheaper alternatives
- Edible gel food coloring: Gel colors work better than liquid for detailed decorations since they will not seize the chocolate
- Cakesicle sticks: Insert these before chilling or the cake mixture will crack when you try later
- Decorations: Candy eyes and sprinkles add personality but keep them small so they do not weigh down the coating
Instructions
- Mix the cake mixture:
- Combine cake crumbs, cream cheese, butter, powdered sugar, and vanilla in a bowl until the mixture holds together when squeezed.
- Shape the bunnies:
- Portion the mixture into 8 equal pieces and flatten each into an oval bunny face shape.
- Add the sticks:
- Gently press a cakesicle stick into each shaped portion and refrigerate for 20 to 30 minutes until firm.
- Melt the coating:
- Melt white chocolate in the microwave in 30-second bursts, stirring between each until completely smooth.
- Dip the cakesicles:
- Dip each chilled cake pop into the melted chocolate and tap gently to remove excess coating.
- Decorate while wet:
- Place cakesicles on parchment and immediately add candy eyes, sprinkles, or fondant ears before the chocolate sets.
- Set completely:
- Let the coating harden at room temperature or briefly refrigerate until firm before serving.
 Save to Pinterest
 My sister called me in a panic last year when she tried to make these without chilling the cake mixture first. Her bunnies ended up as sad chocolate puddles on the baking sheet. We still laughed about it while eating the delicious mess with spoons.
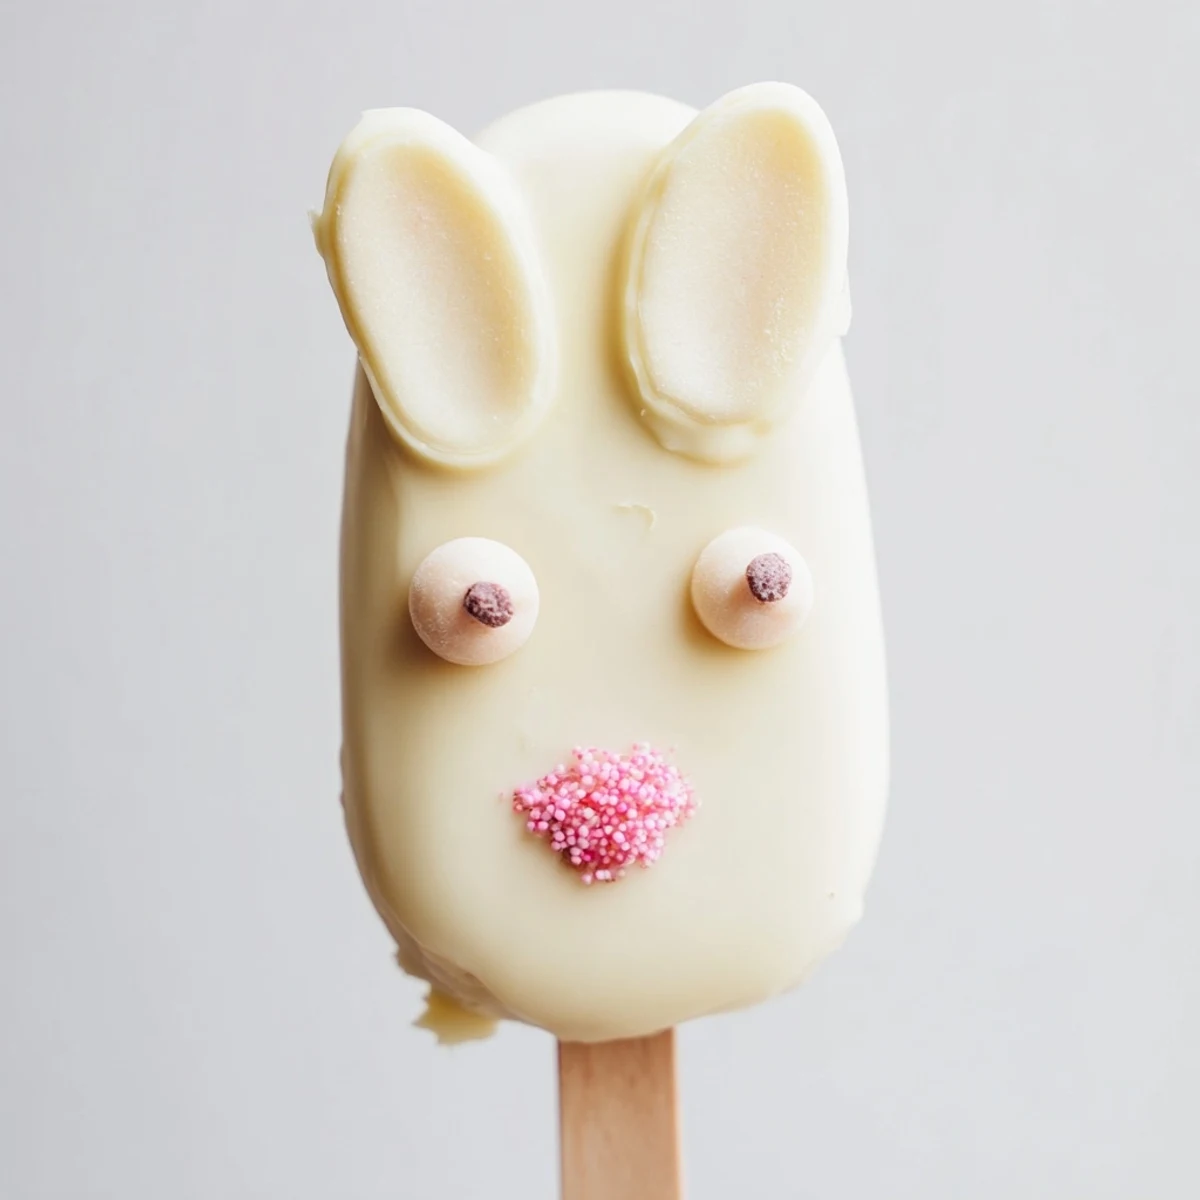
Getting The Shape Right
The first time I made these, I struggled to get that proper bunny face shape until I realized I was overworking the mixture. Now I gently press the dough into ovals and use the back of a teaspoon to create slight indentations for eyes. The imperfections actually make them look more charming and handmade.
Working With White Chocolate
White chocolate can be temperamental since it burns and seizes more easily than dark chocolate. I learned to stir it between every single microwave burst and stop melting when just a few lumps remain. Those final lumps disappear as you stir the residual heat through the chocolate.
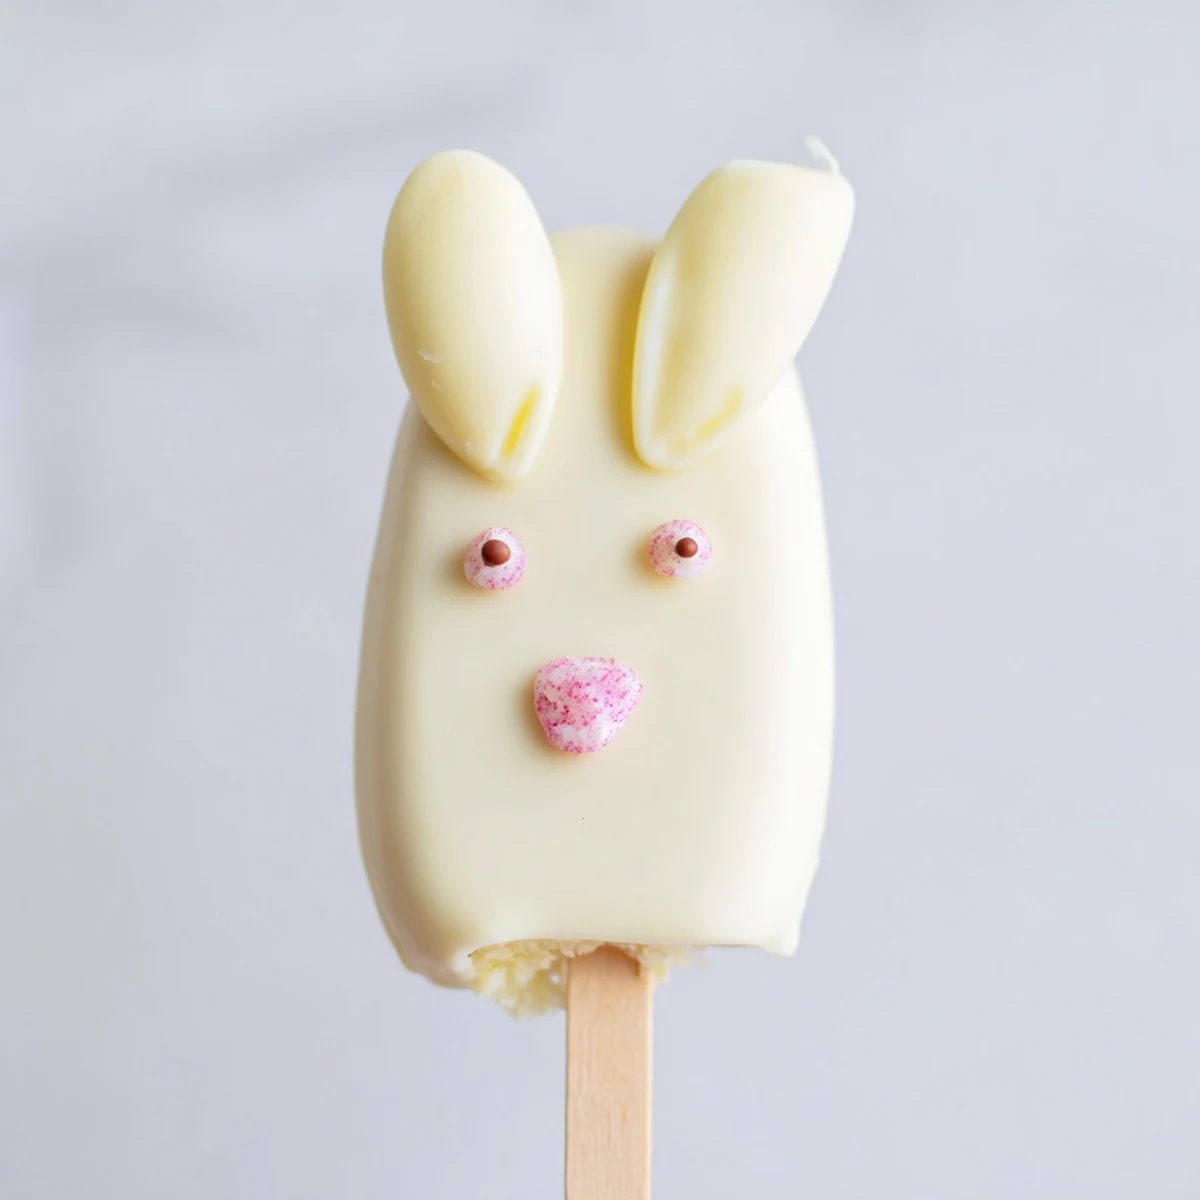
Decoration Ideas That Work
Some of my favorite decoration combinations emerged from using whatever I had in the baking drawer. Pretzel sticks dipped in pink chocolate make darling ears that add a salty crunch to balance the sweet.
- Roll the wet chocolate coating in pastel sprinkles for instant texture
- Use edible markers to draw whiskers on completely set cakesicles
- Keep some decorations plain for guests who prefer less sweetness
 Save to Pinterest
 These bunny cakesicles have become the most requested Easter treat in my house. Something about eating cake on a stick makes everything feel more festive and fun.
Recipe FAQs
- → How long do these treats stay fresh?
-
Store in an airtight container in the refrigerator for up to 3 days. Bring to room temperature 15 minutes before serving for the best texture and flavor.
- → Can I use different cake flavors?
-
Absolutely! Chocolate, lemon, red velvet, or funfetti cake crumbs work wonderfully. Just ensure the crumbs are finely crumbled for easy shaping.
- → What if I don't have a cakesicle mold?
-
No problem! Shape the mixture by hand into flattened ovals or bunny faces. A mold helps with uniformity but isn't necessary for success.
- → How do I prevent the chocolate from cracking?
-
Ensure the cake shapes are thoroughly chilled before dipping. Also, make sure the chocolate isn't too hot—around 90°F is ideal for coating.
- → Can I make these ahead of time?
-
Yes! Prepare the cake shapes and refrigerate up to 24 hours before coating. Dip and decorate the day of serving for the freshest appearance.
- → What alternatives work for white chocolate?
-
White candy melts, almond bark, or even colored melting wafers work well. For a marble effect, swirl in gel food coloring before dipping.
