 Save to Pinterest
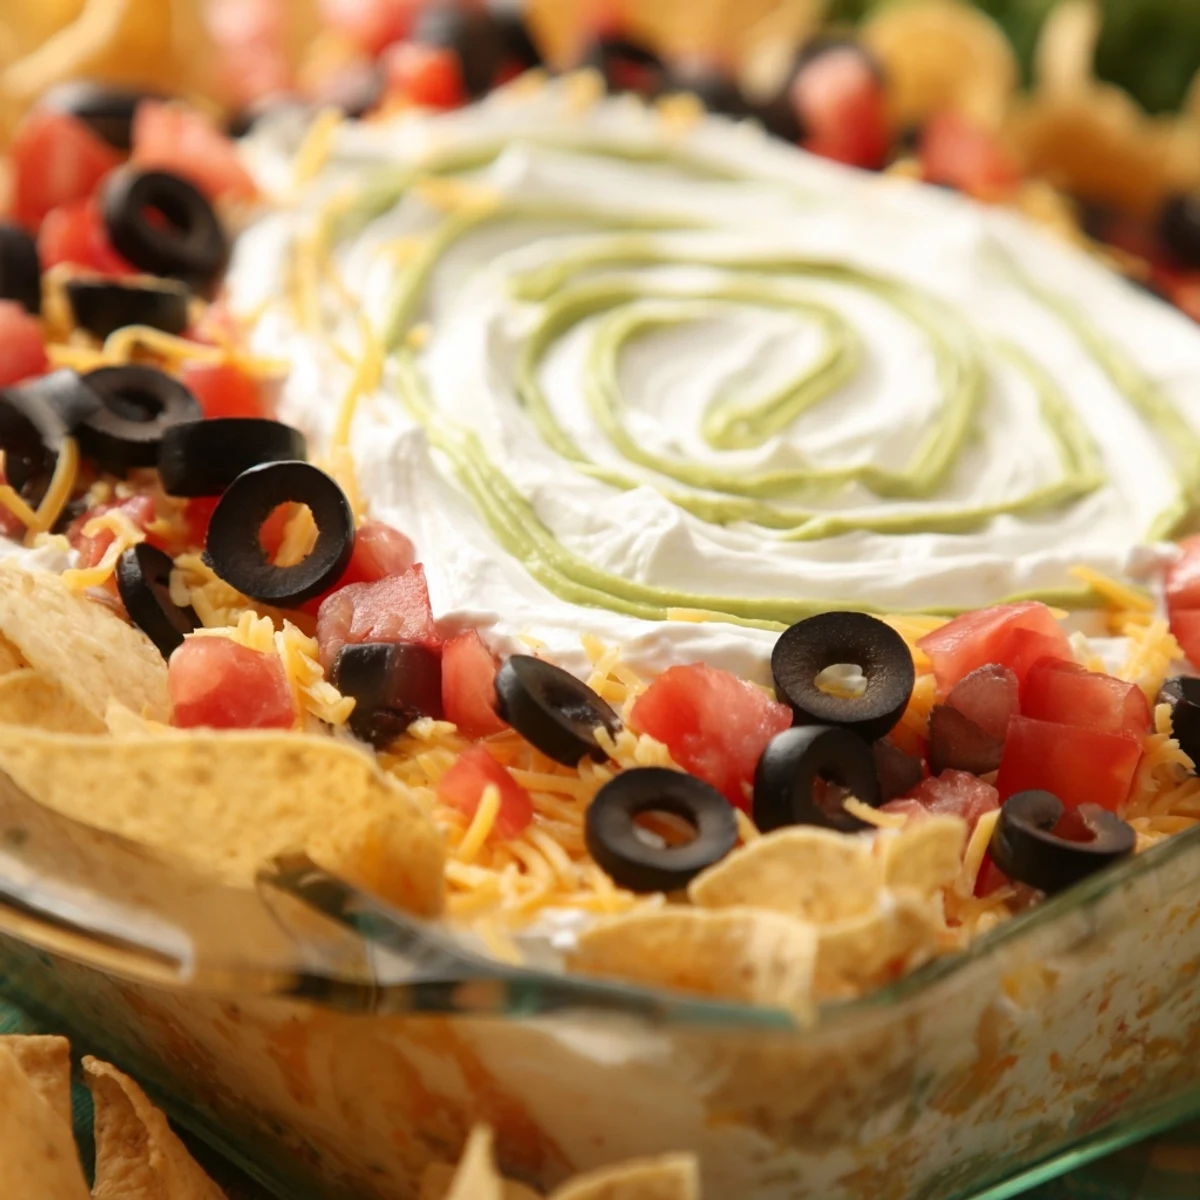
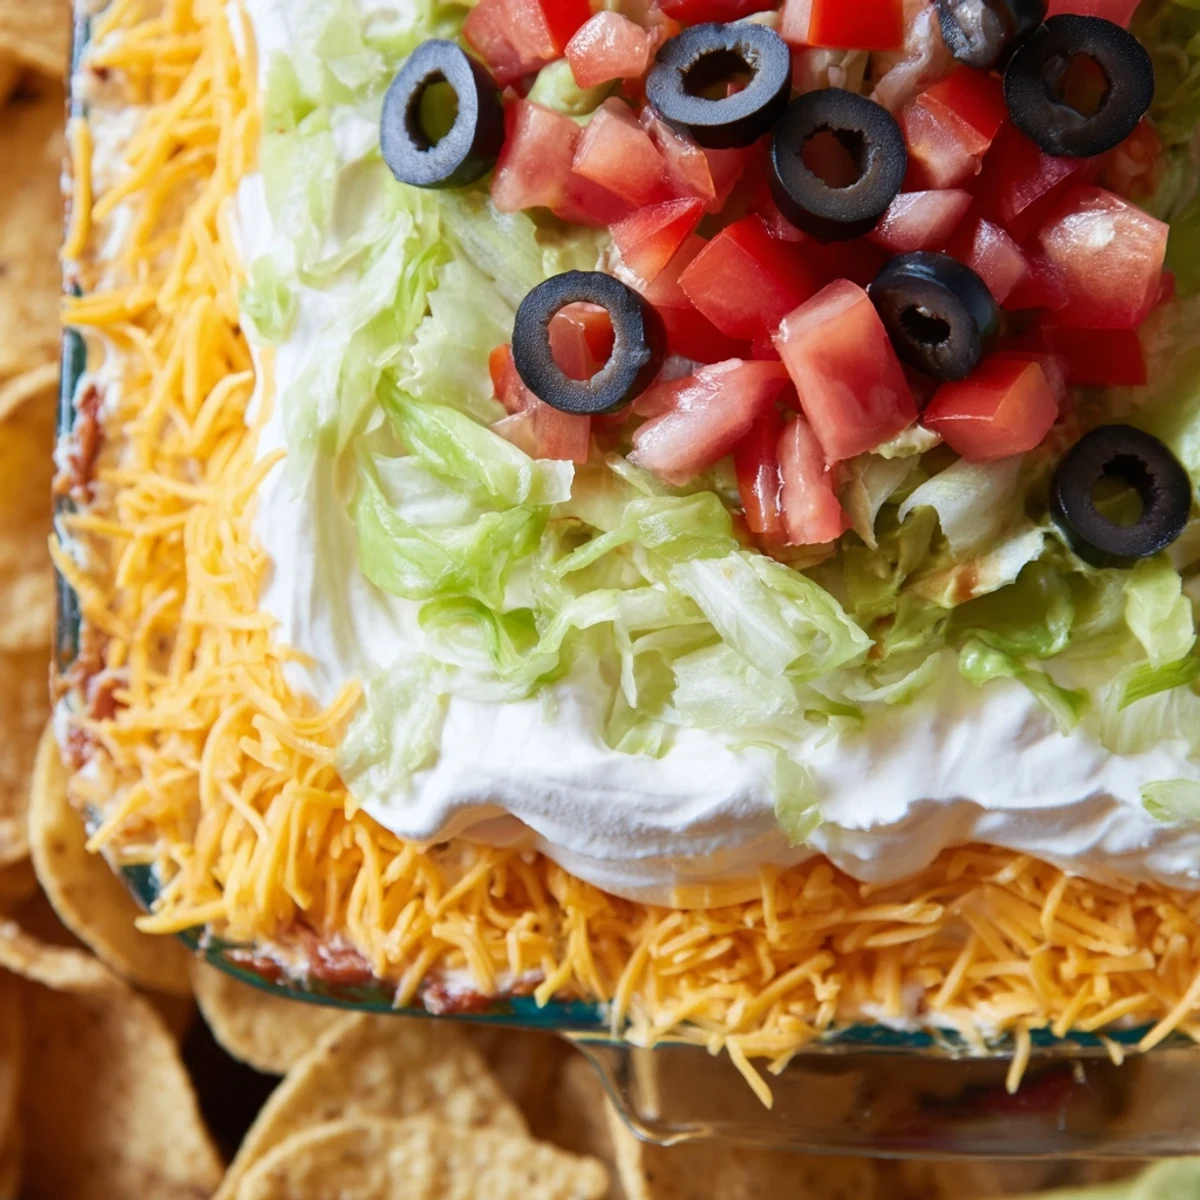
 This vibrant seven-layer dip combines seasoned refried beans, creamy guacamole, fresh salsa, crisp lettuce, diced tomatoes, melted cheddar cheese, and garnishes of olives and green onions. Simply layer ingredients in a 9x13-inch dish, refrigerate for at least an hour, and serve chilled with tortilla chips. Perfect for game day gatherings and easy to customize with ground beef, jalapeños, or cilantro.
The first time I made Seven Layer Taco Dip was for a friend's Super Bowl party where I barely knew anyone. Standing awkwardly in the kitchen with my carefully crafted layers, I watched as the crowd descended on it like hungry wolves after kickoff. The dish emptied faster than the beer cooler, and suddenly everyone wanted to know who brought 'that amazing dip.' Nothing breaks ice like good food.
My brother once called this dip 'relationship material' after his now-wife requested it specifically for their third date watching football at his apartment. He texted me frantically for the recipe at the last minute, layered it somewhat messily, and still got credit for being 'surprisingly domestic.' They now make it together every Super Bowl Sunday, marking their relationship anniversary with each colorful layer.
Ingredients
- Refried beans mixed with taco seasoning: This foundation layer needs that extra kick from seasoning or the whole dip falls flat flavor-wise.
- Sour cream: The cooling creamy layer that balances the spice and keeps everything harmonious.
- Guacamole: Store-bought works in a pinch, but fresh homemade with lime and garlic takes this to restaurant quality.
- Chunky salsa: Drain excess liquid first or youll end up with a soggy middle layer that slides around.
- Shredded lettuce: Must be patted completely dry or itll wilt sadly and release water into your perfect creation.
- Diced tomatoes: Seeding is non-negotiable unless you enjoy puddles forming on your cheese.
- Shredded cheddar: Grate it yourself for meltier texture and better flavor than the pre-shredded bags with anti-caking agents.
- Black olives and green onions: These arent just garnish but crucial flavor balancers that add the umami notes.
Instructions
- Build your foundation:
- Mix those refried beans with taco seasoning until the flavor is evenly distributed. This base layer should be spread firmly and completely to the edges of your dish, creating a stable foundation for everything to come.
- Create the creamy middle:
- Dollop the sour cream in small spoonfuls over the beans before gently connecting them with a spatula. The trick is spreading without dragging up any beans into this pristine white layer.
- Add the guacamole shield:
- Your guacamole layer acts as a protective barrier that prevents the salsa moisture from seeping downward. Spread it carefully with the back of a spoon, making sure to seal it to the edges of the dish.
- Layer the wet ingredients strategically:
- When adding salsa, drain excess liquid first and carefully spoon it over the guacamole rather than pouring. This prevents the dreaded middle-dip-slide that can ruin your presentation.
- Add the fresh crunch:
- Sprinkle lettuce with your fingertips rather than dumping it on, creating an even layer that guests can actually scoop. Follow with the carefully seeded tomatoes distributed for color impact.
- Crown with cheese:
- The cheese layer should completely cover everything beneath it like a protective blanket. This not only looks impressive but helps hold moisture in the layers below.
- Finish with accents:
- Arrange those black olives and green onions with purpose rather than randomly scattering. I like to create a pattern that guides people where to dig in first.
- Chill for success:
- That hour in the refrigerator isnt just for flavor melding but for structural integrity. The cold firms everything up so your first scoop maintains those beautiful distinct layers.
 Save to Pinterest
 Last winter during a power outage, this dip became an unexpected dinner when the oven stopped working mid-meal prep. We gathered around the coffee table with flashlights, scooping layers by candlelight while telling stories to stay warm. Something about the casual, hands-on nature of the dish turned a potentially stressful situation into an intimate gathering my friends still talk about.
Make-Ahead Magic
Ive discovered this dip actually tastes better when made about 3-4 hours ahead of serving. The flavors meld beautifully while each layer maintains its distinct texture. Just keep it covered with plastic wrap that doesnt touch the top layer, and resist the urge to sample it beforehand, which inevitably leads to uneven dips and suspicious finger trails across the surface.
Serving Strategies
After countless parties, Ive learned that placing the dip in the middle of the table leads to awkward reaching and inevitable spillage. Instead, position it at one end with a clear path around it, allowing guests to approach from all angles. I also place a separate bowl of extra chips nearby with a note saying 'reinforcements' because the chips always disappear faster than the dip.
Customization Corner
The beauty of this seven-layer framework is how it welcomes personalization while maintaining its structural integrity. My vegetarian sister adds roasted corn between the lettuce and tomato layers, while my spice-loving cousin adds a hidden layer of minced jalapeños that surprises unsuspecting guests.
- For a protein boost, add a layer of seasoned ground turkey or beef above the bean layer, just be sure its fully cooled before assembling.
- Create a deconstructed version in clear cups for outdoor events the individual portions prevent double-dipping and sun exposure issues.
- For morning football games, swap the beans for a layer of scrambled eggs with chorizo for a breakfast-themed variation that still maintains the essential layered appeal.
 Save to Pinterest
 This dip has earned its place in my entertaining repertoire not just for its flavor but for its ability to bring people together. Theres something uniquely bonding about hovering around a communal dish, comparing scooping techniques, and debating which layer combination creates the perfect bite.
Recipe FAQs
- → Can I make this dip ahead of time?
-
Yes, absolutely. Assemble the dip up to 8 hours in advance and refrigerate covered. The flavors actually improve as they meld together. Just add fresh lettuce and tomatoes shortly before serving if you prefer them crisp.
- → How do I prevent the layers from mixing together?
-
Spread each layer gently using a spatula or the back of a spoon. Allow each layer to set slightly before adding the next one. Using cold ingredients helps maintain distinct layers, and refrigerating between additions can help if needed.
- → Can I use homemade guacamole instead of store-bought?
-
Definitely. Homemade guacamole works wonderfully and often tastes better. Prepare it fresh and layer it just before serving to prevent browning. A squeeze of lime juice helps preserve the green color.
- → What are some protein additions I can include?
-
Cooked seasoned ground beef or ground turkey works great between the beans and sour cream. Crumbled chorizo, cooked shrimp, or seasoned chicken are also excellent additions. Simply layer them after the beans and before the sour cream.
- → How long can this dip sit at room temperature during a party?
-
Keep the dip refrigerated until serving time, then serve immediately. It's best enjoyed chilled. If left out longer than 2 hours, discard any remaining dip for food safety reasons.
- → Can I serve this in individual portions?
-
Yes, layering the dip in individual cups or small glasses creates elegant single servings. Layer ingredients in the same order, and guests can eat directly from the cup without dipping chips, making it perfect for casual gatherings.
