 Save to Pinterest
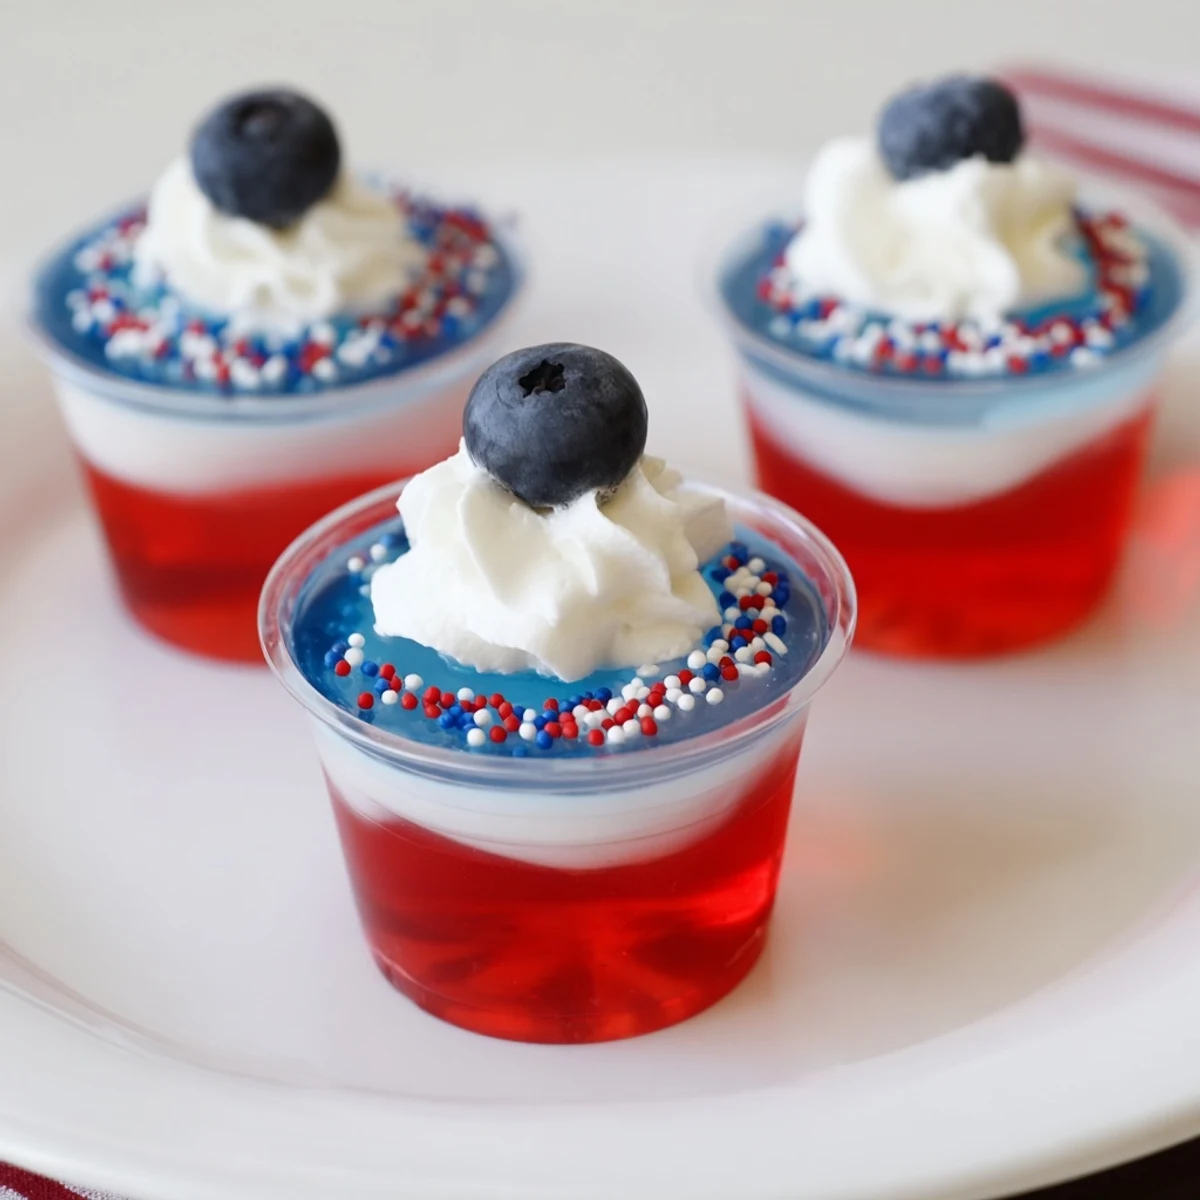
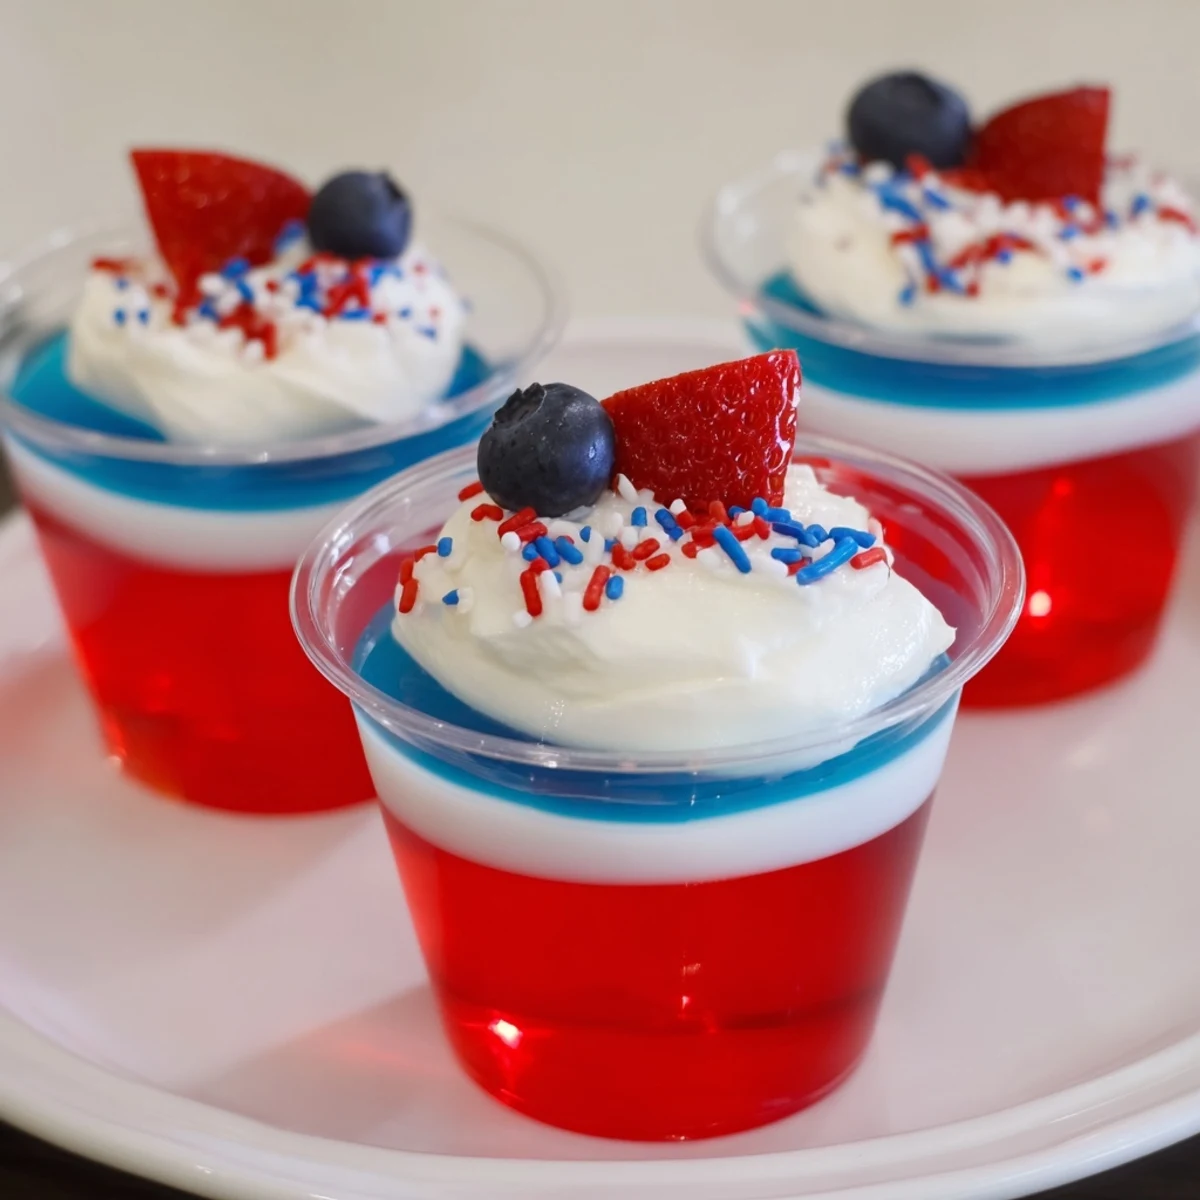
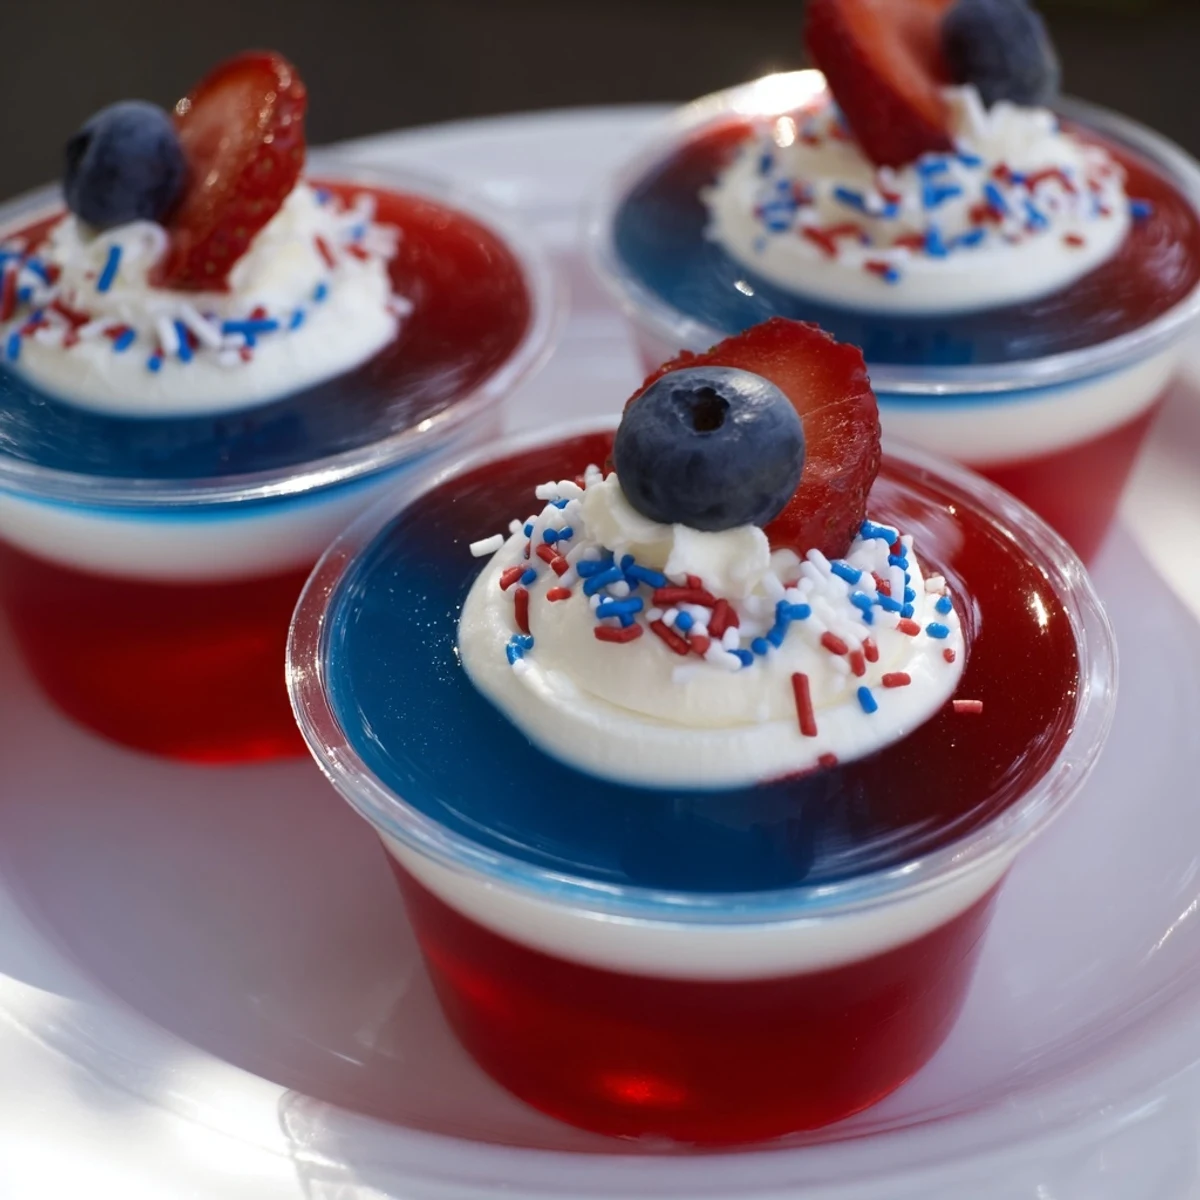
 Layer clear cups with dissolved red gelatin, chill until firm, add a creamy vanilla pudding blended with whipped topping for the white middle, then finish with set blue gelatin. Allow at least 4–4½ hours total (hour for red, 30 minutes for white, 2–3 hours for final set). Use clear cups for best presentation; garnish with whipped cream and fresh berries. For dairy-free swaps, use plant milk and non-dairy topping. Can be assembled a day ahead and kept covered in the fridge.
There's something slightly mischievous about sneaking a taste of Jello straight from the fridge while pretending to check if it's set—a little kitchen mischief my sisters and I perfected every Fourth of July. The swirl of colors promises celebration long before the first bite, and I can’t help but recall the giggles echoing through the house as we layered these Red, White, and Blue Jello Cups, a sticky spoon in one hand and a smear of whipped topping across my cheek. The real magic happens when you see your handiwork stacked in neat rows: the parade of stripes and glints of berries practically beg for a fanfare. These are cups of cheer meant for sharing, each spoonful marked by laughter and clinking glasses of lemonade in the sun.
I once made these for my neighbor’s backyard cookout after a heavy summer storm—half the kids showed up barefoot, muddy, and hungry for something bright. The cups disappeared so quickly, a few parents thought the stash had vanished, but really I’d just hidden spares in the back of the coldest fridge shelf as a treat for the helpers. There’s always time for a quiet moment between the assembling and the eating, and that’s when the anticipation builds.
Ingredients
- Strawberry or cherry-flavored gelatin: Go for the brightest red—the color pops and kids love the familiar flavor. To dissolve evenly, fully stir in boiling water before adding cold, and let it sit a minute so it’s extra clear.
- Boiling water: It’s tempting to rush this, but make sure the water is thoroughly boiling; this is the trick to a perfect set without graininess.
- Cold water: The chill brings down the temperature just enough so you can pour right away and not risk melting other layers or waiting forever.
- Instant vanilla pudding mix: One packet is all you need for a creamy, sweet white layer—choose instant so it thickens up fast without extra heating.
- Cold milk: The colder, the better here—milk straight from the fridge helps the pudding stay fluffy and light.
- Whipped topping: This makes the middle layer irresistible and cloud-like, plus it’s handy if you want a dollop on top as garnish.
- Berry blue-flavored gelatin: Don’t stress if you can’t find the exact shade of blue; even a lighter hue will stand out brightly against the other layers.
- Fresh berries: Use blueberries or strawberries for pops of color and a tart contrast to the sweet—just pat them dry before placing on top for best presentation.
- Additional whipped topping and sprinkles: These finishing touches delight little ones (and adults), and no two cups ever look exactly alike.
Instructions
- Red layer comes first:
- Dissolve the red gelatin in one cup of boiling water, stirring thoroughly. Mix in half a cup of cold water, then pour evenly into eight clear cups—the sizzle and steam promise something sweet is on the way.
- Set the red foundation:
- Carefully place the cups in the fridge and let them chill at least an hour, until the layer feels jiggly yet firm to the fingertip tap test.
- Creamy white layer magic:
- Whisk the instant pudding mix and cold milk together vigorously until it’s smooth, then gently fold in whipped topping for a billowy texture. Spoon this fluffy layer over set red gelatin, smooth it with the back of the jar if you’re fussy, and chill again for at least thirty minutes.
- Brilliant blue finale:
- Prepare the berry blue gelatin exactly like the red: dissolve fully before adding cold water. Gently pour or spoon it atop the chilled white layer—slow is best to avoid muddling the colors.
- Final chill and garnish:
- Let them set for two to three hours until each cup is bouncy. Moments before serving, top with an extra swirl of whipped topping, a scatter of fresh berries, and a pinch of sprinkles if you’re feeling festive.
 Save to Pinterest
 When my youngest cousin discovered his cup had the most sprinkles, he hoisted it up like a trophy and declared himself king of dessert—a victory sealed with sticky smiles. Sometimes these funny, messy moments turn an ordinary dessert into a celebration that lingers well beyond the last bite.
Making Them Ahead Without Stress
If you’re prepping for a big group, assembling these the night before means zero stress when guests arrive, and the colors actually look brighter after a night in the fridge. Keep them covered with plastic wrap to avoid fridge odors, and don’t add the whipped topping or berries until right before serving; the garnish holds up best that way.
Choosing Your Serving Cups
I’ve learned clear cups (plastic or glass) make every layer shine, and little hands love the look of stripes. Solo cups work in a pinch, but I find smaller dessert cups keep the portions friendly for kids and adults alike, and stacking them in the fridge feels almost like building edible art.
How to Fix Layer Mishaps
If your layers blend at the edges, don’t panic—just call it tie-dye and watch as everyone claims the prettiest cup. Any spills wipe away easily with a damp paper towel, and if you’re left with uneven amounts, bonus: you get to taste-test the leftovers.
- Chill your cups before starting for extra clean layers.
- If you’re rushed, pop them in the freezer for a few minutes (just don’t forget them).
- Layer slowly and with a steady hand for crisp color lines.
 Save to Pinterest
 There’s a special joy in chilling a tray of these cheerful cups and knowing your celebration has already started—one spoonful at a time. Shared or sneaked from the fridge, their bright layers always mean fun is close at hand.
Recipe FAQs
- → How long should each layer set before adding the next?
-
Let the red gelatin chill about 1 hour until firm, the white pudding layer around 30 minutes to chill and slightly set, then allow the blue layer 2–3 hours for a full final set in the refrigerator.
- → Can I make a dairy-free version?
-
Yes. Substitute plant-based milk and a dairy-free instant pudding mix, and use non-dairy whipped topping or stabilized coconut cream for the white layer and garnish.
- → How do I prevent the colors from bleeding between layers?
-
Ensure each layer is fully chilled and firm before adding the next. Pour the next layer gently over the back of a spoon or use a small ladle to avoid disturbing the set beneath.
- → What containers show the layers best?
-
Clear small cups (4–6 oz) or clear glass tumblers highlight the stripes. Disposable clear plastic cups work well for parties and make serving easy.
- → How far in advance can these be assembled?
-
Assemble up to 24 hours ahead and keep covered in the refrigerator. Add fresh whipped topping and berries just before serving for the best texture and appearance.
- → How do I scale the quantities for more servings?
-
Multiply gelatin and pudding packages and liquids proportionally, then divide the final volumes into more cups. Larger servings may need slightly longer final chilling time to set completely.
