 Save to Pinterest
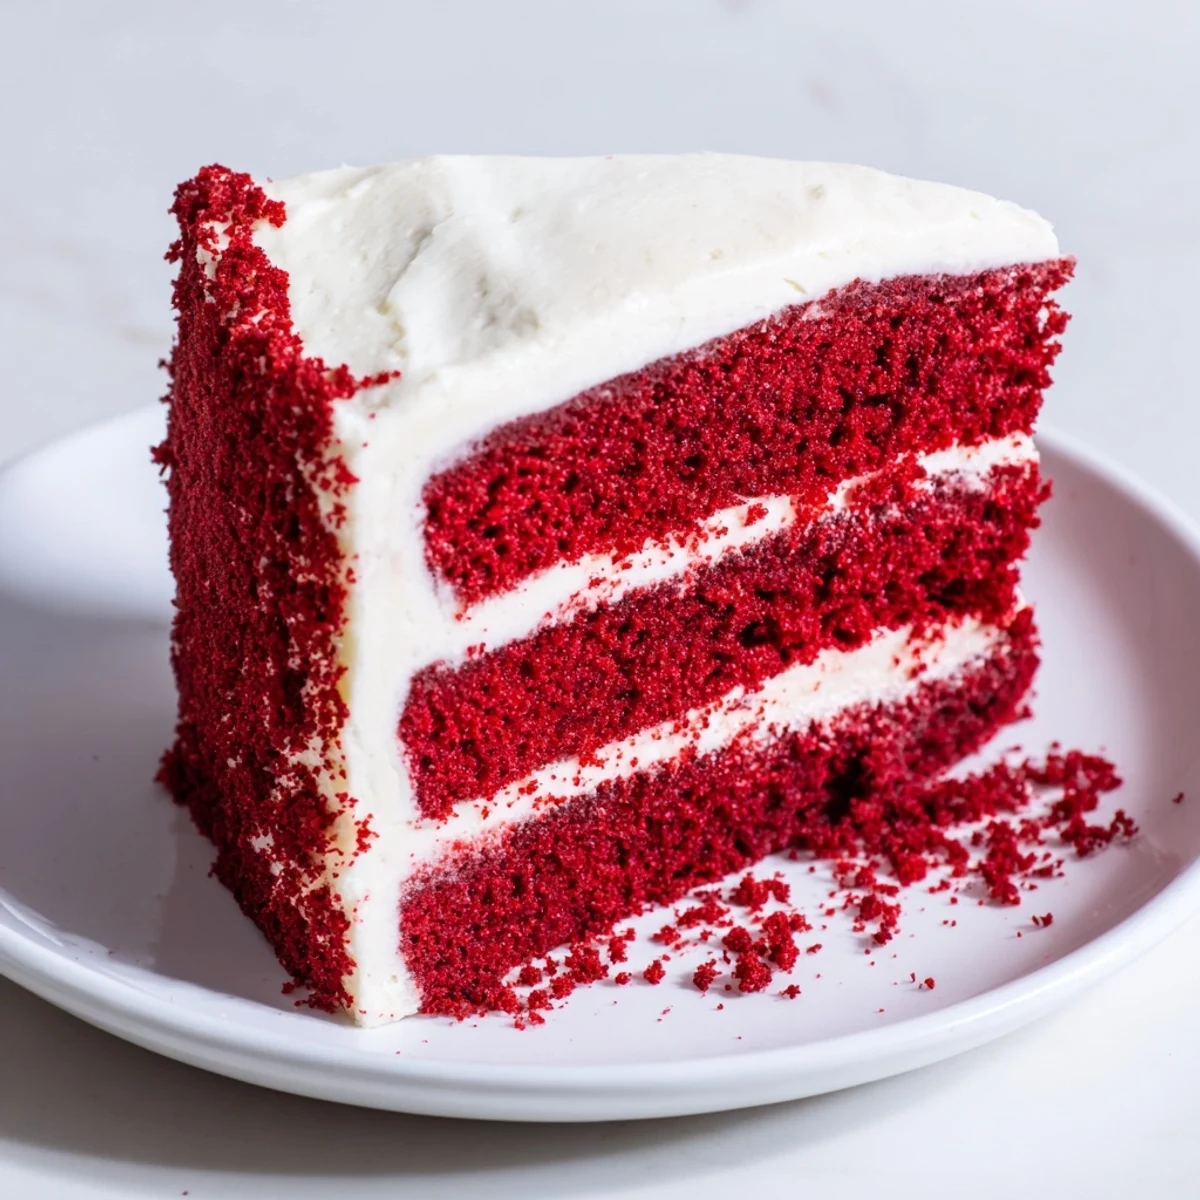
 This moist red velvet cake combines a subtle cocoa flavor with vibrant red coloring to create a festive treat. Layers are baked tender and topped with smooth, tangy cream cheese frosting. The balance of sweetness and slight tang offers a delicious experience perfect for celebrations or as an indulgent dessert. Preparation involves blending dry ingredients with wet, baking until just done, cooling, then frosting carefully for clean layers. Chilling enhances the frosting’s texture and flavor for a refined finish.
My grandmother kept a red velvet cake recipe tucked inside her cookbook, written on a stained index card in careful cursive. I finally attempted it myself on a rainy Sunday, tracking flour across the countertop and discovering that the real magic happens when vinegar meets buttermilk. The kitchen filled with that unmistakable tangy sweetness while the cake baked, turning my tiny apartment into a proper bakery for the afternoon.
I brought this cake to a friends birthday dinner last winter, and something about slicing into those crimson layers made the whole table go quiet. Watching someone take that first bite, eyes widening at the perfect balance of sweet and tangy, reminded me why baking feels like giving someone a wrapped present you made yourself.
Ingredients
- 2 1/2 cups (310 g) all-purpose flour: Sifted twice to keep the crumb tender and light
- 1 1/2 cups (300 g) granulated sugar: Fine grain dissolves better into the oil based batter
- 1 tsp baking soda: The leavening agent that works with the vinegar for rise
- 1 tsp fine salt: Essential for balancing sweetness and bringing out flavors
- 1 tsp cocoa powder: Just enough for depth without making it a chocolate cake
- 1 1/2 cups (360 ml) vegetable oil: Creates incredible moisture and a tender texture
- 1 cup (240 ml) buttermilk, at room temperature: The tang that defines red velvet and activates the baking soda
- 2 large eggs, at room temperature: Structure and richness
- 2 tbsp (30 ml) red food coloring: Gel coloring gives deeper, truer red without thinning the batter
- 1 tsp vanilla extract: Pure vanilla makes all the difference here
- 1 tsp distilled white vinegar: Reacts with baking soda for extra lift and tenderness
- 16 oz (450 g) cream cheese, softened: Full fat and completely room temperature is nonnegotiable
- 1 cup (225 g) unsalted butter, softened: Creamed with the cheese for that silky spreadable consistency
- 4 cups (480 g) powdered sugar, sifted: Sifting prevents lumps and makes the frosting impossibly smooth
- 2 tsp vanilla extract: Rounds out the sharpness of the cream cheese
- Pinch of salt: Wakes up all the flavors in the frosting
Instructions
- Prepare your pans and oven:
- Preheat to 350°F (175°C) and grease two 9 inch round pans, lining the bottoms with parchment paper for easy release later.
- Whisk the dry ingredients:
- In a large bowl, sift together flour, sugar, baking soda, salt, and cocoa powder, breaking up any clumps.
- Combine the wet mixture:
- Whisk oil, buttermilk, eggs, food coloring, vanilla, and vinegar in another bowl until completely smooth.
- Mix the batter gently:
- Gradually pour the wet ingredients into the dry, folding until just combined. Overmixing will make the cake tough.
- Bake the layers:
- Divide batter evenly between the pans and bake for 28 to 32 minutes until a toothpick comes out clean.
- Cool completely:
- Let the cakes rest in pans for 10 minutes, then turn them onto wire racks to cool entirely before frosting.
- Make the frosting:
- Beat softened cream cheese and butter until creamy and smooth, then add vanilla and salt. Gradually beat in sifted powdered sugar until fluffy.
- Assemble the cake:
- Level any domed tops, then place one layer on a serving plate, spread with frosting, and top with the second layer. Frost the top and sides.
- Chill before serving:
- Refrigerate for at least 30 minutes so the layers set cleanly when you slice.
 Save to Pinterest
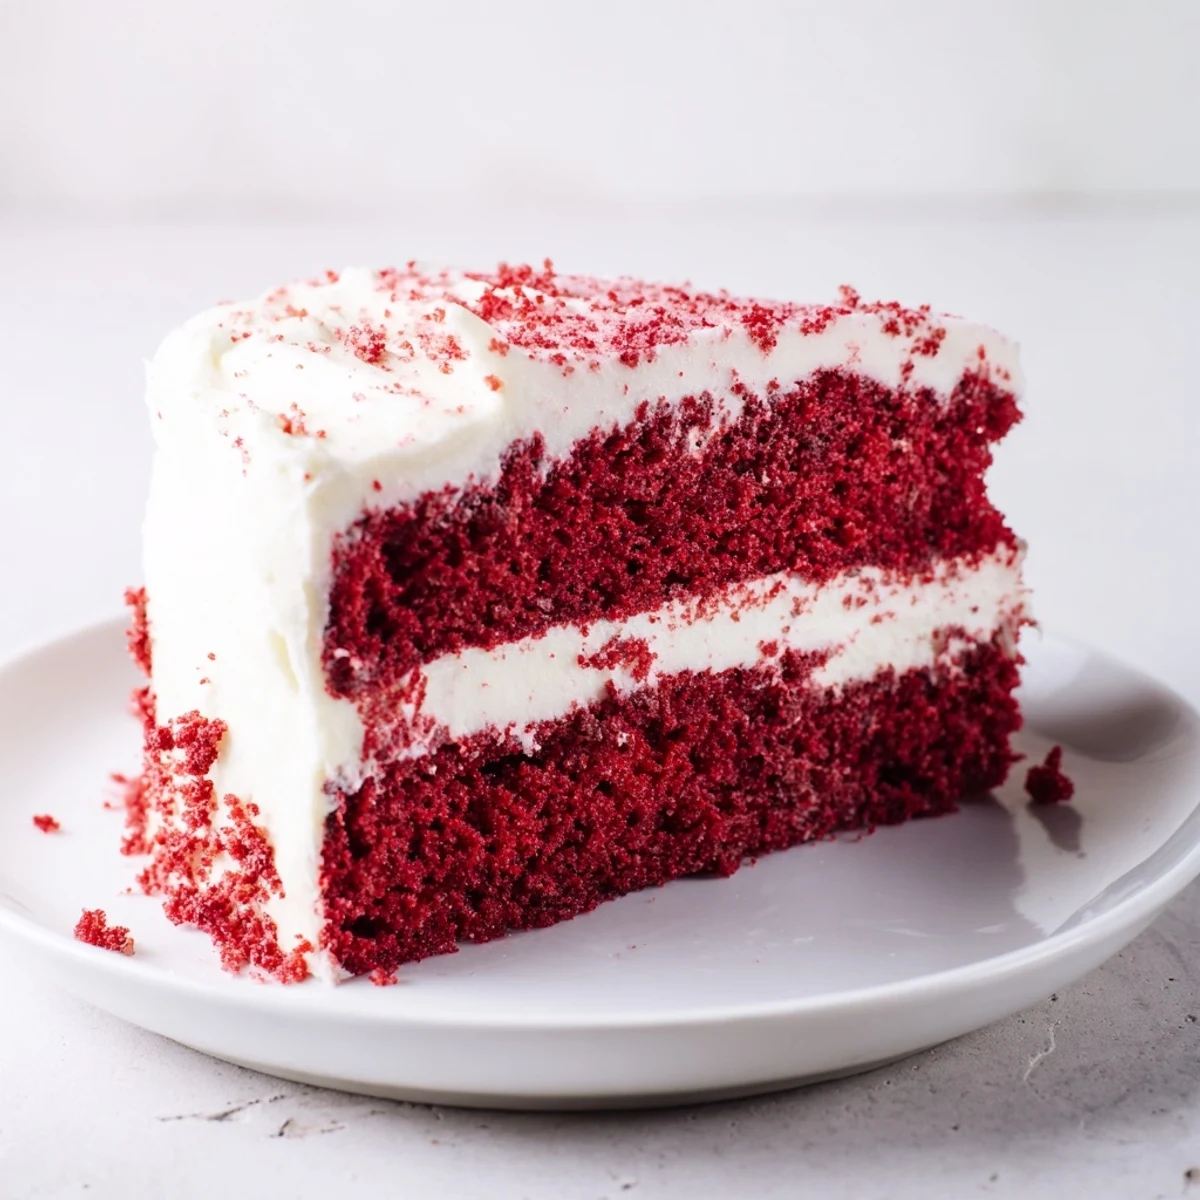
 There is something undeniably satisfying about cutting into that first slice and seeing the perfect red layers against the white frosting. My roommate wandered into the kitchen while I was assembling this one and somehow volunteered herself as a taste tester, which I think was just her way of getting to lick the spatula.
Getting the Perfect Red Color
Gel food coloring is worth the extra effort because liquid coloring can throw off your batter ratios. I have learned that a little goes a long way with gel, and you can always add more but you cannot take it back once it is mixed in.
Frosting Like a Pro
Chill your cake layers for about 20 minutes before frosting, and you will have fewer crumbs ending up in your frosting. A thin crumb coat first, then chill again, makes that final perfectly smooth layer achievable even for beginners.
Making It Your Own
This cake base is surprisingly adaptable once you understand the chemistry. I have seen it work beautifully with different flavor twists while keeping that signature texture intact.
- Try adding a tablespoon of espresso powder to deepen the cocoa notes
- Swap some of the vanilla for almond extract for a subtle nutty background
- Crumble leftover cake layers over the top for that classic bakery look
 Save to Pinterest
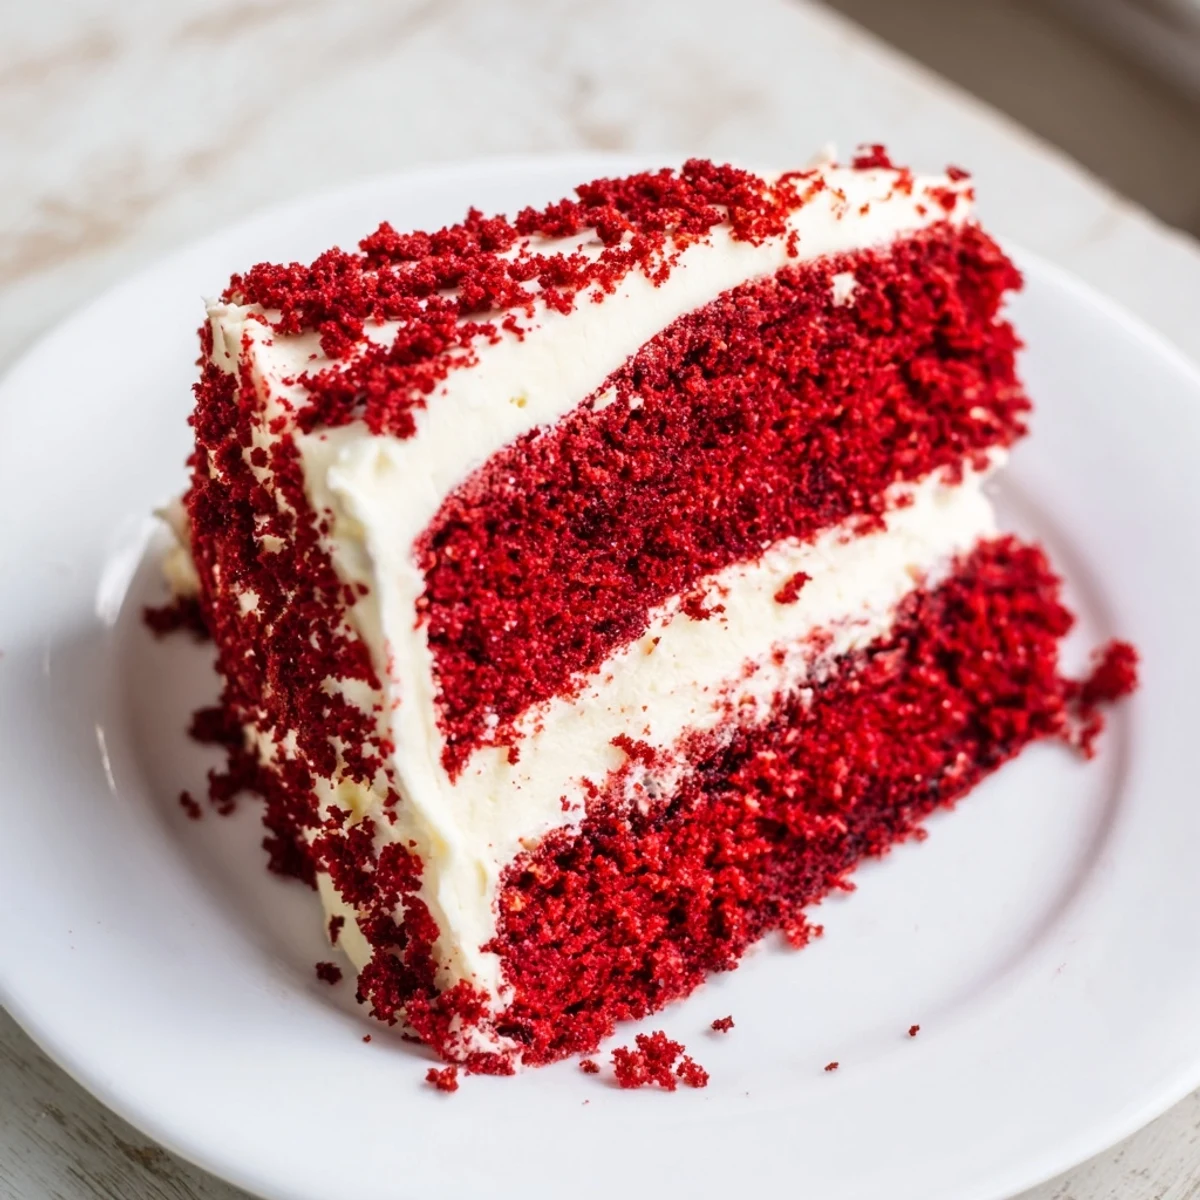
 There is a reason red velvet has stayed beloved for generations, and I think it has everything to do with that perfect balance of flavors that feels like celebration in every bite.
Recipe FAQs
- → What makes the cake moist?
-
The cake’s moistness comes from vegetable oil and buttermilk, which add richness and tenderness to the crumb.
- → How is the red color achieved?
-
Red food coloring is added to the batter to create the signature vibrant red hue of the layers.
- → Can I prepare the layers in advance?
-
Yes, you can bake the layers ahead and store them covered in the refrigerator to help streamline assembly later.
- → What is the purpose of vinegar in the batter?
-
Distilled white vinegar reacts with baking soda to help the cake rise and improve texture.
- → How do I achieve smooth frosting application?
-
Beat cream cheese and butter until smooth, gradually add powdered sugar, and chill the cake layers before frosting for easy spreading.
