 Save to Pinterest
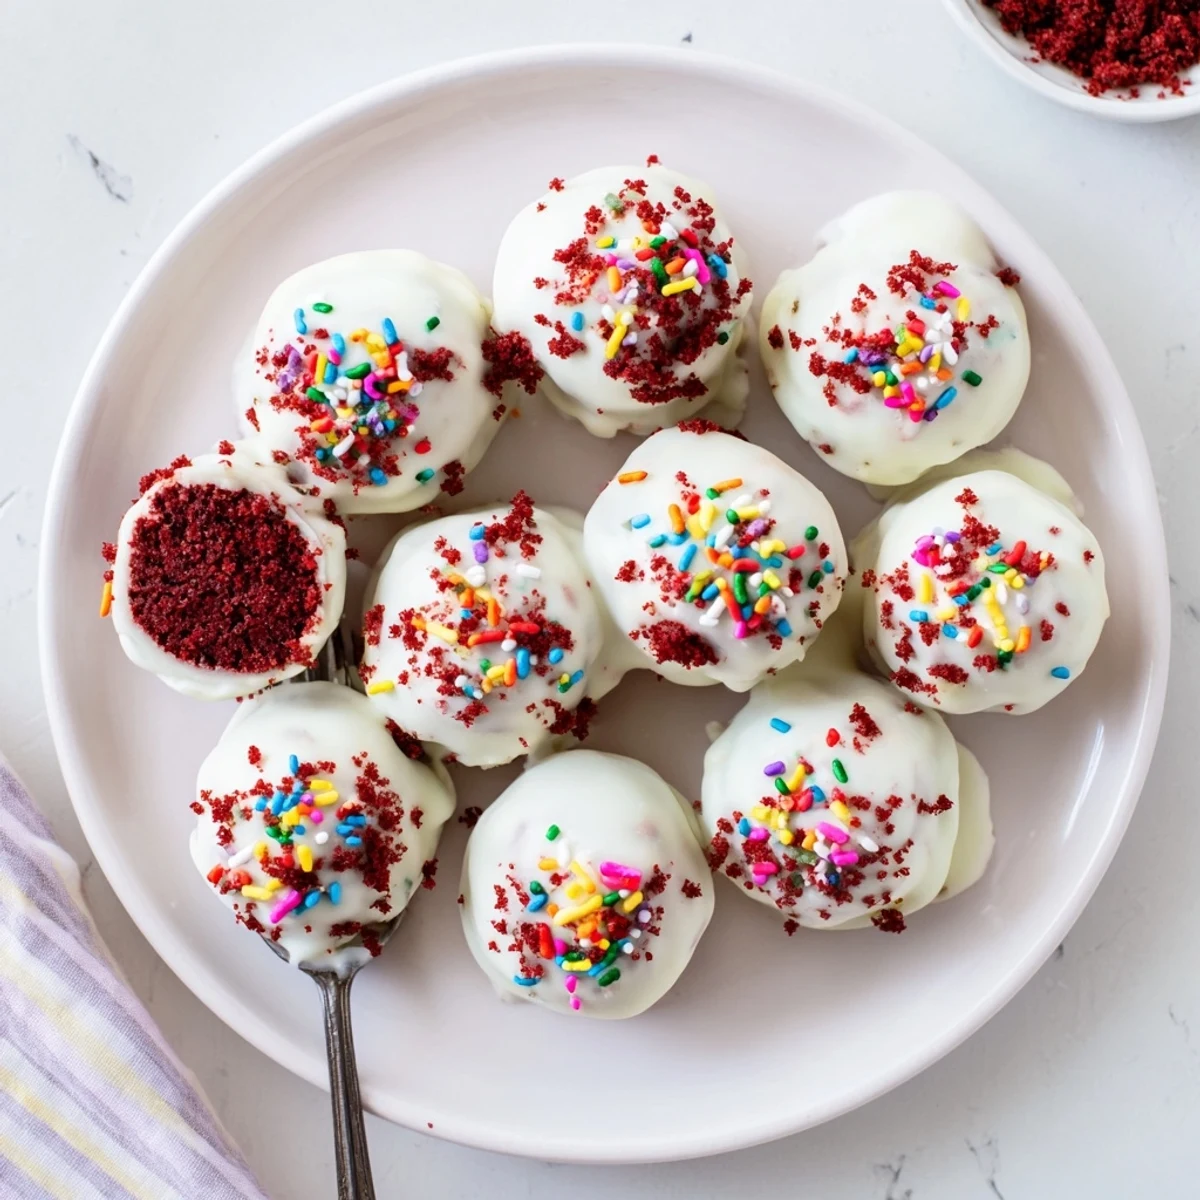
 These indulgent red velvet cheesecake balls combine crumbled red velvet cake with a smooth cream cheese mixture, creating the perfect balance of flavors and textures. The mixture is rolled into bite-sized spheres, chilled until firm, then dipped in melted white chocolate for a luscious coating. Each ball offers the classic red velvet taste with a tangy cheesecake finish, all wrapped in sweet chocolate. They're simple to assemble and make an impressive addition to any dessert spread.
My kitchen counter looked like a crime scene the first time I made these, red crumbs everywhere, but one bite of that creamy center under a crisp chocolate shell and I stopped caring entirely about the mess.
I brought a tray of these to a friends potluck last December and watched three people hover near the plate, popping them like popcorn until nothing remained but a few red smears on the parchment.
Ingredients
- Red velvet cake (300 g): Use leftover cake, a stale store bought one, or bake a small batch fresh, any of them crumble down beautifully.
- Cream cheese (150 g, softened): Let it sit out for at least thirty minutes so it blends without lumps into the filling.
- Powdered sugar (40 g): Just enough to sweeten the cream cheese without making it cloying.
- Vanilla extract (1 tsp): A small pour that lifts the entire cheesecake layer into something fragrant.
- White chocolate (250 g): Chop a good quality bar rather than using cheap chips, it melts smoother and coats more evenly.
- Red gel food coloring (optional): A tiny dab mixed into leftover melted chocolate creates a gorgeous drizzle.
- Sprinkles or cake crumbs (optional): Press them on while the coating is still wet or they will not stick.
Instructions
- Reduce the cake to crumbs:
- Tear the red velvet cake into pieces and either pulse in a food processor or rub it between your fingers until you have a bowl of fine, even crumbs with no large chunks hiding inside.
- Whip the cheesecake filling:
- Beat the softened cream cheese, powdered sugar, and vanilla together until the mixture is completely smooth and looks like thick frosting.
- Marry the two:
- Pour the cream cheese mixture over the crumbs and stir, mash, and fold until everything forms a dense sticky dough that holds together when you squeeze a bit in your palm.
- Roll into balls:
- Scoop roughly a tablespoon at a time and roll it between your palms, pressing firmly so each ball is tight and round with no cracks.
- Freeze until firm:
- Arrange the balls on a parchment lined tray and tuck them into the freezer for thirty minutes so they are cold and solid enough to dip without falling apart.
- Melt the white chocolate:
- Heat the chocolate in a microwave safe bowl in short thirty second bursts, stirring between each one until the chocolate is glossy and entirely fluid.
- Dip and coat:
- Lower a chilled ball into the chocolate on a fork, roll it to cover every side, and tap the fork gently against the bowl edge to let the excess drip away.
- Decorate while wet:
- Set each coated ball back on the parchment and immediately add sprinkles, cake crumbs, or a drizzle of tinted chocolate before the shell hardens.
- Chill to set:
- Refrigerate the tray for about fifteen minutes until the chocolate snaps firm, then serve them cold or let them sit out for a few minutes to soften slightly.
 Save to Pinterest
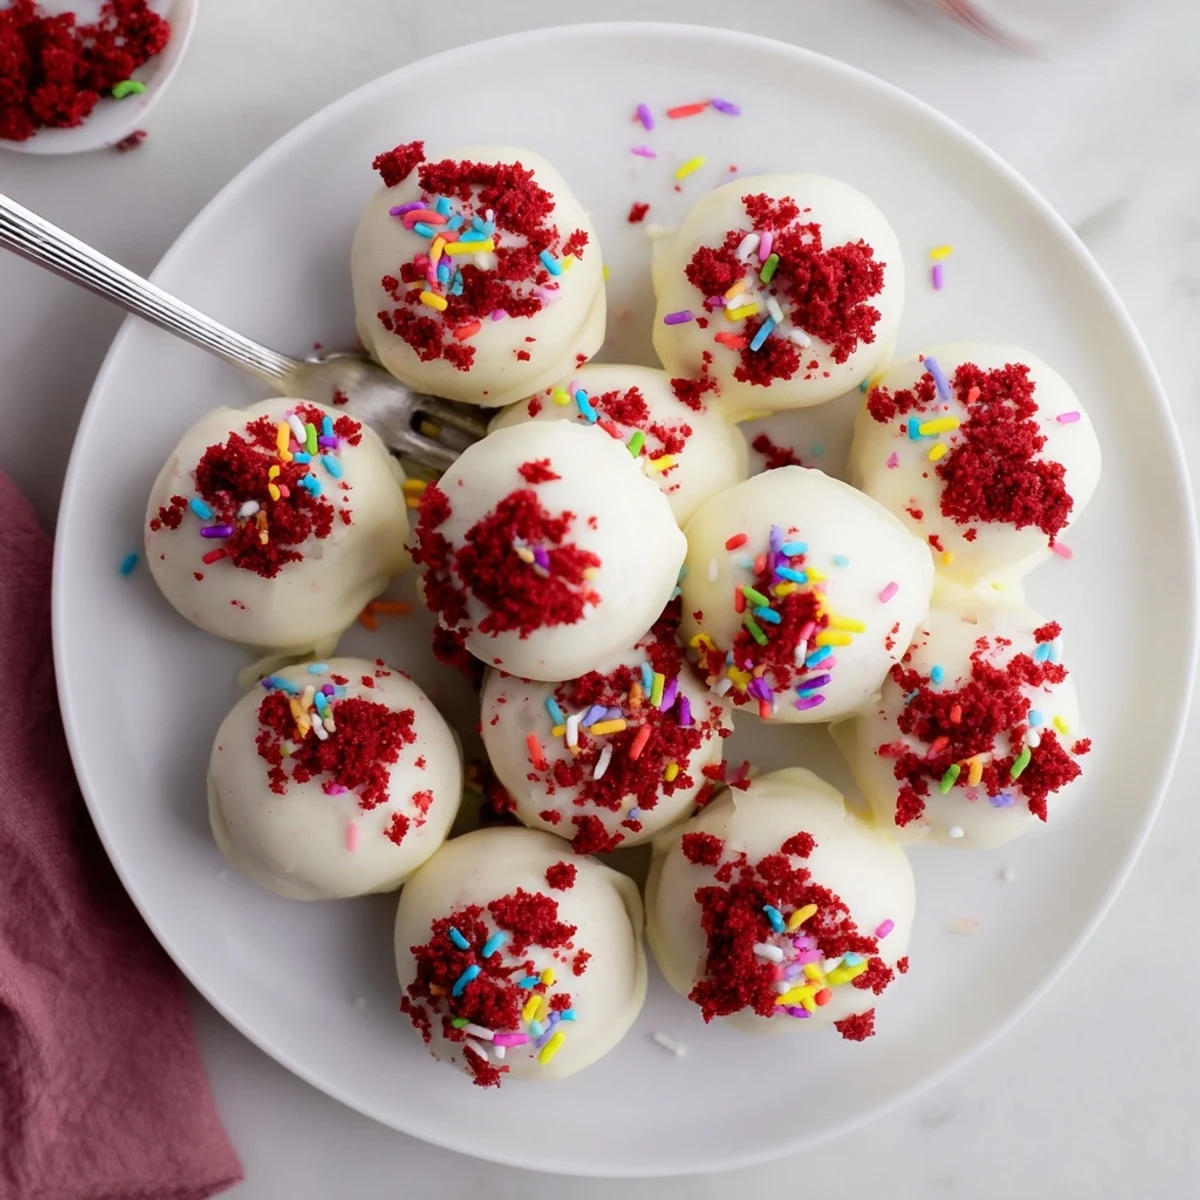
 The moment someone bites into one of these and their eyes go wide, that split second of surprise at the creamy center, is reason enough to keep a batch stashed in your fridge all season long.
Getting the Coating Right
White chocolate can be temperamental, seize, streak, or refuse to thin out, so go slow with the heat and stir more than you think you need to.
Making Them Your Own
Dark chocolate instead of white gives a more grown up flavor, and a pinch of espresso powder in the cheesecake filling adds a subtle depth nobody will be able to name but everyone will notice.
Storing and Sharing
These keep beautifully in an airtight container in the refrigerator for up to five days, which means you can make them well ahead of any gathering and cross dessert off your list early.
- Layer them between sheets of parchment if you stack them so the coatings do not stick together.
- Transport them chilled so they hold their shape during travel.
- Always make a few extra because at least three will disappear before they reach the table.
 Save to Pinterest
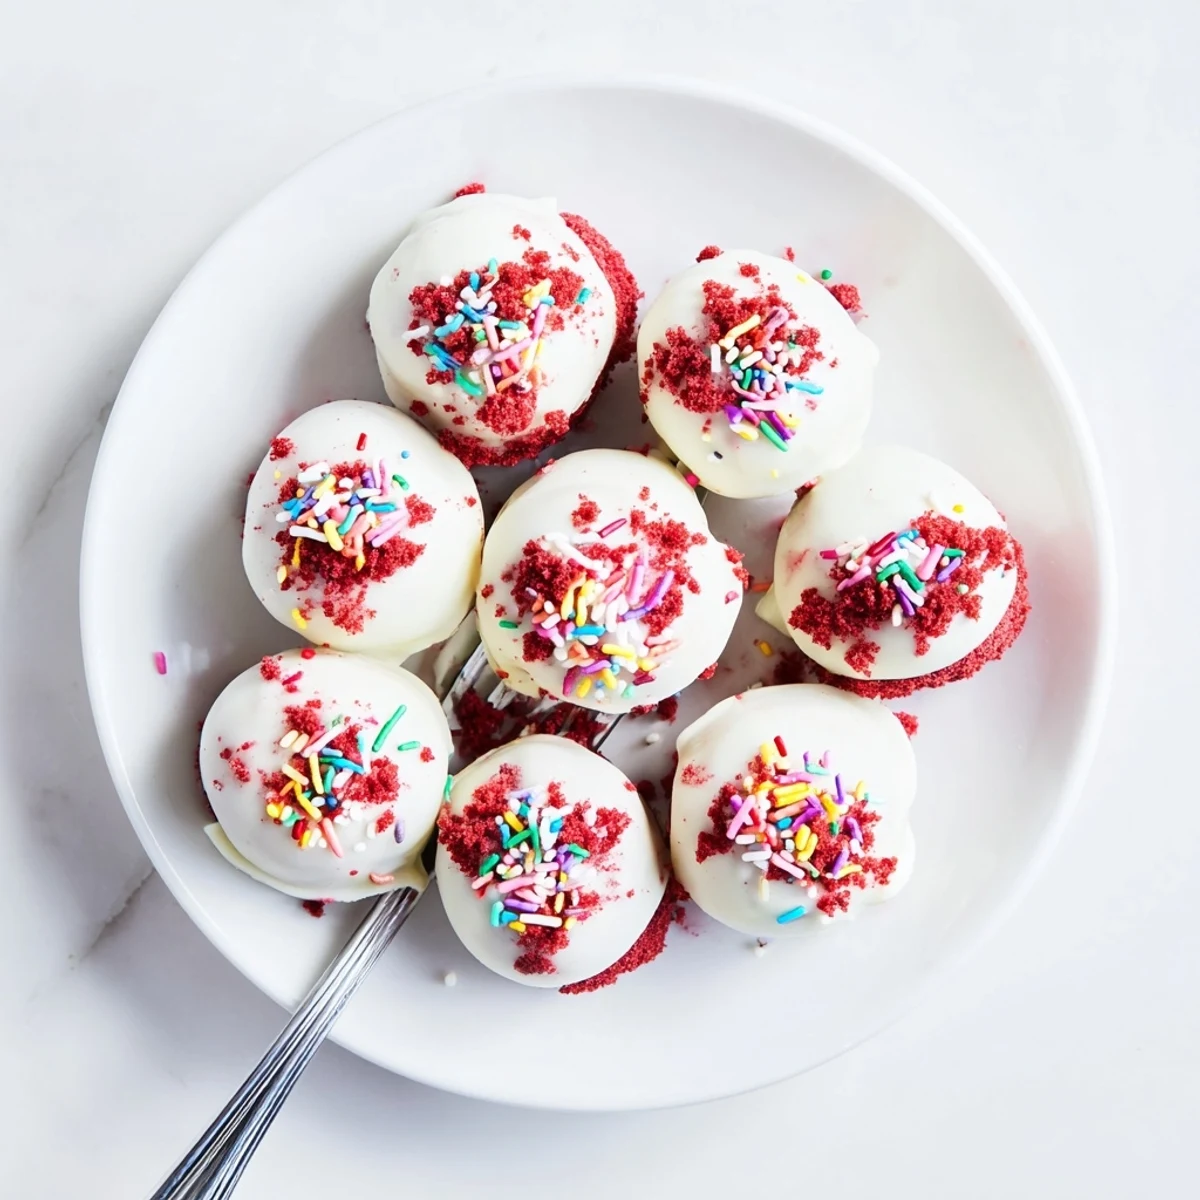
 Roll up your sleeves, accept that your hands will be tinted pink for a while, and enjoy the kind of treat that makes people ask if you bought them from a bakery.
Recipe FAQs
- → Can I use store-bought red velvet cake?
-
Yes, you can use either homemade or store-bought red velvet cake. Store-bought cake works perfectly fine and saves time. Just ensure it's fully cooled before crumbling.
- → How long do these cheesecake balls last?
-
These treats can be stored in an airtight container in the refrigerator for up to 5 days. The chocolate coating may develop condensation when brought to room temperature.
- → Can I freeze these for later?
-
Yes, you can freeze the uncoated balls for up to 2 months. Thaw in the refrigerator before dipping in chocolate. Once coated, they're best enjoyed within a week.
- → What other chocolate coatings work well?
-
While white chocolate complements the red velvet beautifully, you can also use dark or milk chocolate for a different flavor profile. Semisweet chocolate adds a nice contrast to the sweet filling.
- → Why did my mixture fall apart when rolling?
-
If the mixture is too dry, add a small amount of additional cream cheese, about 1 teaspoon at a time, until it holds together. If too sticky, chill the mixture for 15 minutes before rolling.
- → Can I make these without food coloring?
-
Absolutely. The red color comes from the cake itself, so no additional food coloring is necessary. The final appearance will still have that characteristic red hue.
