 Save to Pinterest
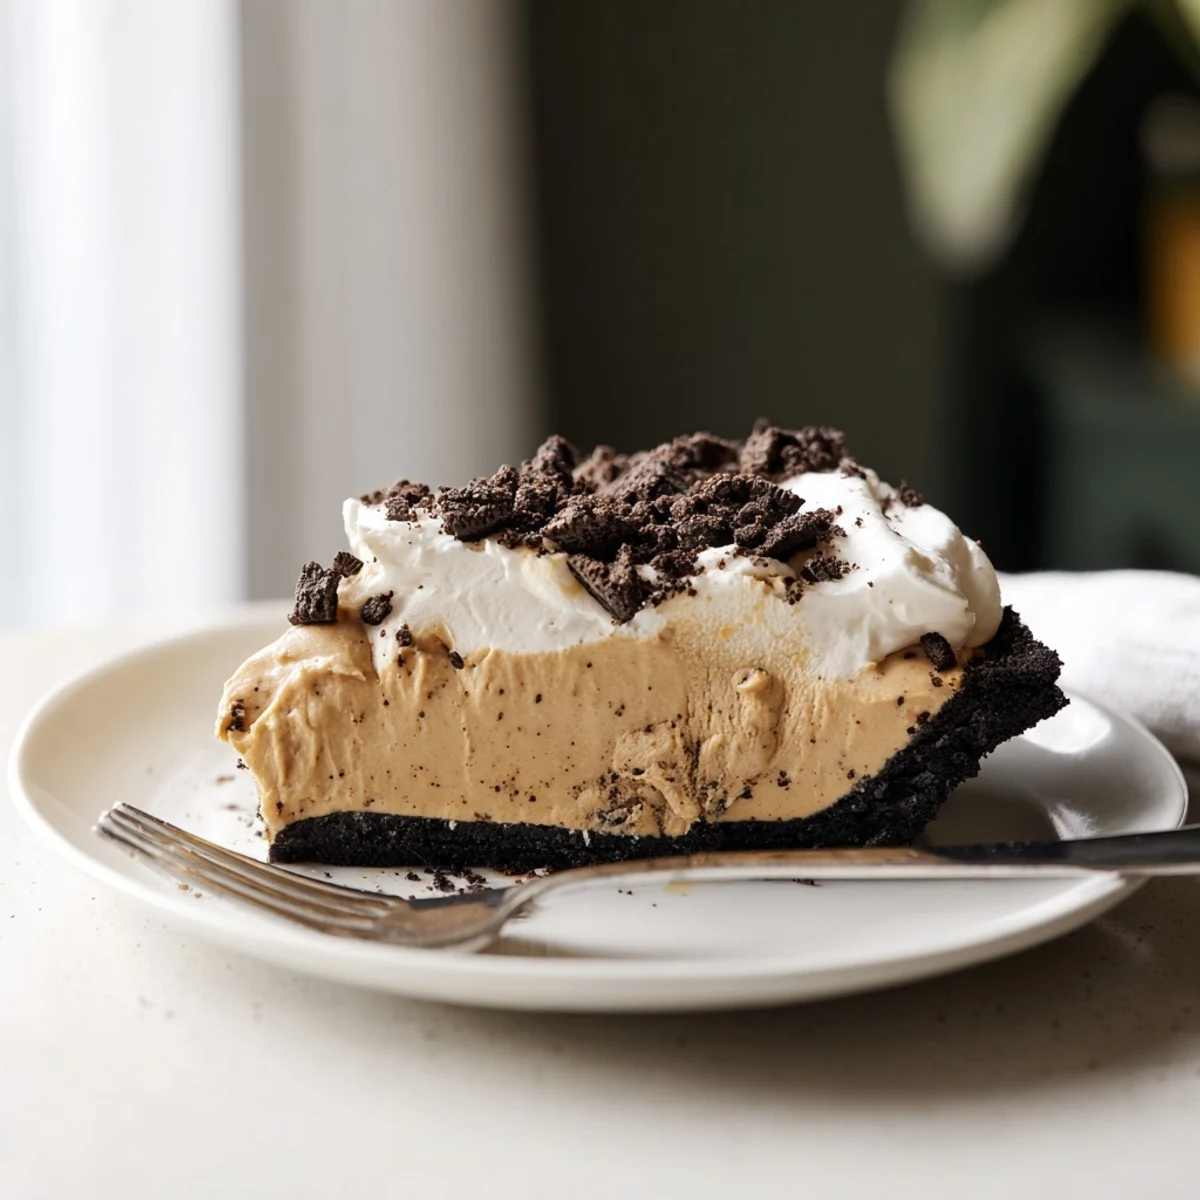
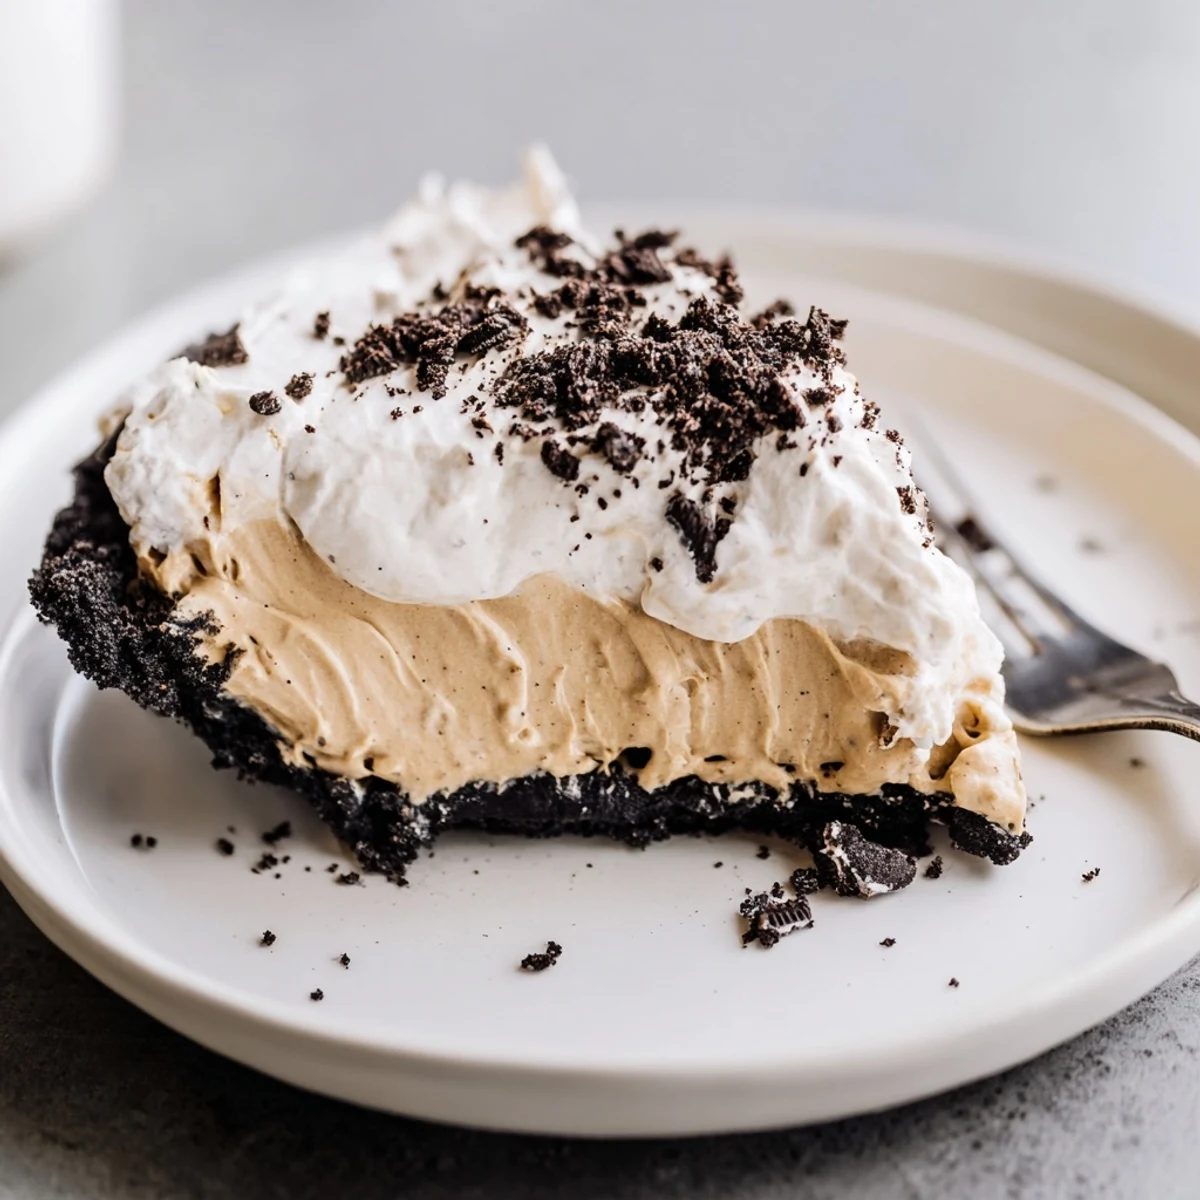
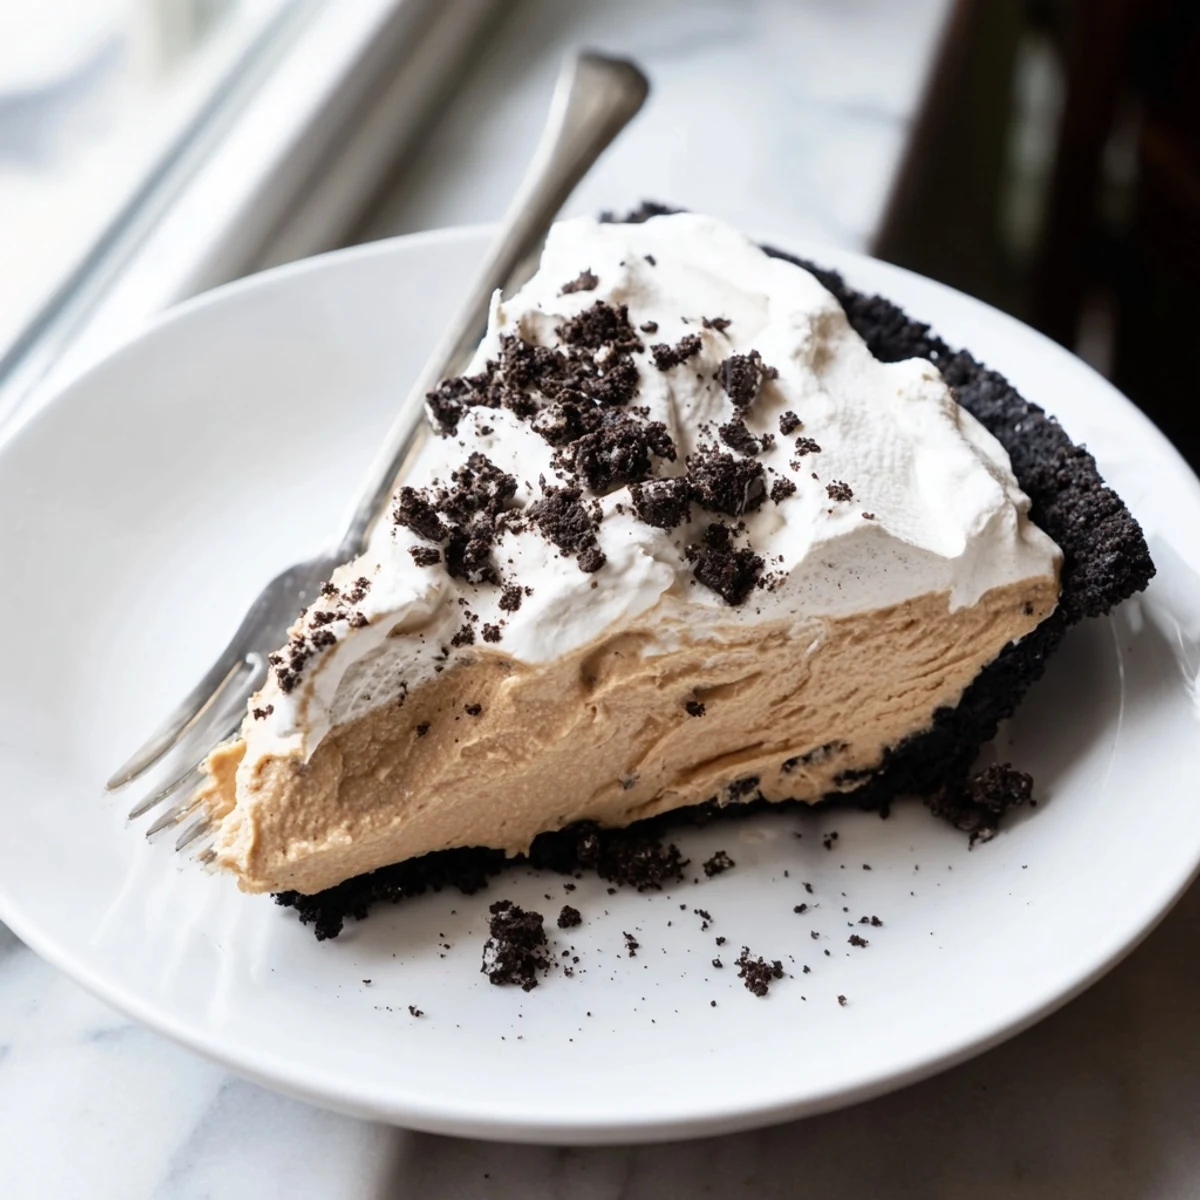
 This indulgent dessert layers velvety peanut butter filling over a crumbly chocolate Oreo base, creating the perfect balance of sweet and salty. The creamy center combines smooth peanut butter with cream cheese and whipped cream for an airy texture. After spreading into the homemade crust and chilling until set, top with clouds of sweetened whipped cream and generous handfuls of crushed Oreos for added crunch. The entire process takes just 20 minutes of active preparation, making it ideal for gatherings or special occasions.
Last Thanksgiving, my aunt walked in with this peanut butter Oreo creation and absolutely silenced a room full of loud relatives. The way that chocolate cookie crust crunched against the silky peanut butter filling was something nobody could stop talking about between bites.
I made this for my book club last month, and honestly the discussion was abandoned after three bites. Everyone kept drifting back to the kitchen for just one more sliver until the entire pie vanished without anyone actually admitting they were having seconds.
Ingredients
- 24 Oreo cookies: The chocolate sandwich cookies create the most incredible crust youll ever taste, and I learned crushing them with their filling intact makes everything bind together perfectly
- 5 tbsp (70 g) unsalted butter, melted: Salted butter works too but just reduce the added salt elsewhere since Oreos already bring plenty of flavor
- 1 cup (250 g) creamy peanut butter: Room temperature peanut butter blends so much easier into the cream cheese without any stubborn lumps
- 8 oz (225 g) cream cheese, softened: Leave this out on the counter for a full hour because cold cream cheese will fight you every step of the way
- 1 cup (120 g) powdered sugar: This sweetens everything while keeping the filling impossibly smooth without that grainy texture regular sugar would create
- 1 cup (240 ml) heavy whipping cream: Cold cream whips up faster and holds those beautiful stiff peaks longer
- 1 cup (240 ml) heavy whipping cream: For the topping, and yes you absolutely need this second batch of cream
- 2 tbsp (15 g) powdered sugar: Just enough sweetness to balance the rich peanut butter layer underneath
- 4 Oreo cookies, coarsely crushed: That extra crunch on top makes every bite feel like a special occasion
Instructions
- Bake that chocolate crust:
- Preheat your oven to 350°F (175°C) while you crush all 24 Oreos in a food processor until theyre absolutely fine. Mix those gorgeous crumbs with melted butter until everything is evenly coated and press the mixture into your pie dish, working it up the sides. Bake for exactly 10 minutes then let it cool completely because hot crust melts filling and nobody wants that mess.
- Whip up the peanut butter filling:
- Beat room temperature peanut butter and softened cream cheese together until theyre completely smooth and no lumps remain. Add that powdered sugar and keep beating until everything disappears into the mixture. In another bowl, whip that first cup of heavy cream until stiff peaks form, then fold it gently into the peanut butter base until no white streaks show.
- Build your masterpiece:
- Spread all that creamy peanut butter goodness evenly over your completely cooled Oreo crust. Pop the whole thing in the refrigerator for at least 2 hours because rushing this step means a sad, runny pie that falls apart when you slice it.
- Add the cloud like topping:
- Whip your second cup of heavy cream with the remaining powdered sugar until those beautiful stiff peaks stand tall. Spread or pipe this over your completely chilled pie however you like, then sprinkle those crushed Oreos over the top for that final gorgeous touch.
 Save to Pinterest
 My neighbor now requests this for every single gathering, and honestly I cannot blame her one bit. There is something about that combination of chocolate, peanut butter, and cream that makes people close their eyes and make those happy little humming noises.
Making It Ahead
This pie actually gets better after sitting overnight in the refrigerator. The flavors meld together beautifully and the texture becomes even more luxurious. You can prepare the entire pie up to 24 hours before serving, just wait until right before serving to add those fresh Oreo crumbs on top so they stay perfectly crunchy.
Getting The Perfect Slice
Run your knife under hot water for about 10 seconds and wipe it dry between each cut. The warm blade glides through the filling cleanly instead of dragging and making those messy jagged edges. Wipe the knife clean after every single slice for picture perfect pieces that look like they came from a bakery.
Serving Suggestions
A tiny drizzle of melted chocolate over the whipped cream takes this completely over the top in the best possible way. Some crushed salted peanuts on top create that sweet and salty situation nobody can resist. This pie also pairs incredibly well with a cold glass of milk or a hot cup of coffee.
- Let the pie sit at room temperature for about 5 minutes before slicing for the creamiest texture
- Extra whipped cream on the side never hurt anyone
- This recipe doubles easily if you are feeding a crowd or just want a second pie for yourself
 Save to Pinterest
 This is the kind of dessert that turns ordinary Tuesdays into celebrations and makes every holiday feel just a little more special. Watching people take that first bite and immediately reach for another slice is the best kind of kitchen magic.
Recipe FAQs
- → How long should I chill the pie before serving?
-
Refrigerate the assembled pie for at least 2 hours, though 3-4 hours yields the best texture. The filling needs time to set completely so slices hold their shape when cut. You can make it the night before serving—this actually improves the flavor as the ingredients meld together.
- → Can I use crunchy peanut butter instead of creamy?
-
Absolutely! Crunchy peanut butter works wonderfully and adds extra texture throughout the filling. The small peanut pieces create a pleasant contrast against the smooth cream cheese and whipped cream mixture. Just keep in mind that the final texture will be slightly less uniform than when using creamy varieties.
- → What can I use if I don't have a food processor for the crust?
-
Place the Oreo cookies in a large zip-top bag and crush them with a rolling pin, meat mallet, or the bottom of a heavy pan. This manual method works just as well—aim for fine crumbs with some smaller pieces remaining. The texture will be slightly more rustic but equally delicious.
- → How should I store leftovers?
-
Cover the pie dish tightly with plastic wrap or transfer slices to an airtight container. Store in the refrigerator for up to 5 days. The crust may soften slightly over time but the flavor remains excellent. For longer storage, wrap individual slices in plastic and freeze for up to 2 months.
- → Can I make this dessert gluten-free?
-
Traditional Oreos contain wheat, but you can substitute with certified gluten-free chocolate sandwich cookies. Check that all other ingredients, particularly the cream cheese and peanut butter, are produced in facilities that prevent cross-contamination if you need strict gluten-free preparation for dietary reasons.
- → Why does the crust need to be baked if the filling is no-bake?
-
Briefly baking the Oreo crust at 350°F for 10 minutes helps the butter set and creates a firmer, more cohesive base that holds up better when sliced. This step also enhances the chocolate flavor and ensures the crust won't crumble apart when serving.
