 Save to Pinterest
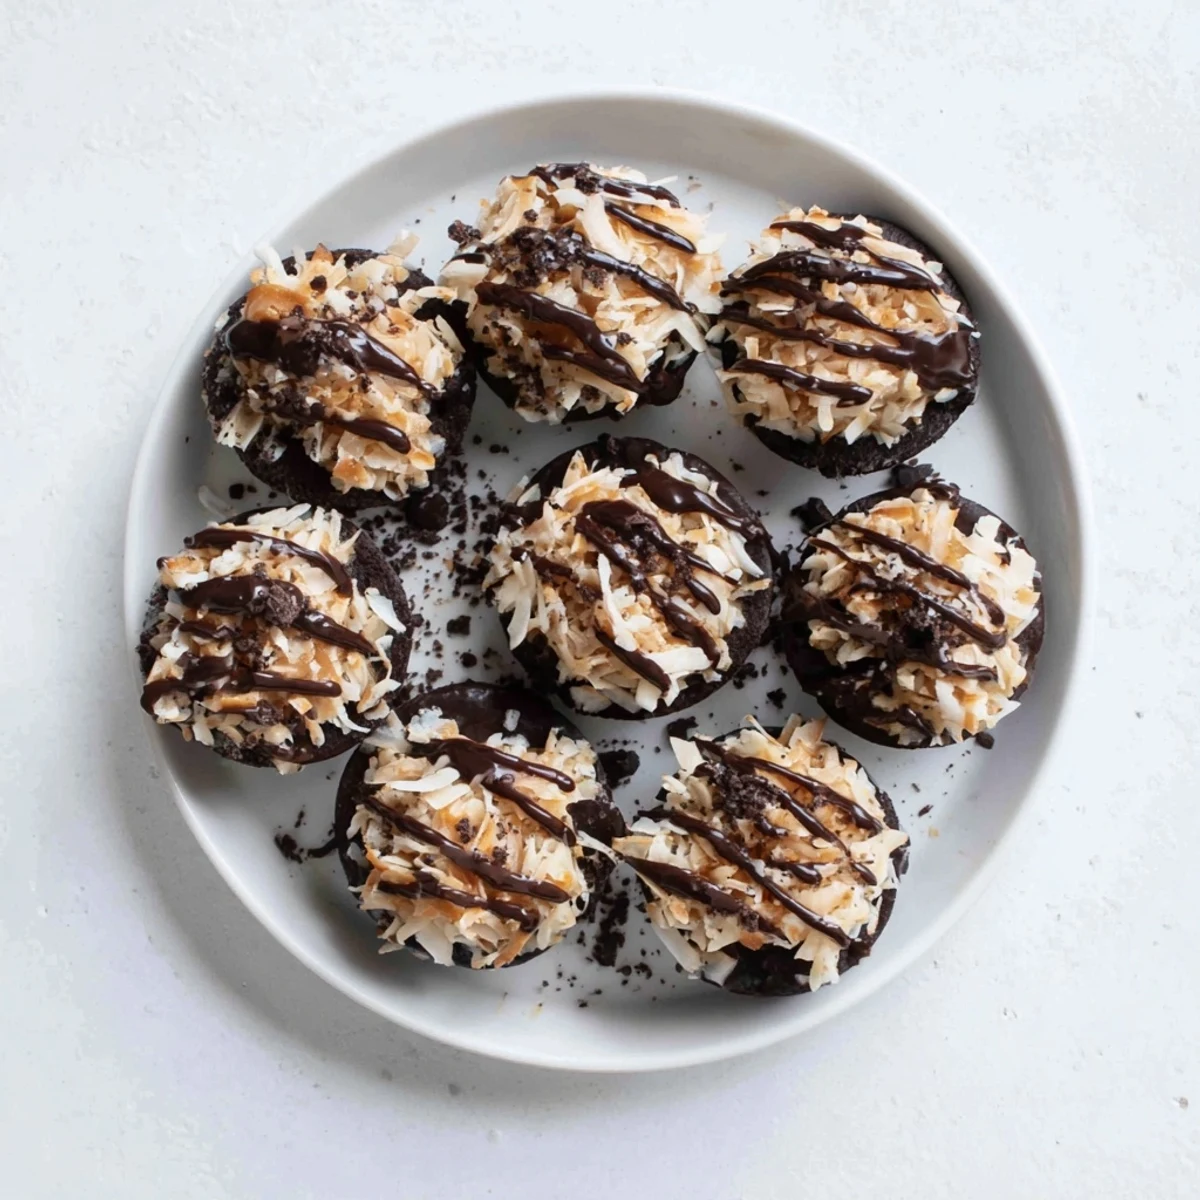
 These indulgent bite-sized treats capture all the flavors of the classic Samoa cookie in a simple no-bake format. A rich chocolate and coconut base forms the foundation, topped with a sweet almond butter caramel layer and finished with a dark chocolate coating.
The entire process takes just 20 minutes and requires only basic kitchen tools. The dates provide natural sweetness while binding the ingredients together, creating a chewy texture that perfectly complements the toasted coconut and smooth chocolate.
Store these in the refrigerator for up to a week, or freeze for longer keeping. They're perfect for gatherings, meal prep, or whenever you need a satisfying sweet treat without turning on the oven.
Last Tuesday I found myself craving something sweet but refused to turn on the oven during summer's last heatwave. These little bites appeared in my kitchen within twenty minutes, and honestly, they might be better than the actual Girl Scout cookies they're named after.
My sister claimed she doesn't like dates until she tried these, watching in disbelief as I formed them on the counter. Now she texts me whenever she makes a batch, usually with a photo of chocolate fingerprints on her phone screen.
Ingredients
- Pitted dates: These natural sweeteners bind everything together while adding deep caramel notes
- Unsweetened shredded coconut: Toast half of it for that authentic Samoa crunch we all remember from childhood
- Almond flour: Creates a tender crumb structure, though oat flour works perfectly if you need nut-free
- Cocoa powder: Just enough to make the base taste like a thin mint cookie without overpowering the coconut
- Salt: A quarter teaspoon might seem small but it cuts through all that sweet richness
- Creamy almond butter: The secret to smooth caramel that holds its shape when chilled
- Maple syrup: Two tablespoons provide just enough sticky sweetness to make the caramel layer spreadable
- Dark chocolate: Higher cocoa percentage balances the intense sweetness of dates and maple
- Coconut oil: One teaspoon helps the chocolate set properly and gives it that satisfying snap
Instructions
- Prepare your workspace:
- Line a baking sheet with parchment paper before you start, since the mixture gets sticky and you will want to move fast
- Make the chocolate base:
- Pulse dates, coconut, almond flour, cocoa powder, and salt in your food processor until the mixture clumps together and feels like slightly damp sand when squeezed
- Form the bites:
- Scoop roughly one tablespoon portions and press firmly into compact discs, flattening them slightly to create a stable base for the caramel layer
- Whisk the caramel:
- Stir almond butter and maple syrup until completely smooth, then fold in the toasted coconut until every piece is coated
- Assemble the layers:
- Top each chocolate base with a generous teaspoon of caramel mixture, pressing gently so it sticks without squishing the base
- Melt the chocolate:
- Heat dark chocolate with coconut oil in thirty second bursts, stirring between each until glossy and pourable
- Add the chocolate coating:
- Dip the bottom of each bite into melted chocolate and return to the parchment, then drizzle the remaining chocolate artistically over the tops
- Set completely:
- Refrigerate for at least thirty minutes until the chocolate snaps when you bite into it
 Save to Pinterest
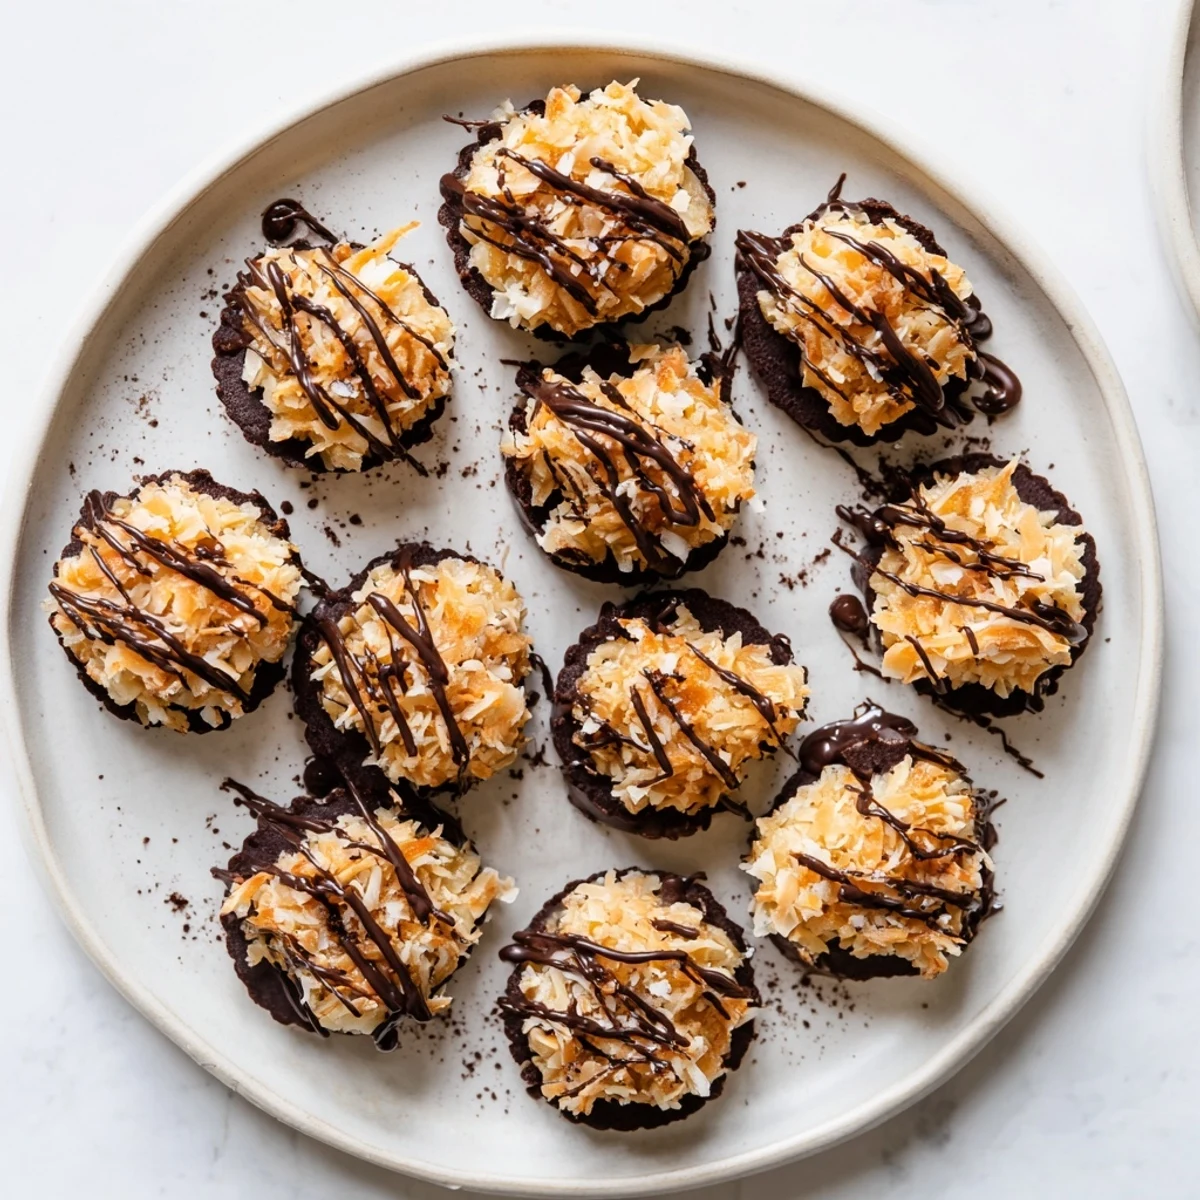
 These became my emergency contribution to every potluck and office party last year. People still ask when I will bring them again, apparently not realizing how absurdly simple they are to make.
Make Ahead Magic
I learned by accident that these freeze beautifully layered between parchment paper in an airtight container. Just pull them out fifteen minutes before serving and nobody will know you did not make them that afternoon.
Texture Secrets
The difference between good and great comes down to how finely you chop your dates before processing. Large chunks leave gummy spots, but proper blending creates that fudgy, uniform texture that reminds everyone of real cookie dough.
Serving Suggestions
These taste completely different when served at room temperature versus cold from the fridge, with the chocolate becoming more fudgelike and the caramel creamier. I personally prefer them slightly chilled, but room temperature lets all the flavors bloom.
- Store them in the fridge if you plan to eat within three days
- Freeze for longer storage, but separate layers with parchment to prevent sticking
- Let them sit five minutes before serving if coming straight from the freezer
 Save to Pinterest
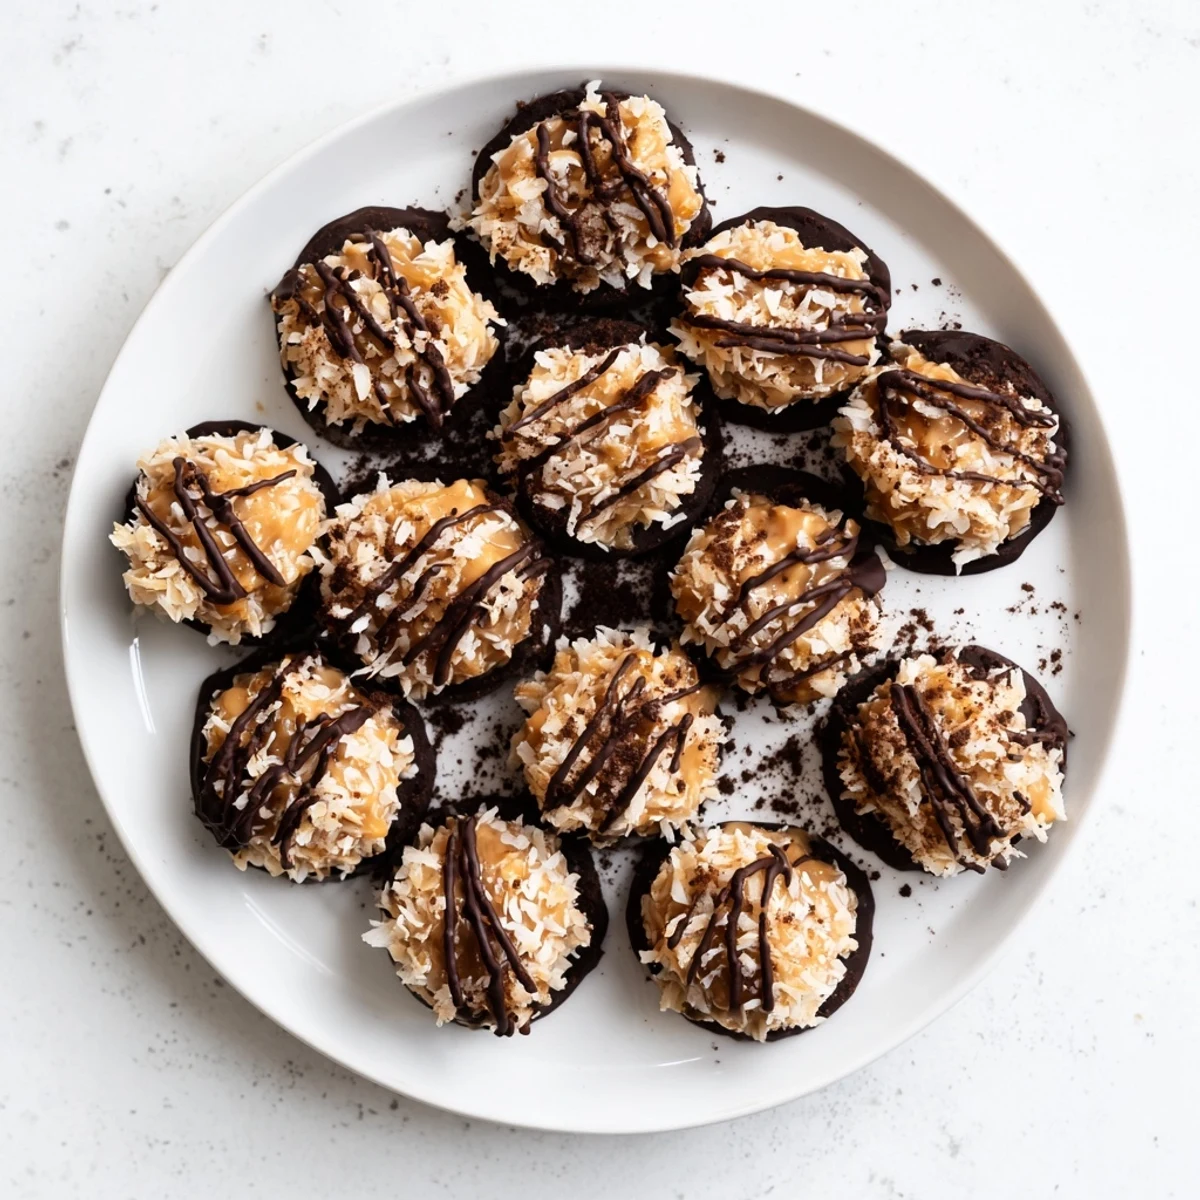
 Sometimes the simplest recipes become the ones we reach for most often, and these little bites have earned their permanent spot in my rotation.
Recipe FAQs
- → How long do these keep in the refrigerator?
-
These bites will stay fresh in the refrigerator for up to one week when stored in an airtight container. Place parchment paper between layers to prevent sticking.
- → Can I make these nut-free?
-
Yes, substitute the almond flour with oat flour and use sunflower seed butter instead of almond butter. The texture remains similar while making it safe for those with nut allergies.
- → Do I need to toast the coconut?
-
Toasting the coconut for the caramel layer enhances the flavor and adds a pleasant crunch. Simply spread shredded coconut on a baking sheet and bake at 350°F for 5-7 minutes until golden, stirring occasionally.
- → Can I use a different type of chocolate?
-
Absolutely. While dark chocolate provides a nice contrast to the sweet caramel, milk chocolate or semi-sweet chocolate work well too. Just ensure the chocolate contains cocoa butter for proper setting.
- → What's the best way to melt the chocolate?
-
Use a double boiler for gentle, even heating, or microwave in 30-second intervals stirring between each. Adding coconut oil helps create a smooth consistency and makes coating easier.
