 Save to Pinterest
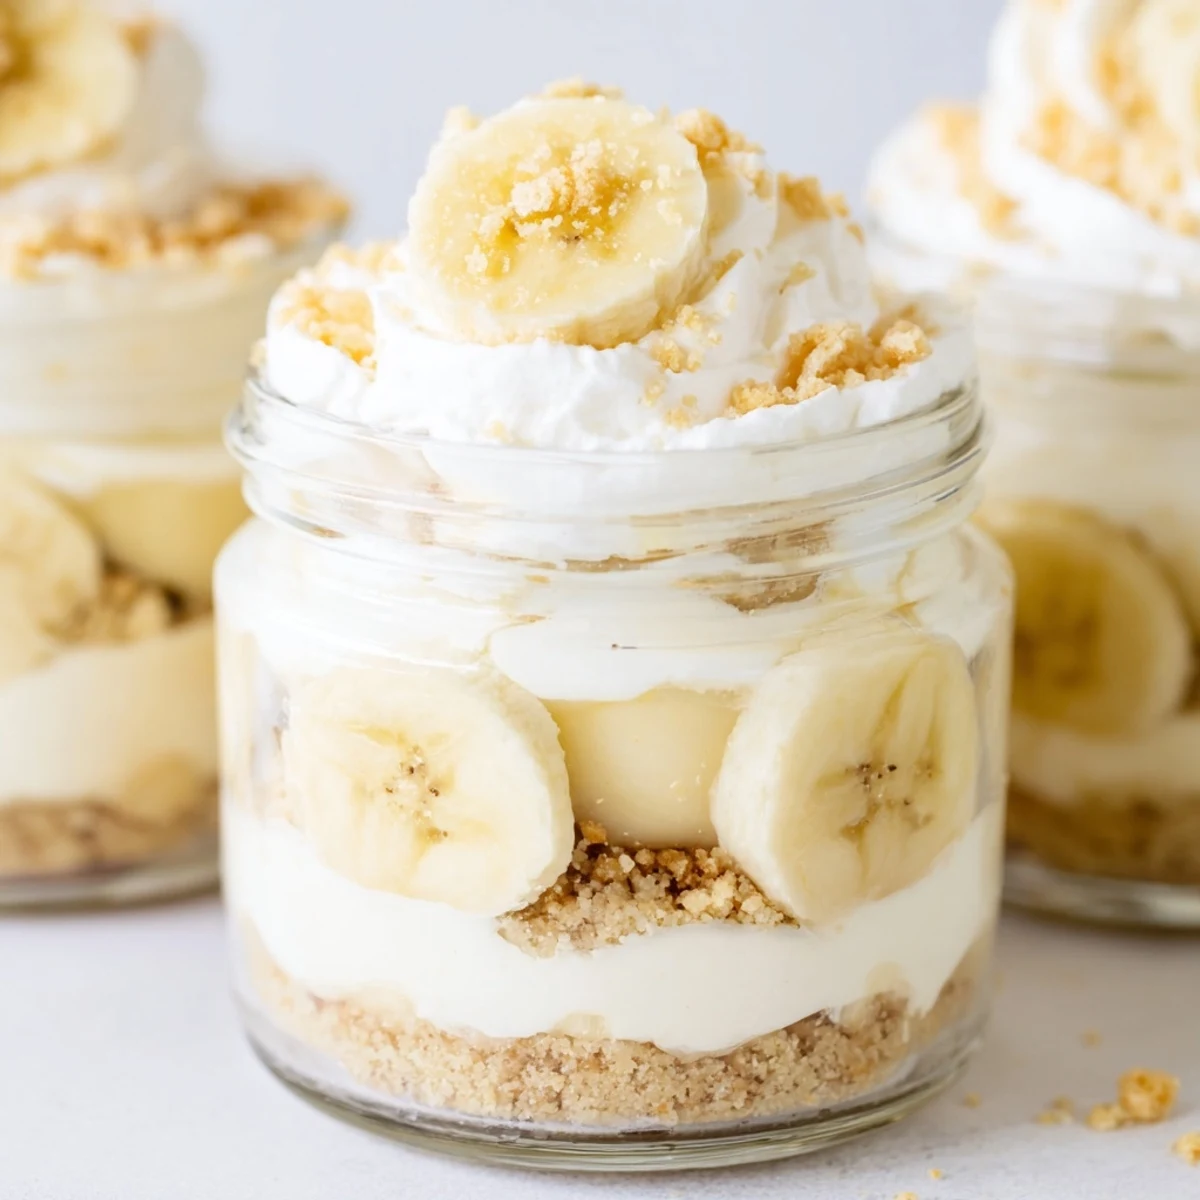
 These individual cups combine the best of two beloved desserts—creamy cheesecake and classic banana pudding—into one impressive presentation. The vanilla wafer crust provides a buttery foundation, while layers of smooth cheesecake filling and sweet banana pudding create irresistible texture. Fresh banana slices and extra wafer crumbs add the perfect finishing touch. With just 20 minutes of active preparation and no oven required, this is an ideal make-ahead dessert for gatherings, potlucks, or weeknight treats.
Last summer my neighbor texted at 7pm asking if I had anything for dessert because her in-laws had surprised them with an unexpected visit. I raided the pantry and somehow these little cups came together in twenty minutes flat. She texted me the next morning saying her father-in-law asked for the recipe three times before he left.
My daughter helped me make a batch for her class party and insisted on doing all the layering herself. She came home beaming that day because her teacher asked for the recipe and several kids said it was better than the cafeteria dessert. Now whenever theres a classroom celebration, I get a text from another parent asking if were making those banana cups again.
Ingredients
- 1 cup vanilla wafer cookies, crushed: Put these in a ziplock bag and let your kids crush them with a rolling pin
- 2 tbsp unsalted butter, melted: The crust comes together better with slightly warm butter
- 8 oz cream cheese, softened: Leave it out for at least an hour so you avoid any lumpy filling
- 1/3 cup granulated sugar: Do not reduce this or the cheesecake layer wont set properly
- 1 tsp pure vanilla extract: The real stuff makes a noticeable difference here
- 1 cup heavy whipping cream, cold: The colder the cream the faster it whips to stiff peaks
- 1 package instant banana pudding mix: Cook-and-serve pudding will not work for this recipe
- 1 1/4 cups cold whole milk: Whole milk gives the pudding layer a richer texture
- 2 ripe bananas, sliced: Slightly firm bananas are better than mushy ones for layering
Instructions
- Build the crispy crust foundation:
- Combine crushed vanilla wafers and melted butter in a small bowl mixing until every crumb looks evenly moistened. Spoon about two tablespoons into the bottom of each serving cup and press down gently with the back of a spoon to create a firm base.
- Whip up the creamy cheesecake layer:
- Beat cream cheese sugar and vanilla extract with a hand mixer until completely smooth with no remaining lumps. In a separate bowl whip the cold heavy cream until stiff peaks form then gently fold it into the cream cheese mixture until fully incorporated.
- Prepare the banana pudding filling:
- Whisk together the instant banana pudding mix and cold milk for exactly two minutes until noticeably thickened. Do not overmix or the pudding might become too stiff to layer smoothly.
- Assemble all the beautiful layers:
- Layer half the cheesecake filling over the crust in each cup followed by a single layer of sliced bananas. Spoon banana pudding over the bananas then top with remaining cheesecake mixture.
- Add the finishing touches and chill:
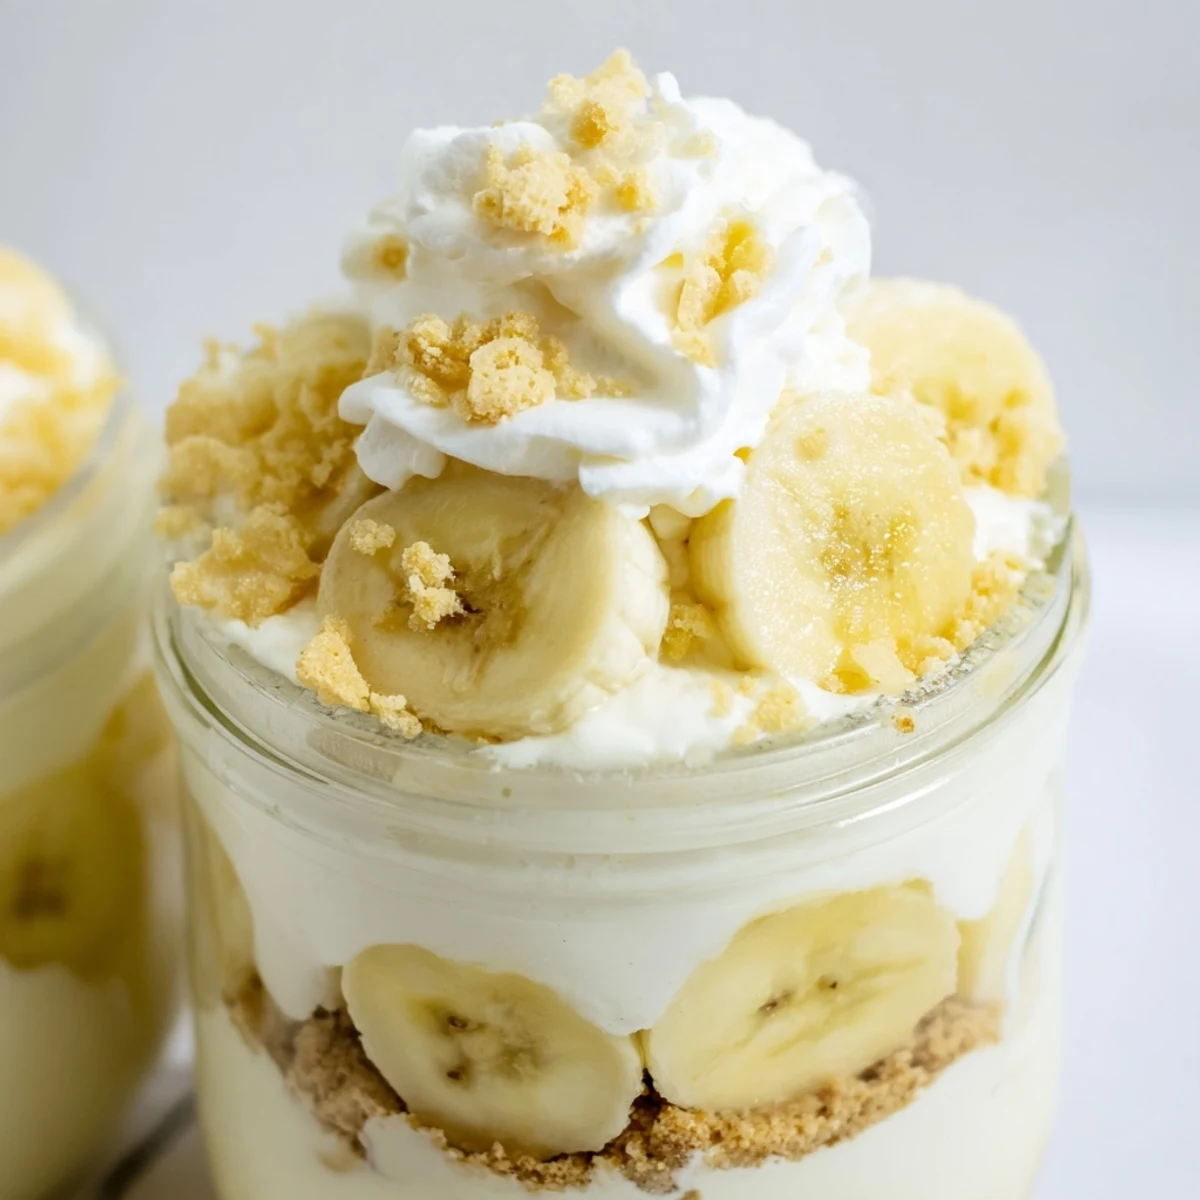
- Sprinkle each cup with additional wafer crumbs fresh banana slices and a dollop of whipped cream. Cover and refrigerate for at least two hours before serving.
 Save to Pinterest
 My husband usually skips dessert but after trying these he asked if I could make them for his office potluck. Four people asked for the recipe and his boss actually requested them specifically for the next gathering.
Making Ahead Like a Pro
You can assemble these cups up to 24 hours in advance which makes them perfect for stress-free entertaining. Just keep the fresh banana slices and whipped cream separate until right before serving to maintain that fresh-made appearance.
Serving Suggestions That Work
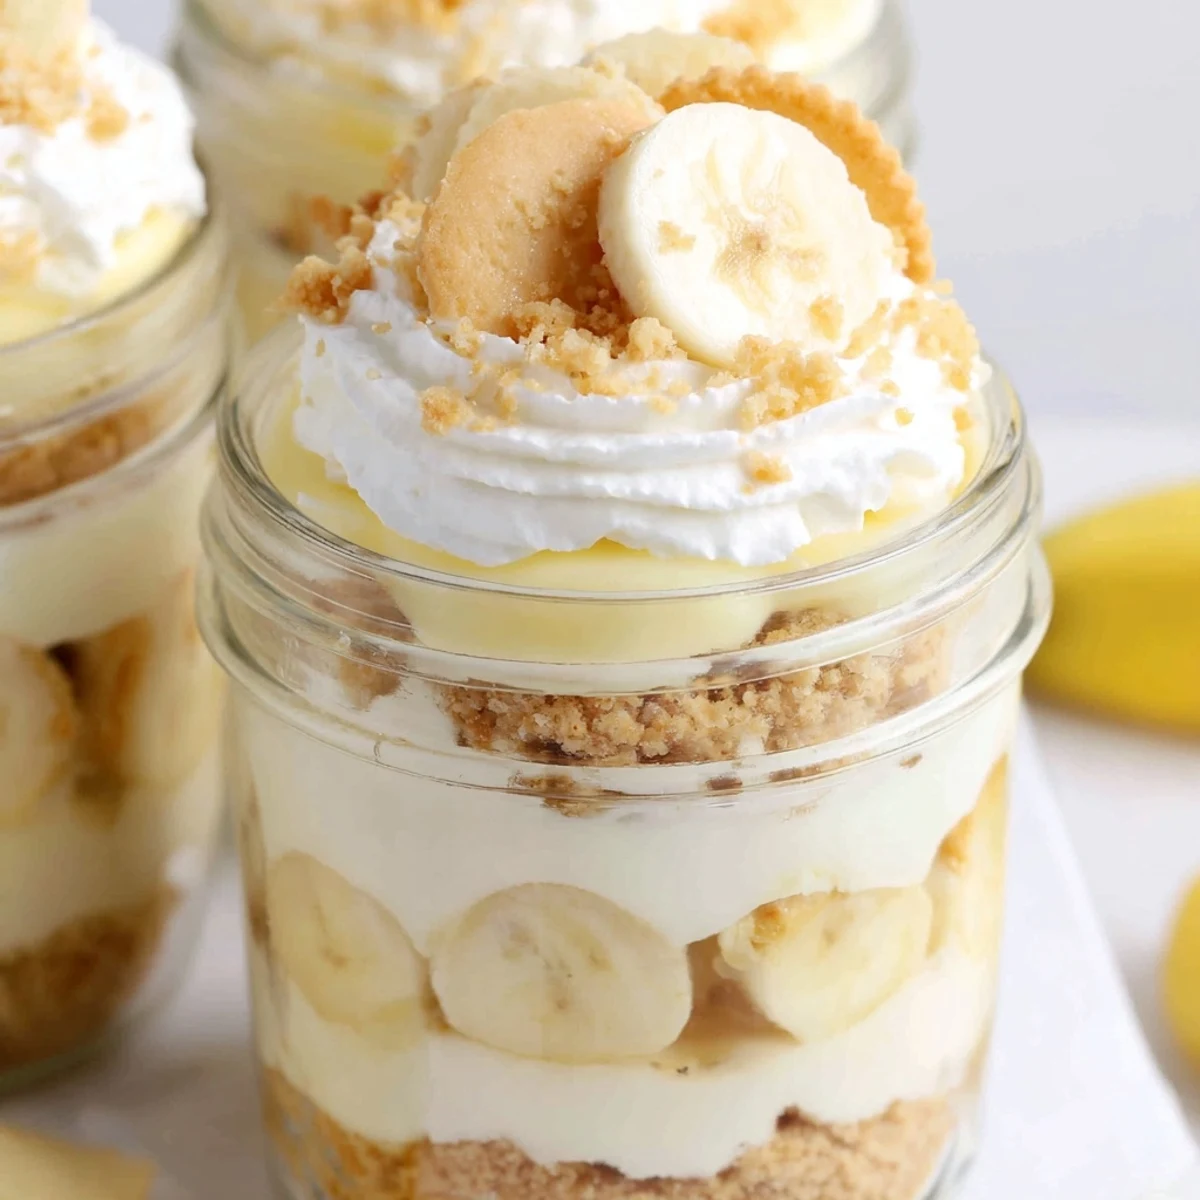
Clear glass cups show off the beautiful layers but mason jars work perfectly if you want to transport these to a picnic. These are sweet enough on their own but a cup of black coffee balances the richness beautifully.
Easy Variations to Try
Sometimes I swap the vanilla wafers for graham crackers when I want a more traditional cheesecake flavor. A pinch of cinnamon in the crust adds warmth especially nice during fall months.
- Try using Nilla wafers instead of plain vanilla cookies for extra banana flavor
- Drizzle a little caramel sauce between layers for an indulgent twist
- Add a sprinkle of sea salt on top to cut through the sweetness
 Save to Pinterest
 These little cups have become my go-to whenever I need to bring dessert somewhere because they travel so well and always disappear first.
Recipe FAQs
- → Can I make these cups ahead of time?
-
Yes, these cups can be prepared up to 24 hours in advance. Store them covered in the refrigerator, but add fresh banana slices and wafer crumbs just before serving to maintain optimal texture and prevent browning.
- → What type of cups work best for serving?
-
Clear glass cups, mason jars, or dessert glasses work beautifully as they showcase the distinct layers. Any 6-8 ounce vessel will work—aim for something with straight sides for the most attractive presentation.
- → How do I prevent the bananas from turning brown?
-
Toss sliced bananas lightly in lemon juice before layering, or add them just before serving. The dairy layers also help protect the bananas from oxidation, so they stay fresh for several hours once assembled.
- → Can I substitute the instant pudding mix?
-
For homemade banana pudding, cook 2 tablespoons cornstarch with 1/3 cup sugar and 1 1/4 cups milk until thickened, then stir in a mashed ripe banana. Cool completely before layering.
- → What if I don't have a hand mixer?
-
A whisk and some elbow grease work perfectly fine. Whip the heavy cream in a chilled bowl until stiff peaks form, then fold it into the cream cheese mixture. The texture will be just as delicious.
- → Can I freeze these cheesecake cups?
-
Freezing isn't recommended as the texture of the pudding layer and fresh bananas will suffer. However, the cheesecake filling alone can be frozen for up to one month if you want to prep components in advance.
