 Save to Pinterest
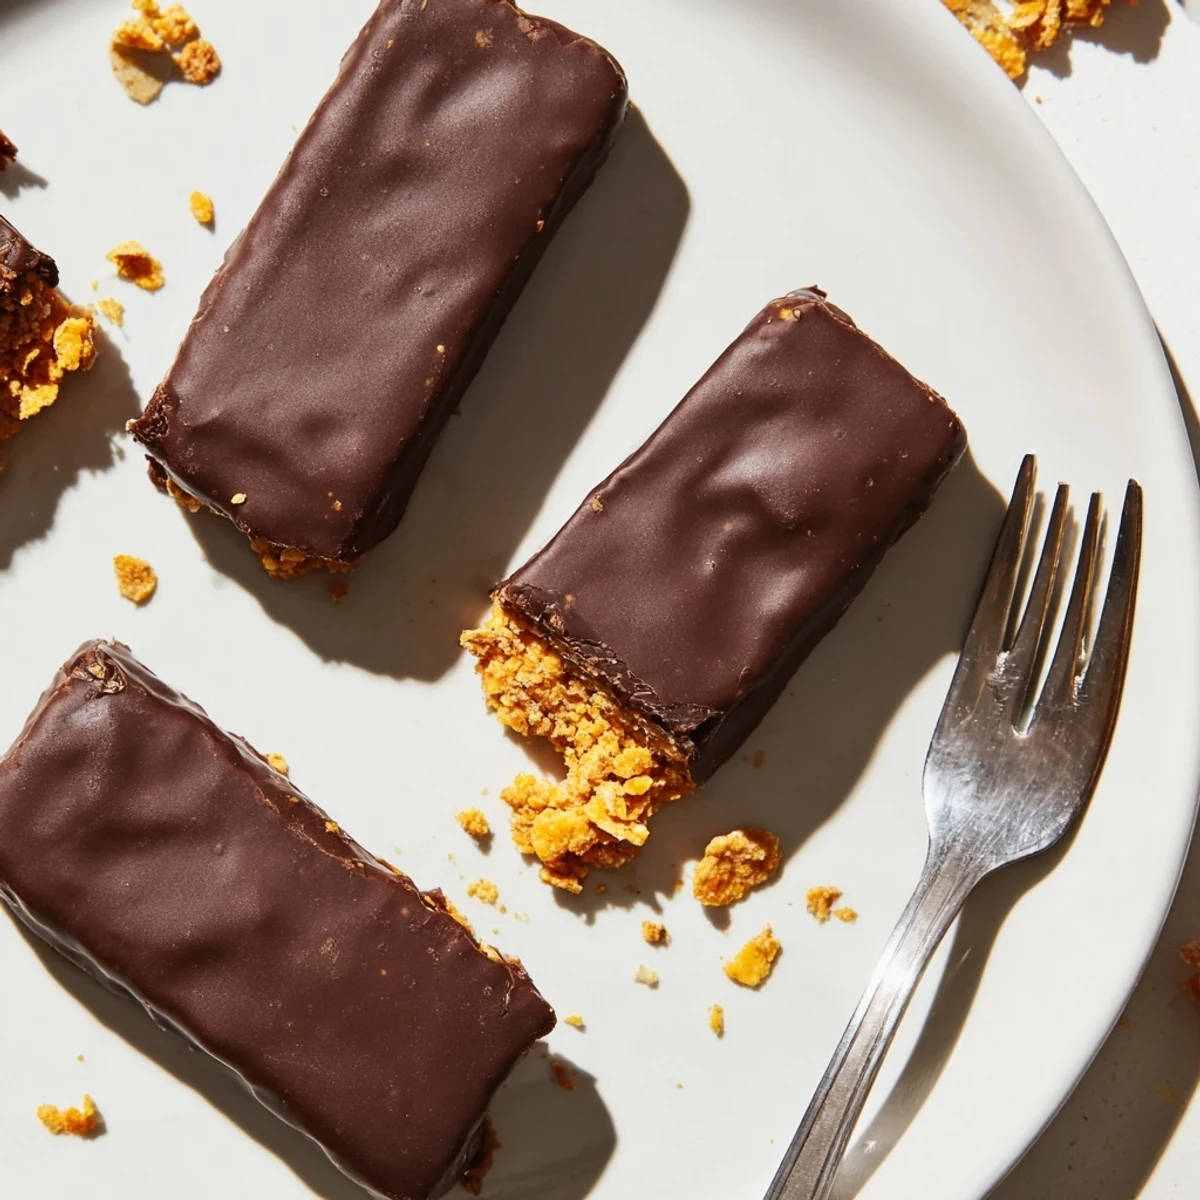
 These wholesome homemade Butterfingers deliver all the crunchy, chocolatey satisfaction of the classic candy bar with better-for-you ingredients. A no-bake peanut butter and corn flake center is dipped in melted dark chocolate, creating an irresistible treat that comes together in about an hour.
The secret lies in gently folding crushed corn flakes into a warm peanut butter and maple syrup mixture, then freezing until firm before dipping. Using dark chocolate with at least 70% cacao adds depth and antioxidants while keeping things indulgent. They store beautifully in the fridge for up to a week or can be frozen for longer enjoyment.
The candy aisle at the grocery store always tempts me, but one evening after reading the ingredient list on a Butterfinger wrapper, I set it back down and drove home determined to figure out a cleaner version. Three batches later, I had something that cracked with that same satisfying snap and tasted even better. These healthy homemade Butterfingers use just a handful of real ingredients and come together in under an hour. No corn syrup, no mystery fillers, just pure peanut butter and dark chocolate magic.
I brought a plate of these to a movie night with friends, expecting them to be a polite afterthought next to the popcorn and nachos. They vanished before the opening credits finished rolling, and someone actually paused the movie to ask if I had hidden more in my bag. That was the moment I knew this recipe was a keeper.
Ingredients
- Natural creamy peanut butter (1 cup): Use the kind with just peanuts and salt on the label. The natural oils blend smoothly with the maple syrup and give you that rich, authentic peanut flavor without added emulsifiers.
- Pure maple syrup or honey (1/2 cup): Maple syrup keeps the recipe vegan and adds a subtle caramel note. Honey works too if that is what you have in the pantry.
- Corn flakes, lightly crushed (2 cups): This is the secret to that signature crunch. Do not crush them into dust, just break them into smaller pieces so they still hold some texture when folded into the peanut butter mixture.
- Dark chocolate chips, at least 70% cacao (1 1/2 cups): The higher the cacao percentage, the richer and less sugary your coating will be. It balances the sweetness of the peanut butter layer perfectly.
- Coconut oil (1 tablespoon): A small amount stirred into the chocolate creates a smoother, shinier coating that sets with a professional looking finish.
Instructions
- Prep your pan:
- Line an 8x8 inch baking dish with parchment paper, letting the edges hang over the sides like handles. This little trick will save you a lot of headache when it is time to lift the slab out later.
- Melt and marry:
- In a medium saucepan over low heat, combine the peanut butter and maple syrup. Stir constantly for about 2 to 3 minutes until the mixture is melted, glossy, and smells absolutely heavenly.
- Fold in the crunch:
- Remove the pan from heat and gently fold in the crushed corn flakes with a spatula. Take your time here so every flake gets coated without being crushed into nothing.
- Press and freeze:
- Transfer the mixture to your lined dish and press it down firmly and evenly with the back of a spoon or your hands. Pop it into the freezer for 20 to 30 minutes until it feels solid and firm to the touch.
- Melt the chocolate:
- In a heatproof bowl set over a pan of barely simmering water, melt the chocolate chips and coconut oil together. Stir gently until the mixture is completely smooth and velvety, then remove from heat.
- Cut and dip:
- Take the peanut butter slab out of the freezer and cut it into 12 even bars. Using a fork, dip each bar into the melted chocolate, letting the excess drip off before placing it on a parchment lined tray.
- Chill until set:
- Refrigerate the coated bars for at least 20 minutes. You will know they are ready when the chocolate shell is firm and gives a clean snap when tapped with your fingernail.
 Save to Pinterest
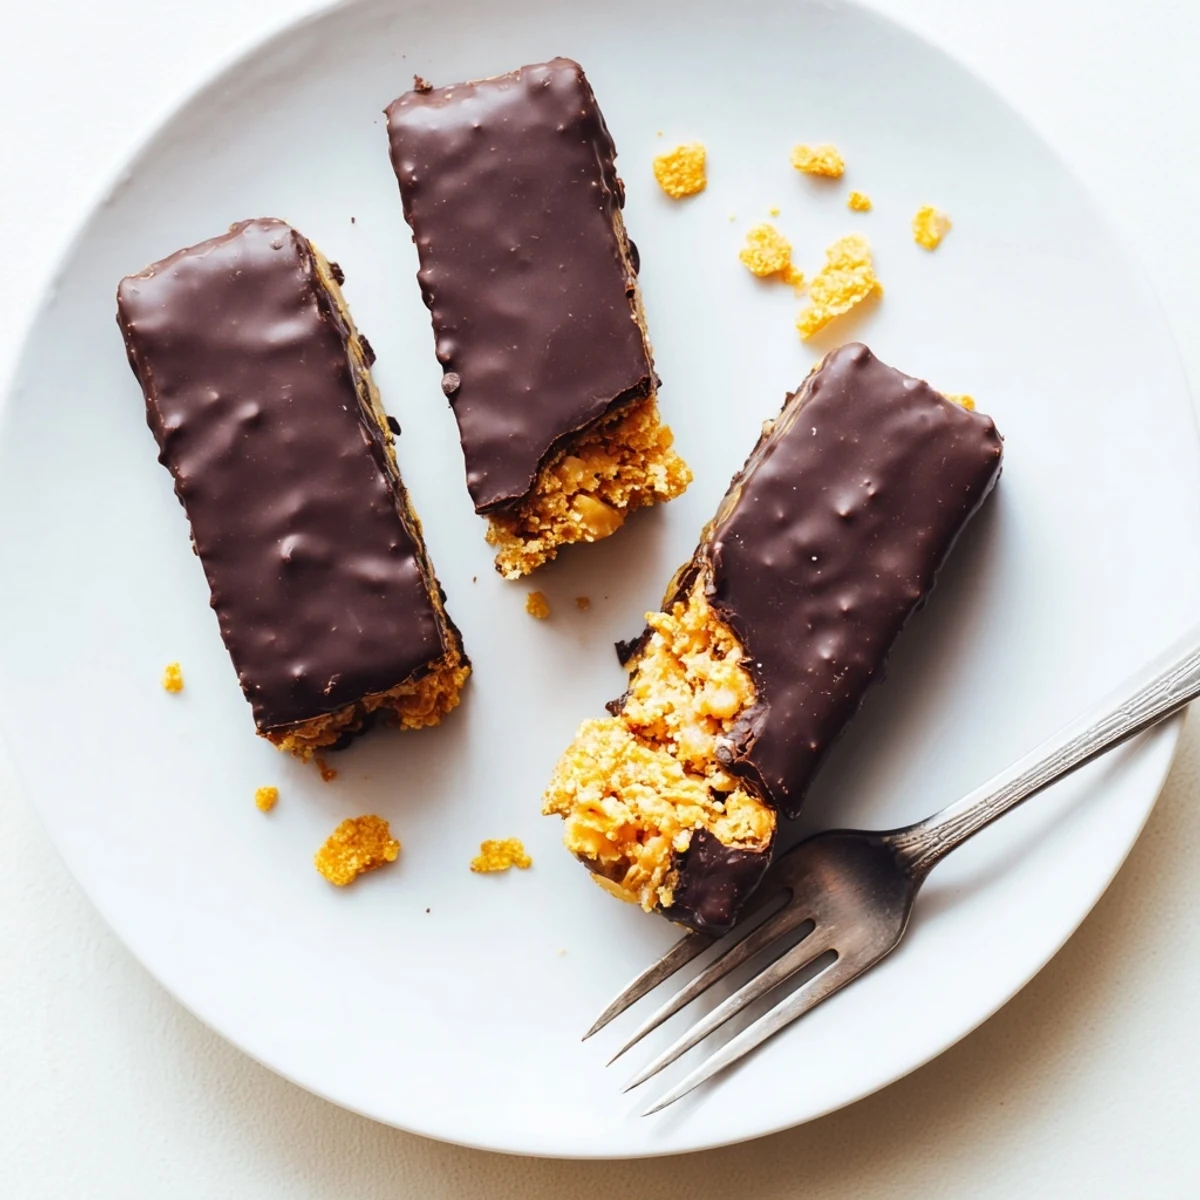
 The best part of making these at home is watching someone bite into one for the first time. Their eyes go wide, they look at the bar, then back at you, and you can see the exact moment they realize healthy does not mean boring.
Storing Your Candy Bars
Keep these bars in an airtight container in the refrigerator and they will stay fresh and delicious for up to a week. If you want to stash them for longer, freeze them between layers of parchment paper and they will keep for a couple of months. Let frozen bars sit at room temperature for about ten minutes before eating so the chocolate softens just enough.
Making It Your Own
Almond butter or sunflower seed butter swap in seamlessly for anyone avoiding peanuts. A generous pinch of flaky sea salt on top of each bar before the chocolate sets takes the flavor to an entirely new level. You can even drizzle white chocolate over the finished bars for a striking look that turns a simple treat into something gift worthy.
What to Watch For
A few small details can make or break your candy making experience, and most of them are easy to overlook until you learn the hard way. Keep these in mind and your first batch will turn out better than most people expect from a homemade candy bar.
- Use natural peanut butter without added sugars or oils for the best texture and flavor.
- Crush the corn flakes by hand in a zip top bag rather than using a food processor.
- Always chill the bars fully before cutting to get clean, sharp edges.
 Save to Pinterest
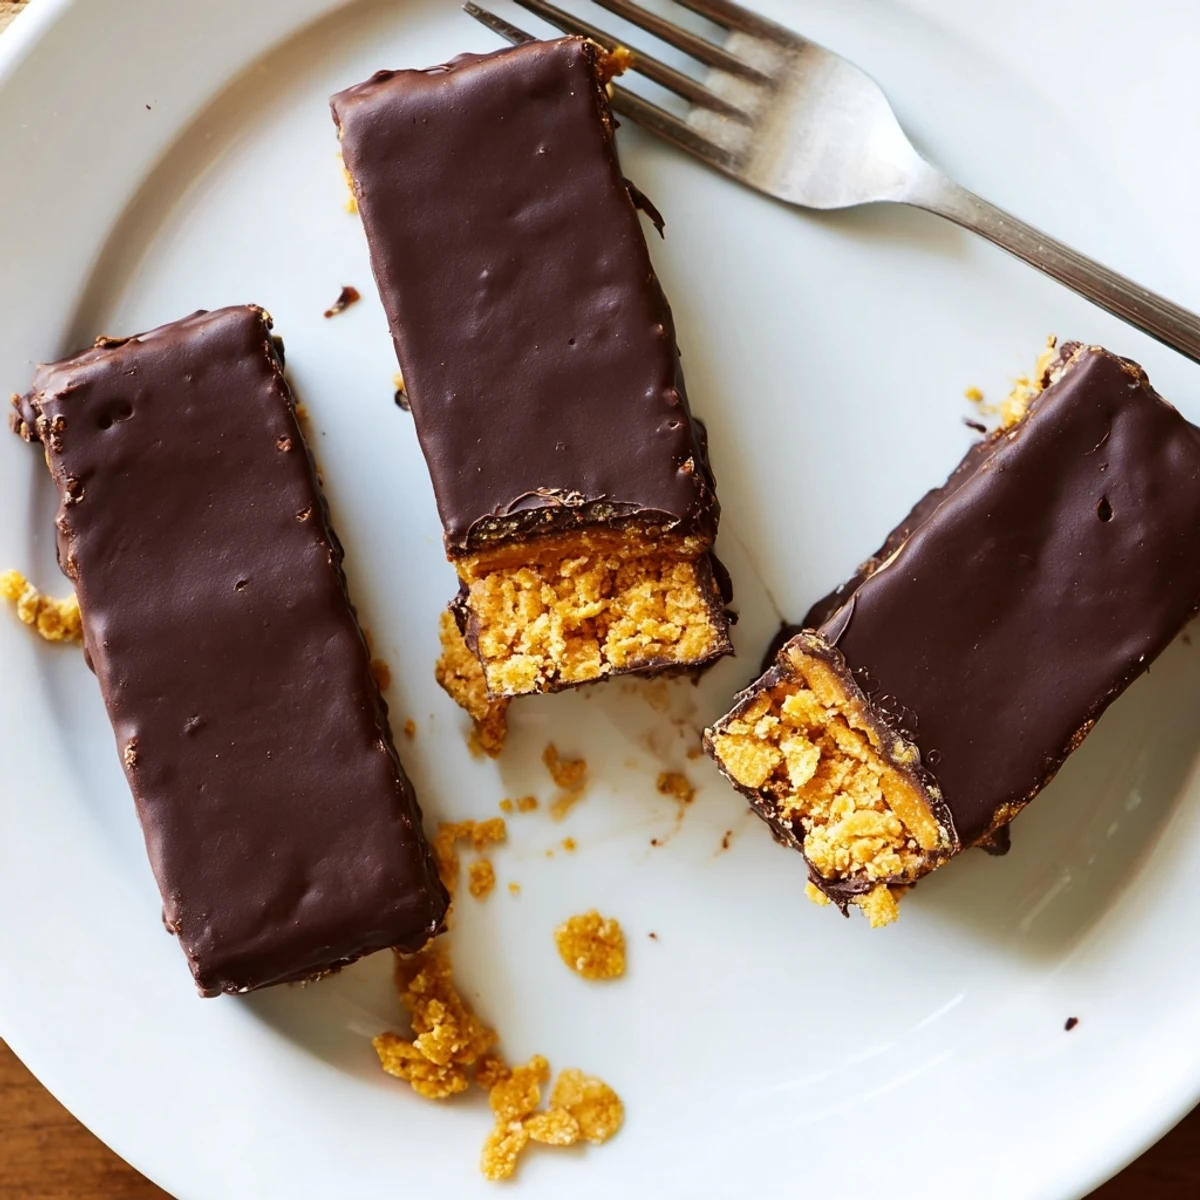
 Homemade candy is one of those small kitchen victories that feels disproportionately rewarding. Share them, gift them, or hide a few in the back of the fridge for yourself, you earned it.
Recipe FAQs
- → Can I make these Butterfingers vegan?
-
Yes, simply use maple syrup instead of honey and choose a dairy-free dark chocolate. Most dark chocolate with 70% cacao or higher is naturally dairy-free, but always check the label to be certain.
- → What can I substitute for peanut butter?
-
Almond butter, sunflower seed butter, or cashew butter all work well as alternatives. Keep in mind that sunflower seed butter can sometimes turn slightly green when baked or mixed with baking soda due to a natural chemical reaction with chlorogenic acid.
- → How should I store the finished bars?
-
Store the bars in an airtight container in the refrigerator for up to one week. For longer storage, freeze them for up to three months. Let frozen bars thaw in the fridge for about 30 minutes before enjoying for the best texture.
- → Why are my corn flakes getting too crushed when mixing?
-
Fold the corn flakes in gently using a spatula rather than stirring vigorously. Lightly crushing them beforehand into large pieces rather than fine crumbs helps maintain that signature Butterfinger crunch. Work quickly when pressing the mixture into the dish before it cools and firms up.
- → Can I use milk chocolate instead of dark chocolate?
-
Absolutely. Milk chocolate or semi-sweet chocolate chips work fine for the coating. Dark chocolate provides a richer contrast to the sweet peanut butter filling and contains less sugar, but the choice comes down to personal preference.
- → Are these safe for someone with gluten intolerance?
-
They can be gluten-free if you use certified gluten-free corn flakes, as some conventional brands may contain trace amounts of barley or be processed on shared equipment. All other ingredients in this treat are naturally gluten-free.
