 Save to Pinterest
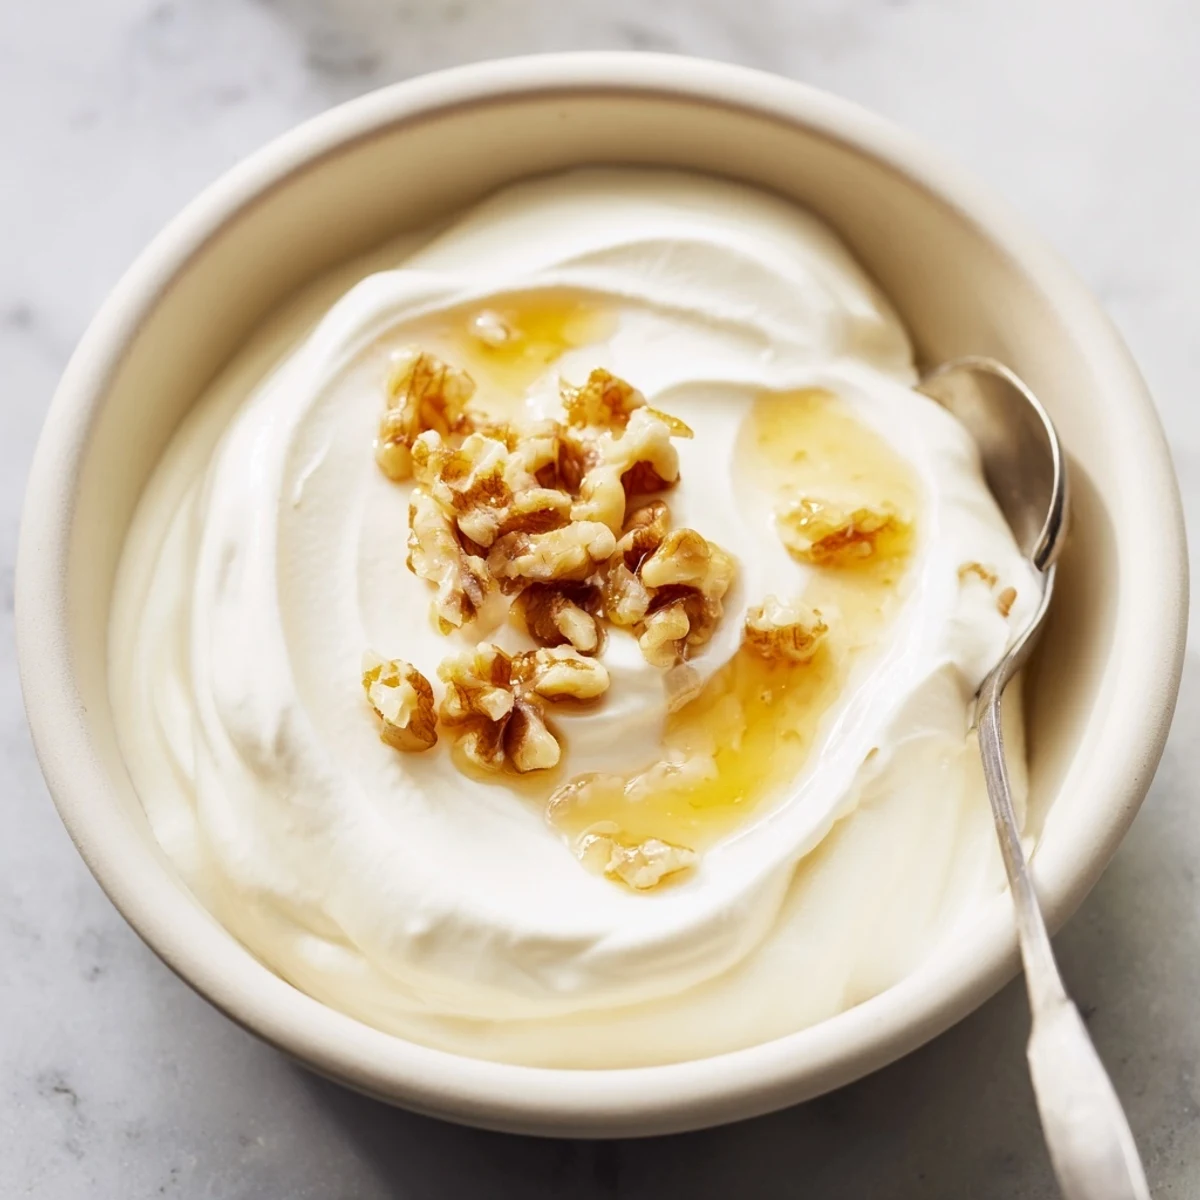
 Craft velvety Greek yogurt using just whole milk and a starter culture. Heat milk to 82°C, cool to 43°C, then culture for 6-8 hours until set. Strain through cheesecloth for 1-2 hours to achieve that signature thick, creamy consistency. The result surpasses store-bought versions with fresh, tangy flavor and luxurious texture perfect for parfaits, savory dips, or enjoying plain with drizzled honey and seasonal fruit.
Standing in my grandmother's kitchen watching her transform simple milk into something thick and creamy felt like genuine magic. She never measured temperatures, just dipped her finger in and knew. I've learned to rely on a thermometer since then, but that wonder of creating something from almost nothing hasn't faded. Every batch still feels like a small victory.
My college roommate thought I was crazy when she found milk wrapped in towels on our counter. She came around after tasting the results on granola the next morning. Now she texts me photos of her own yogurt experiments, usually with questions about why hers didn't thicken quite right.
Ingredients
- Whole milk: I used to try skim milk thinking it would be healthier, but the texture never compared. Whole milk gives you that luxurious Greek yogurt consistency that feels like dessert.
- Plain yogurt with live cultures: Your starter is everything here. Find a good quality plain yogurt with active cultures and treat it like the precious ingredient it is.
Instructions
- Heat the milk patiently:
- Warm your milk over medium heat, stirring now and then so nothing catches on the bottom. You're aiming for 82°C (180°F) essentially pasteurizing it to give your cultures a clean slate.
- Let it cool completely:
- This is the part where I used to get impatient and ruin batches. Walk away, do something else, let it cool to 43°C (110°F). Hot milk kills cultures, and cold milk won't wake them up.
- Temper your starter:
- Whisk that reserved cooled milk with your yogurt starter until silky smooth. Think of it as introducing old friends to new ones gently.
- Combine and culture:
- Pour the starter mixture back into your main batch and fold it in gently. Nestle your container somewhere warm and undisturbed, then wait those long 6 to 8 hours while science happens.
- Strain for thickness:
- The transformation from regular to Greek yogurt happens in the fridge. Line a strainer with cheesecloth, pour in your cultured yogurt, and let gravity do its work for 1 to 2 hours.
 Save to Pinterest
 There's something profoundly satisfying about spooning that thick, white perfection into jars and lining them up in the refrigerator. My partner now requests homemade yogurt specifically for his morning routine. It's become such a staple that store bought yogurt feels like a strange concept.
Getting The Temperature Right
I've burned through enough milk to learn that temperature precision matters more than almost anything else. Too hot and you've killed your starter cultures, too cool and they'll never multiply properly. A good thermometer costs less than one failed batch of yogurt.
Finding Your Warm Spot
Everyone develops their own method for keeping yogurt warm during culturing. Some people swear by yogurt makers, others use ovens with just the light on. I've found that wrapping the container in a thick towel and tucking it in the warmest corner of my kitchen works beautifully.
Using Your Whey
All that liquid gold draining from your yogurt isn't waste it's incredibly nutritious whey. I've started collecting it in a jar and adding it to smoothies or even using it in bread dough. The tang it adds is subtle but wonderful.
- Experiment with goat or sheep milk for completely different flavor profiles
- Save your whey in the freezer until you have enough for baking projects
- Your last batch of homemade yogurt becomes the starter for your next one
 Save to Pinterest
 Every time I pull those jars from the refrigerator, spoon ready, I remember that watching milk transform into something so perfect feels like kitchen magic. And the taste makes all that waiting entirely worth it.
Recipe FAQs
- → What makes Greek yogurt different from regular yogurt?
-
Greek yogurt undergoes straining to remove whey, resulting in a thicker, creamier texture with higher protein content. The straining process concentrates the yogurt, making it denser and more indulgent than traditional varieties.
- → How long does homemade Greek yogurt last?
-
Properly refrigerated homemade Greek yogurt stays fresh for 1-2 weeks. Keep it sealed in an airtight container and always use clean utensils when scooping to prevent bacterial contamination.
- → Can I use low-fat milk instead of whole milk?
-
While possible, whole milk yields the creamiest results. Low-fat versions produce thinner yogurt that may strain down significantly. For best texture and richness, stick with full-fat dairy.
- → What can I do with the whey liquid?
-
The strained whey contains protein and beneficial nutrients. Use it in smoothies, add to soups for extra richness, substitute for buttermilk in baking, or even water plants with it for a nutrient boost.
- → Do I need a yogurt maker?
-
No special equipment required. A warm spot in your kitchen works perfectly. Alternatively, wrap the container in towels, place in an oven with just the light on, or use a dehydrator set to 43°C.
- → Why did my yogurt not set properly?
-
Several factors affect culturing: milk temperature when adding starter must be 43°C, starter should contain live active cultures, and the environment needs consistent warmth. Avoid disturbing during culturing time.
