 Save to Pinterest
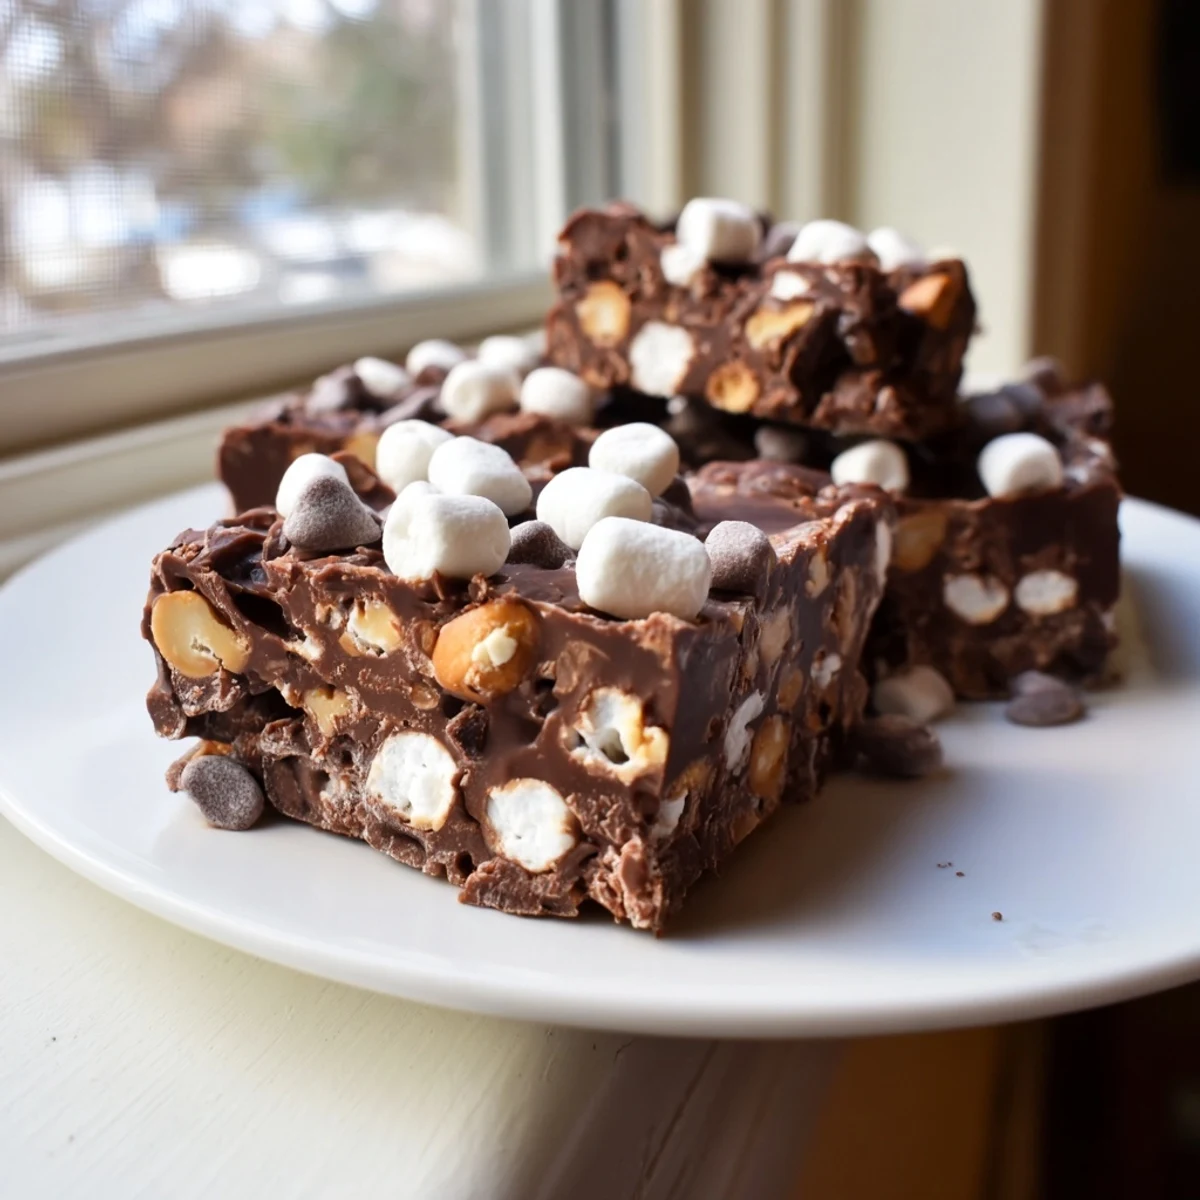
 Indulge in this rich, creamy chocolate fudge that combines the perfect balance of sweetness and crunch. The semi-sweet chocolate base melts smoothly with condensed milk and butter, creating a luscious texture that holds everything together. Mini marshmallows add delightful fluffiness, while roasted peanuts or walnuts provide satisfying crunch in every bite. Optional milk chocolate chips create extra pockets of sweetness throughout. Best of all, this no-bake dessert requires just 15 minutes of active prep time before chilling to set. The result is 16 decadent squares of chocolate heaven that store beautifully for up to a week.
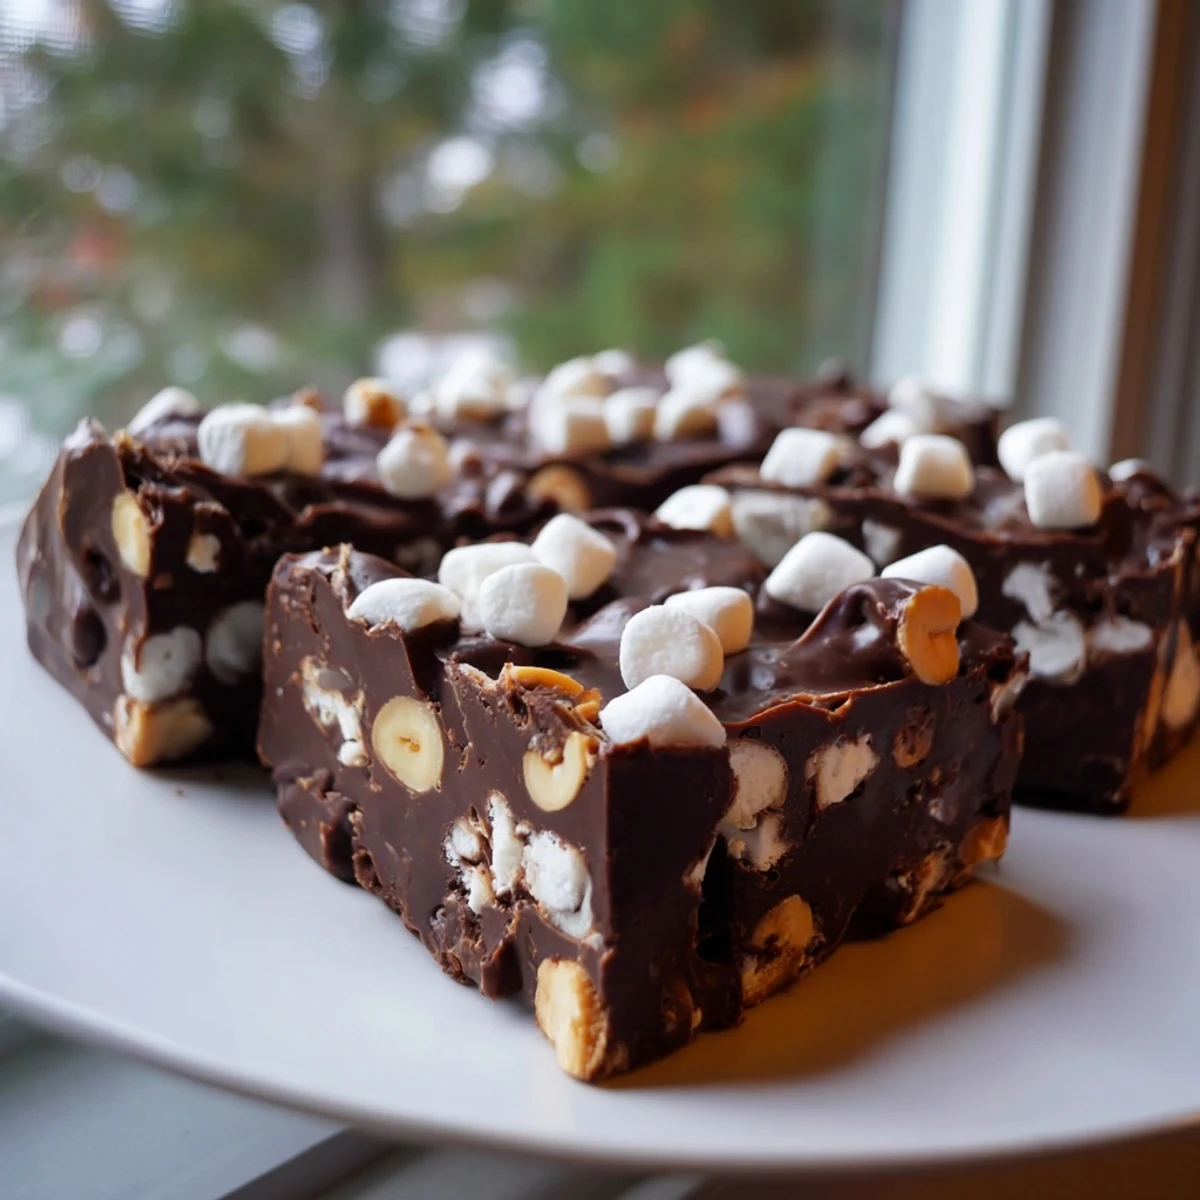
The first batch I made disappeared so fast at my sister's birthday that I barely got to taste a piece myself. This rocky road fudge has this incredible way of making everyone forget their diet resolutions and reach for just one more square. Something about the combination of glossy chocolate, pillowy marshmallows, and that satisfying crunch from the nuts creates pure magic in a pan.
I remember standing in my tiny apartment kitchen, nervously stirring that pot of chocolate and condensed milk, praying it would actually set. The smell of melting chocolate filled every corner of my space, and when I finally folded in those marshmallows, something about watching them peek through the glossy chocolate made everything feel cozy and right.
Ingredients
- 2 cups (340 g) semi-sweet chocolate chips: This creates the perfect fudge base, not too dark but with enough depth to stand up to the sweet mix-ins
- 1 can (14 oz / 400 g) sweetened condensed milk: The secret to that creamy, fudgy texture that sets up beautifully without any complicated techniques
- 2 tablespoons (28 g) unsalted butter: Adds just enough richness and helps the fudge achieve that smooth, melt-in-your-mouth consistency
- 1 ½ cups (90 g) mini marshmallows: These stay soft and pillowy in the fudge, creating those classic rocky road pockets everyone loves
- 1 cup (120 g) roasted unsalted peanuts or walnuts: Roughly chopped, they provide the essential crunch that balances the soft chocolate
- ½ cup (80 g) milk chocolate chips (optional): Extra texture and little pockets of sweetness throughout each bite
Instructions
- Prep your pan:
- Line an 8x8-inch baking pan with parchment paper, letting the paper hang over the sides like handles for easy removal later
- Melt the base:
- Combine semi-sweet chocolate chips, sweetened condensed milk, and butter in a medium saucepan over low heat, stirring constantly until the mixture becomes completely smooth and glossy
- Cool slightly:
- Remove from heat and let the mixture rest for 2 to 3 minutes so the marshmallows will not melt completely when added
- Fold in the good stuff:
- Gently mix in the marshmallows, nuts, and extra milk chocolate chips until just combined, being careful not to overmix
- Set the fudge:
- Pour into your prepared pan and smooth the top with a spatula, then refrigerate for at least 2 hours until completely firm
- Cut and serve:
- Lift the fudge from the pan using the parchment paper handles and cut into 16 perfect squares with a sharp knife
 Save to Pinterest
 My neighbor smelled this cooking through our shared wall and knocked on my door within minutes of the fudge hitting the fridge. Now we make it together every holiday season, taking turns stirring the pot and sneaking tastes before it sets.
Getting That Perfect Texture
The difference between grainy fudge and silky smooth perfection comes down to patience with the melting process. Keep that heat low and stir constantly, watching as the chocolate transforms from scattered chips into a glossy, unified river that coats your spoon.
Customization Ideas
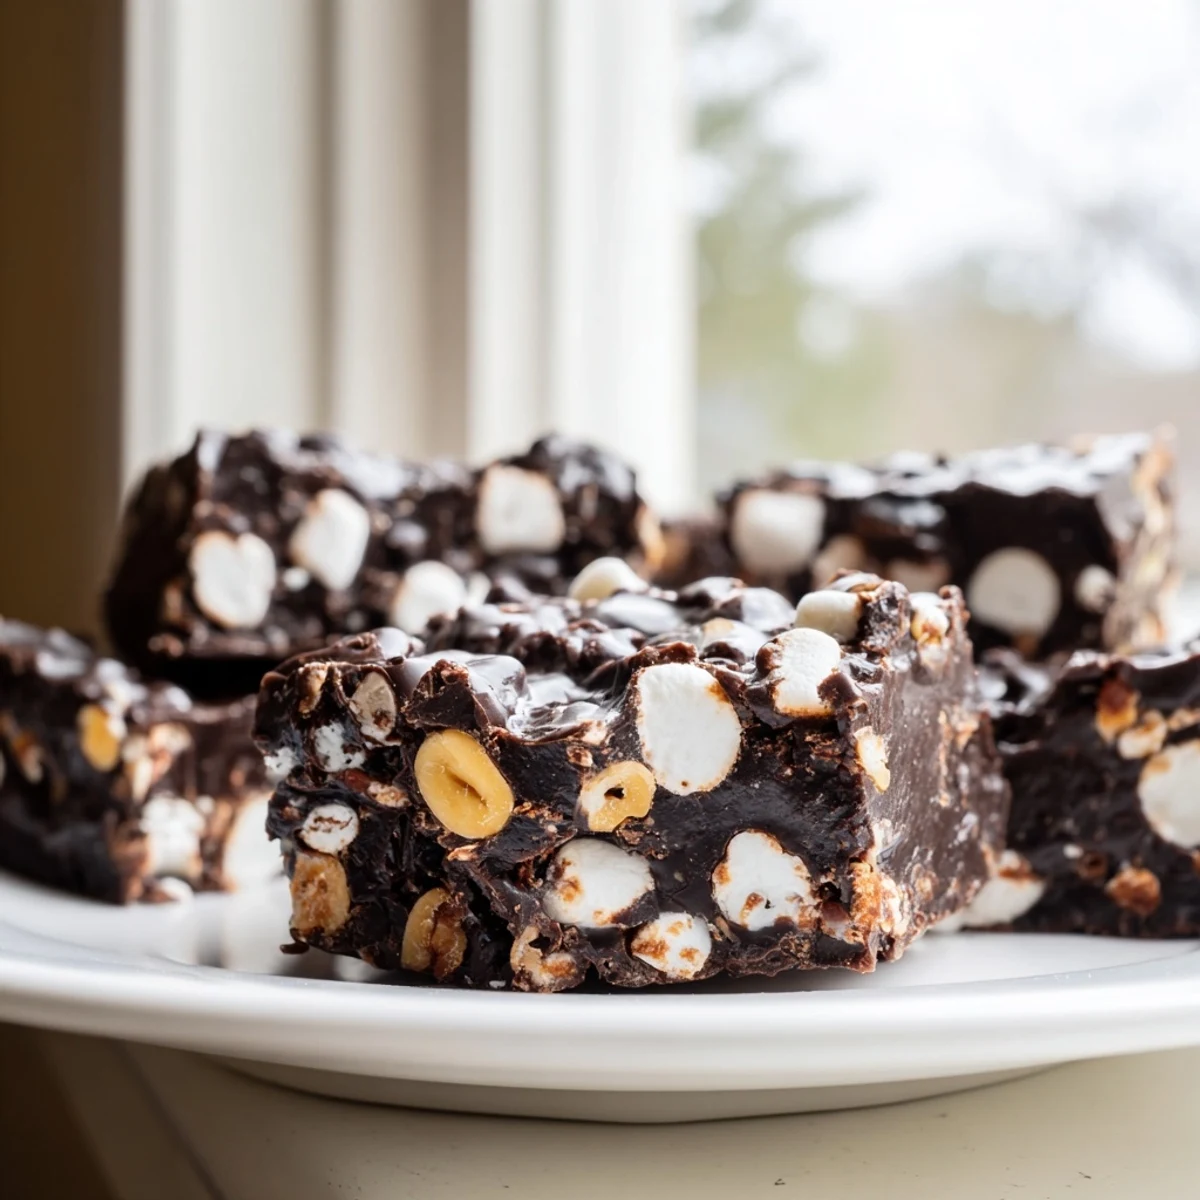
Sometimes I swap the peanuts for toasted pecans or add dried cherries for a holiday twist. Dark chocolate creates an incredibly sophisticated version, while white chocolate chips make for a fun variation that kids go absolutely wild over.
Storage and Serving Tips
This fudge keeps beautifully in the refrigerator for up to a week, though it rarely lasts that long in my house. Let it sit at room temperature for 10 minutes before serving so the texture becomes perfectly soft and yielding.
- Cutting with a warm knife helps create clean, sharp edges
- Layer pieces between parchment paper when storing to prevent sticking
- Gift in small boxes lined with wax paper for instant homemade presents
 Save to Pinterest
 Every time I make this fudge, I'm reminded that the best desserts are often the simplest ones, made with love and shared with people who matter most.
Recipe FAQs
- → How long does rocky road fudge need to set?
-
Refrigerate the fudge for at least 2 hours until completely firm. For best results, let it chill overnight before cutting into clean squares.
- → Can I use dark chocolate instead of semi-sweet?
-
Absolutely. Dark chocolate creates a richer, more intense flavor profile. Use the same quantity and expect a slightly less sweet final result.
- → What nuts work best in rocky road fudge?
-
Roasted peanuts or walnuts are traditional choices, but pecans, almonds, or hazelnuts also work beautifully. Chop them roughly for satisfying texture throughout each bite.
- → How should I store rocky road fudge?
-
Keep in an airtight container in the refrigerator for up to one week. Place parchment paper between layers to prevent sticking. The cold texture enhances the creamy consistency.
- → Can I make rocky road fudge nut-free?
-
Yes. Simply omit the nuts and increase the marshmallows to 2 cups, or add dried cranberries, raisins, or pretzels for alternative crunch and flavor variation.
- → Why did my fudge turn out grainy?
-
Grainy texture usually comes from overheating the chocolate. Keep the heat low and stir constantly until just melted. Avoid boiling or scorching the mixture.
