 Save to Pinterest
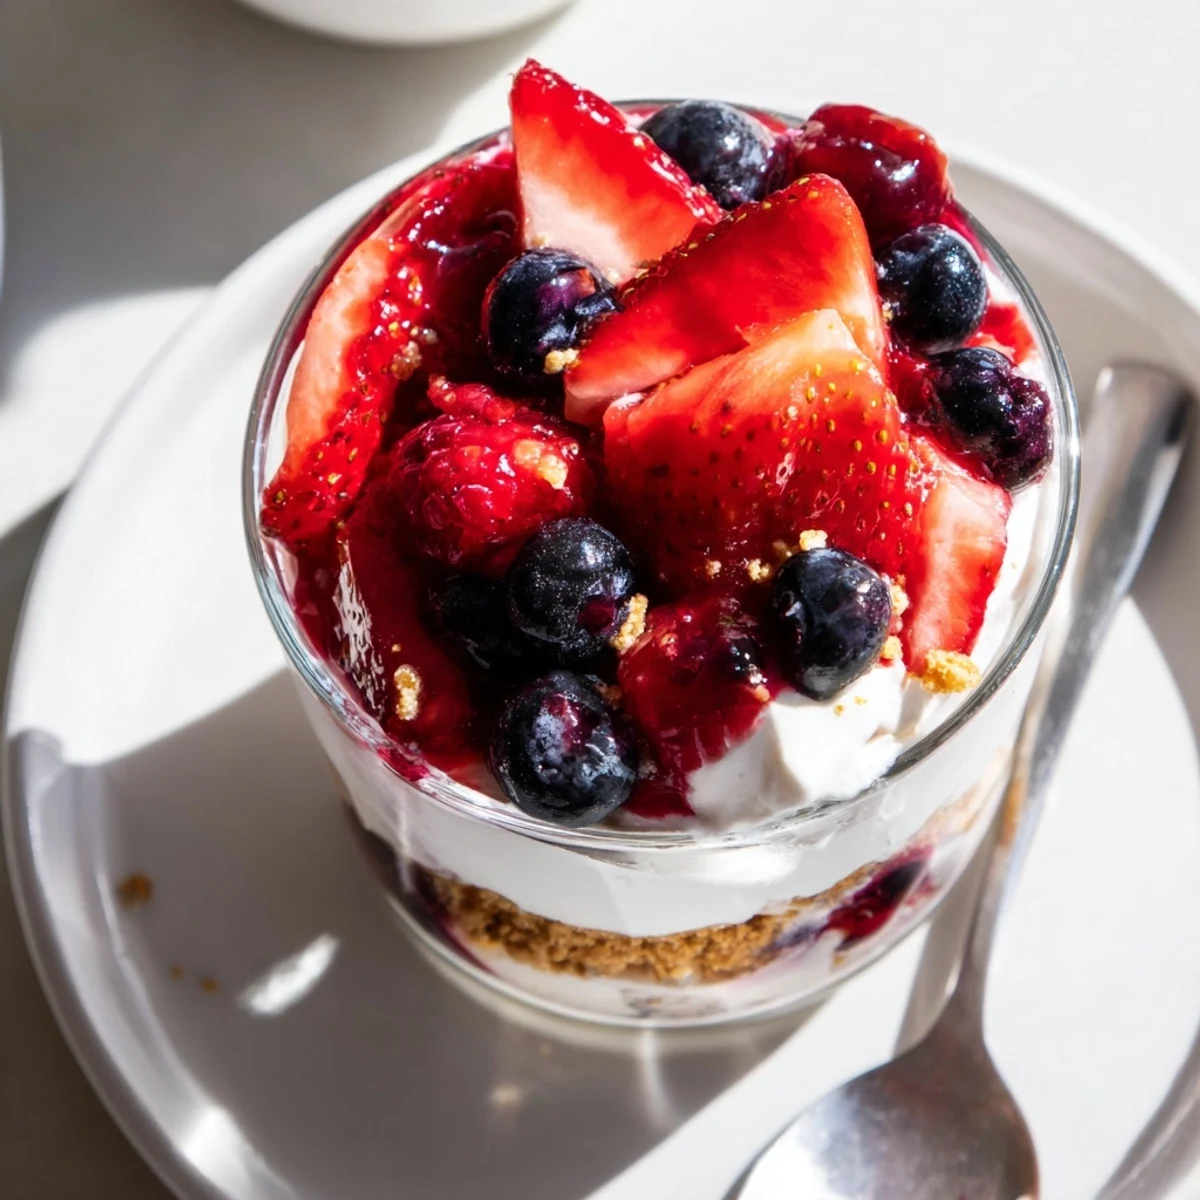
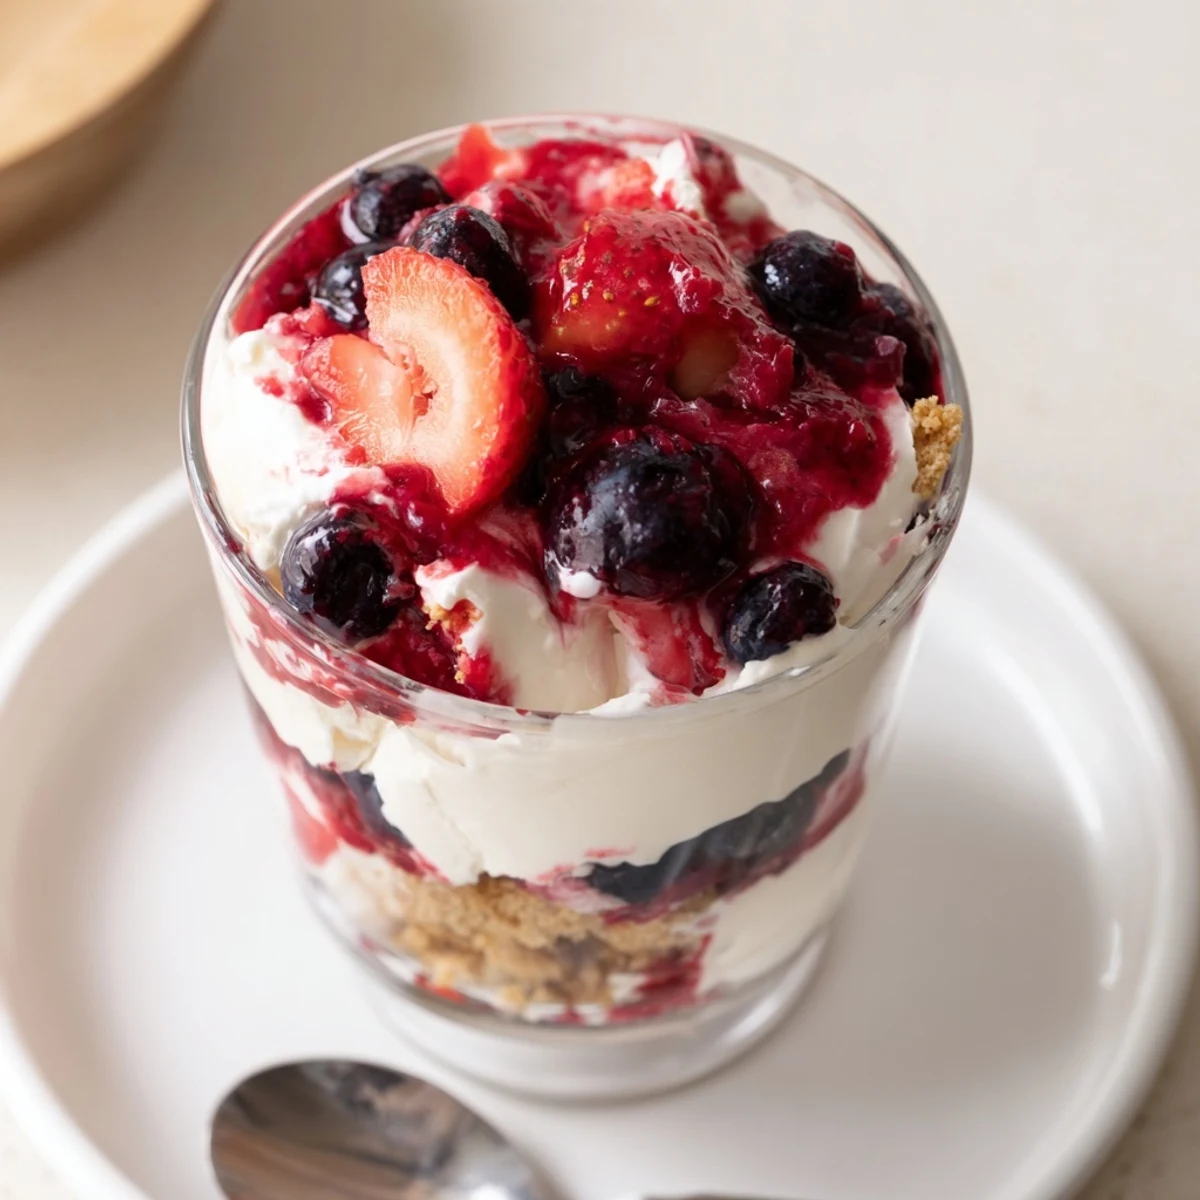
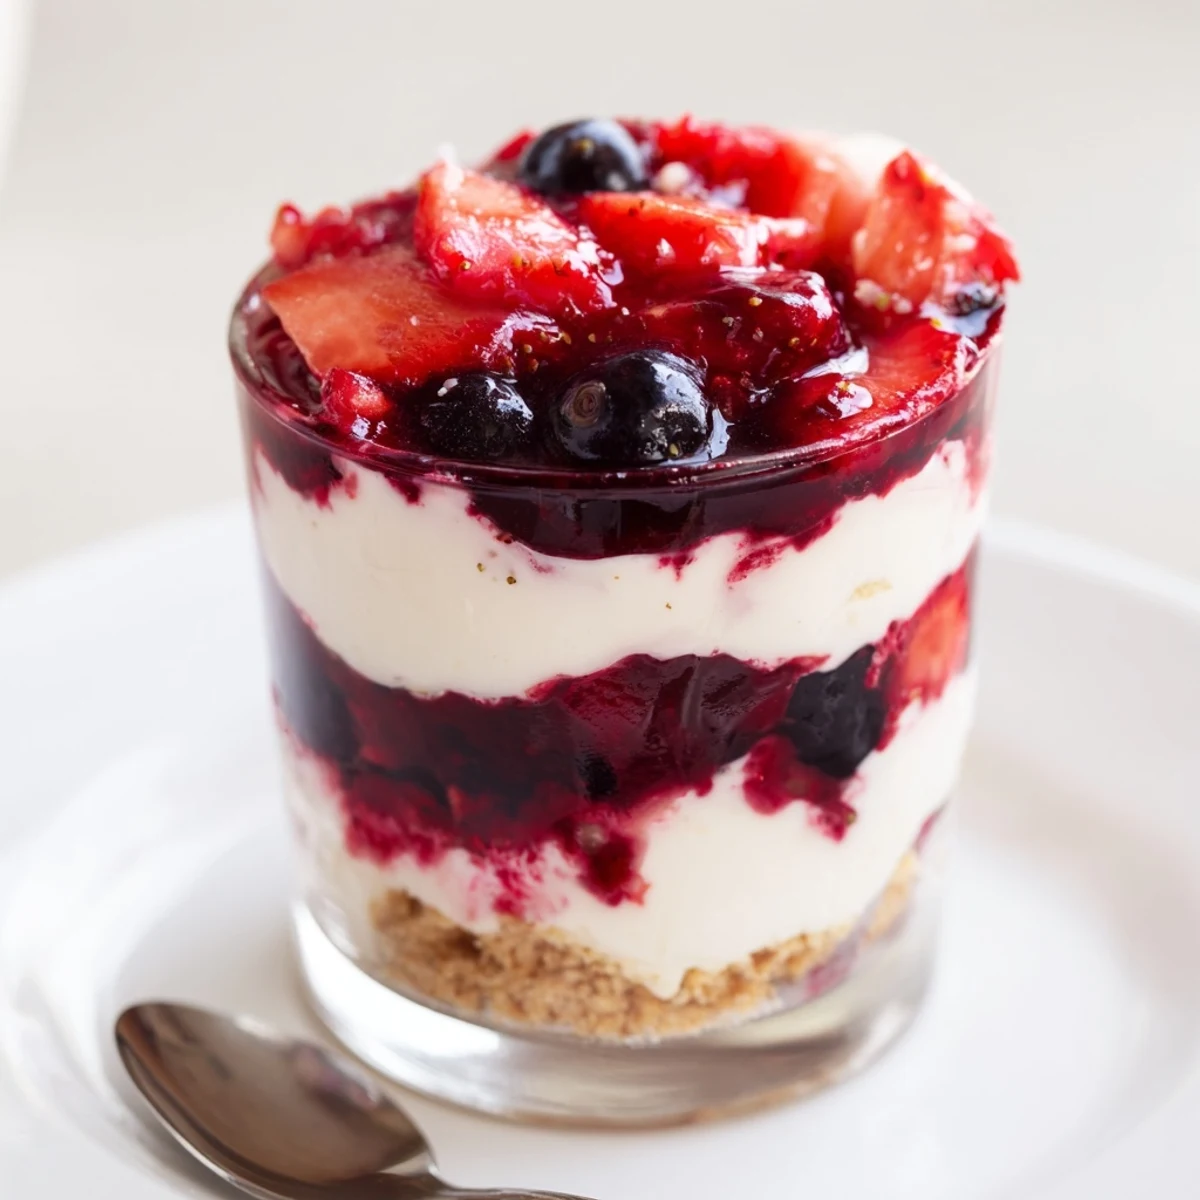
 Creamy no-bake cheesecakes layer a crunchy biscuit base, a whipped cream cheese filling and a bright fresh berry compote. Crush biscuits and press into serving glasses, whip cold cream to stiff peaks and fold into softened cream cheese, top with macerated berries, then chill at least three hours to set. Try gluten-free biscuits or a splash of berry liqueur for variation.
Some days, I just can’t face the oven—especially when a craving for something luxuriously creamy strikes in the heat of summer. The first time I made these berry no bake cheesecakes, the kitchen was full of the hum of an afternoon thunderstorm and the scent of tangy lemon zest. There’s a quiet joy in layering soft cheesecake with juicy berries and a buttery crumb while rain taps on the windows. These little jars always feel like a personal celebration, no matter the occasion.
I once served these at a spontaneous summer picnic with friends—no plates, just spoons and happy laughter under a shady tree. Watching everyone dig to the bottom for the last bits of sweet, buttery crumb reminded me that some of the best desserts are the simplest ones shared.
Ingredients
- Graham crackers or digestive biscuits: Crushing these by hand fills the air with a lovely toasty scent—look for a texture just between sand and pebbles.
- Unsalted butter: Melted butter pulls the biscuit base together and makes sure it stays crisp at the bottom of each glass.
- Cream cheese: Room temperature cream cheese blends so smoothly—take the time to let it soften for a cloudlike filling.
- Heavy cream: Cold cream whips up into joyous peaks; the fresher the cream, the fluffier your cheesecake.
- Powdered sugar: This sweetens and gently stabilizes the filling—sift it in to avoid any lumps.
- Vanilla extract: A little goes far in making the filling fragrant and welcoming.
- Lemon zest: Optional, but the brightness cuts the richness and performs small magic with the berries.
- Mixed fresh berries: Always choose the ripest berries—if the strawberries are larger, halve or slice them so every spoonful feels balanced.
- Sugar: Just a spoonful or two brings out the natural juices, especially if your berries are on the tart side.
- Lemon juice: This keeps the topping lively, adding a whisper of tang that ties the berries together.
Instructions
- Prepare the biscuit base:
- Tip your biscuit crumbs into a bowl and pour in the melted butter. Mix until every crumb glistens, then gently pack the mixture into your serving glasses, creating a tidy base.
- Make the cheesecake filling:
- Beat the softened cream cheese until smooth and free of lumps, then mix in the powdered sugar, vanilla, and zest. In a new bowl, whisk the heavy cream until peaks hold their shape—then fold it carefully into the cream cheese, keeping things light and airy as you layer it over the crust.
- Marinate the berries:
- Tumble the berries into a bowl, scatter over the sugar and lemon juice, and let them sit while you finish prepping—their juices will turn glossy and jammy.
- Assemble the cheesecakes:
- Spoon the cheesecake filling over the biscuit base in your glasses. Top generously with juicy berries and a little of their syrup.
- Chill and serve:
- Slide the filled glasses into the fridge for at least 3 hours, or overnight, so everything sets up beautifully. Serve cold, straight from the glass, and enjoy each layer.
 Save to Pinterest
 One rainy evening, my nephew snuck back for a second helping, clutching his spoon like treasure and declaring it “the best dessert, ever.” That’s when I realized these cheesecakes are a little piece of summer happiness, whatever the weather outside.
Choosing the Right Berries
Try to time your shopping for when berries are at their peak—if strawberries taste candy-sweet at the market, those are the ones to bring home. Using a blend of raspberries, blueberries, and strawberries gives you tart, sweet, and jammy notes all at once.
No Mixer, No Problem
I once made these armed only with a sturdy whisk and a bit of patience. Whipping cream by hand feels old-fashioned but deeply satisfying, and it’s a mini workout that makes that first creamy bite even more rewarding.
Easy Swaps and Luscious Add-Ons
If you’re cooking for friends with dietary needs, swapping in gluten-free biscuits is effortless—and nobody will notice the difference. A splash of berry liqueur in the topping adds an edge of sophistication, while a handful of toasted nuts or a shaving of white chocolate makes each serving special.
- Layering in small jars is perfect for picnics or packing ahead.
- Taste your berries before sweetening to get the balance just right.
- Remember to let the cheesecake chill fully for a firm bite and flavor bloom.
 Save to Pinterest
 However you serve it, these berry no bake cheesecakes transform ordinary moments into something bright and a little indulgent. Here’s to sweet, sunny layers until the last spoonful disappears.
Recipe FAQs
- → How long should these chill to set?
-
Chill at least 3 hours for the filling to firm properly; overnight yields the best texture and clean slices. Keep chilled until serving.
- → Can I use gluten-free biscuits for the base?
-
Yes. Use gluten-free digestive-style biscuits or graham alternatives and press the crumbs firmly so the base binds well with the melted butter.
- → How do I get perfect stiff peaks for the filling?
-
Work with very cold heavy cream and a chilled bowl. Whip on medium-high until peaks hold, then stop to avoid graininess; fold gently into the cream cheese to maintain airiness.
- → What prevents the berry topping from becoming watery?
-
Toss berries with sugar and lemon juice and let them macerate briefly, then drain excess juices if needed. For a thicker compote, simmer with a spoon of sugar until reduced.
- → How far ahead can these be prepared?
-
Assemble and chill up to 24–48 hours. For freshest texture, add the berry topping shortly before serving; keep covered in the refrigerator.
- → Any serving tips or pairings?
-
Garnish with whole berries, lemon zest or mint leaves. Serve cold in individual glasses and pair with Prosecco or a sweet white wine for a light, elegant finish.
